


You've arranged the table, chosen the glassware, and planned the colors, but the candles still aren't behaving. A poured pillar can blur its carefully chosen bands into one muddy mass, while a taper may drip across the centerpiece before guests arrive. Layered candle sand offers a simpler route: you build the design dry, one clean band at a time, without reheating the layer beneath it.
This guide focuses on smooth, plant-based sand wax, a no-melt format that lets you scoop, level, scent, and refill with very little mess. The same principles, patience, contrast, and careful wick placement, also apply to traditional melted-wax candles. Candle sand is made from “tiny, round pearled wax beads,” and particle consistency is central to a smooth appearance, as described by The Candledust's sand-wax product information. We provide ultimately best quality candle sand, with special processing that ensures silky, smooth, even candle pearls without lumps and uneven particles. We call it #Perfect pearl, and we can guarantee it. We're also one of the first sand wax candle producers in the world and the first ones that introduced scented sand candles in the world.
Table of Contents
- A Better Way to Build Candle Layers
- Gather the Right Materials and Prepare Your Workspace
- Build Distinct Candle Layers
- Design Colors, Scents, and Decorative Effects
- Troubleshoot Layering Problems
- Reuse, Refill, and Scale Your Candle Design
- Final Candle-Making Checklist
A Better Way to Build Candle Layers
A home stylist can begin with ivory, add blush, and finish with terracotta. An event planner may need that sequence repeated across many vessels, with consistent bands in every arrangement. Traditional wax can achieve the look, but each layer requires a controlled pour, a stable vessel, and enough cooling time to limit blending. A warm pour may soften the boundary beneath it, while a tilted jar can turn a straight pattern into a slope.
Smooth, plant-based sand wax changes the construction process. Set the wick, add a measured bed of granules, level it, and place the next color without reheating the layer below. Since the wax remains granular during assembly, each band can be adjusted before the vessel is finished. This suits beginners and gives experienced makers room to plan color blocks, scent sequencing, and decorative details.
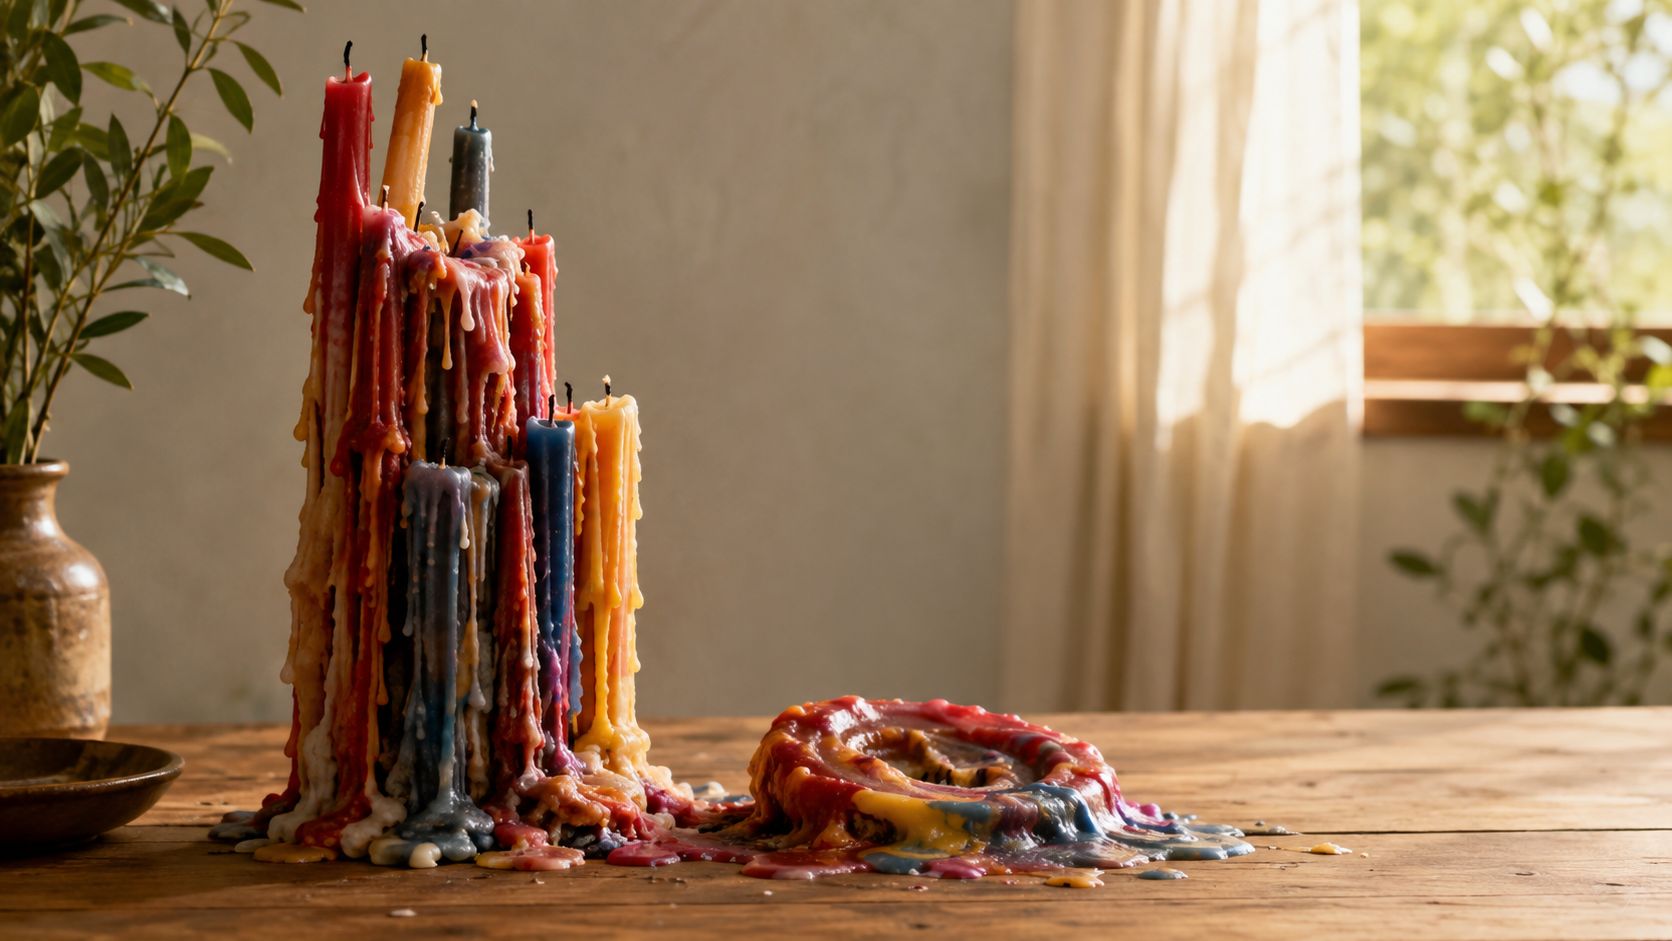
The broader candle category also gives layered designs commercial context. One estimate valued the global candle market at USD 10.45 billion in 2024 and projects USD 13.19 billion by 2030, with a 3.96% compound annual growth rate over that period, according to the Yahoo Finance candle market report. The report associates growth with wellness, eco-friendly products, and luxury candles. Layered colors and scent changes can support customized retail, event, and B2B presentation without requiring a different visual system for every vessel.
The Candledust publishes information about sand wax, including its use in refillable candle formats. For a direct comparison of sand and traditional candles, read this guide comparing sand candles with traditional candles.
Practical rule: Treat every layer as a design decision, not only a quantity of wax. Decide how the candle should look from across the room, then plan its colors, scent order, wick position, and refill path before filling the vessel.
Gather the Right Materials and Prepare Your Workspace
A clean, stable setup determines whether each band looks deliberate. Start with a heat-resistant glass or ceramic vessel with a steady base and an opening wide enough for the wick and scoop. Clear glass shows every layer and its edge, while opaque ceramic softens the color effect and gives more attention to the flame and fragrance.
Prepare these materials:
- A suitable wick: Choose a cotton or wooden wick matched to the vessel diameter. An undersized wick may struggle to form an even melt pool. An oversized wick can create excess heat and disturb the upper layer.
- Plant-based candle sand wax: Set out several pre-colored options, such as white, beige, blush, or terracotta. Ready-colored sand keeps the result more consistent than tinting each batch during assembly.
- Candle fragrance: Use fragrance oils approved for candle use. Measure carefully when scenting sand wax, since saturating the granules can affect texture and burn performance.
- Small scoop or spoon: A narrow scoop controls placement around the wick and limits stray granules on the rim.
- Wick-centering tool: A centering bar, pencil, chopstick, or clothespin can keep the wick upright while the first bed settles.
- Workspace protection: Cover the table with paper or newspaper. Dry sand wax is easy to collect, but it can settle into grooves and corners on an unprotected surface.
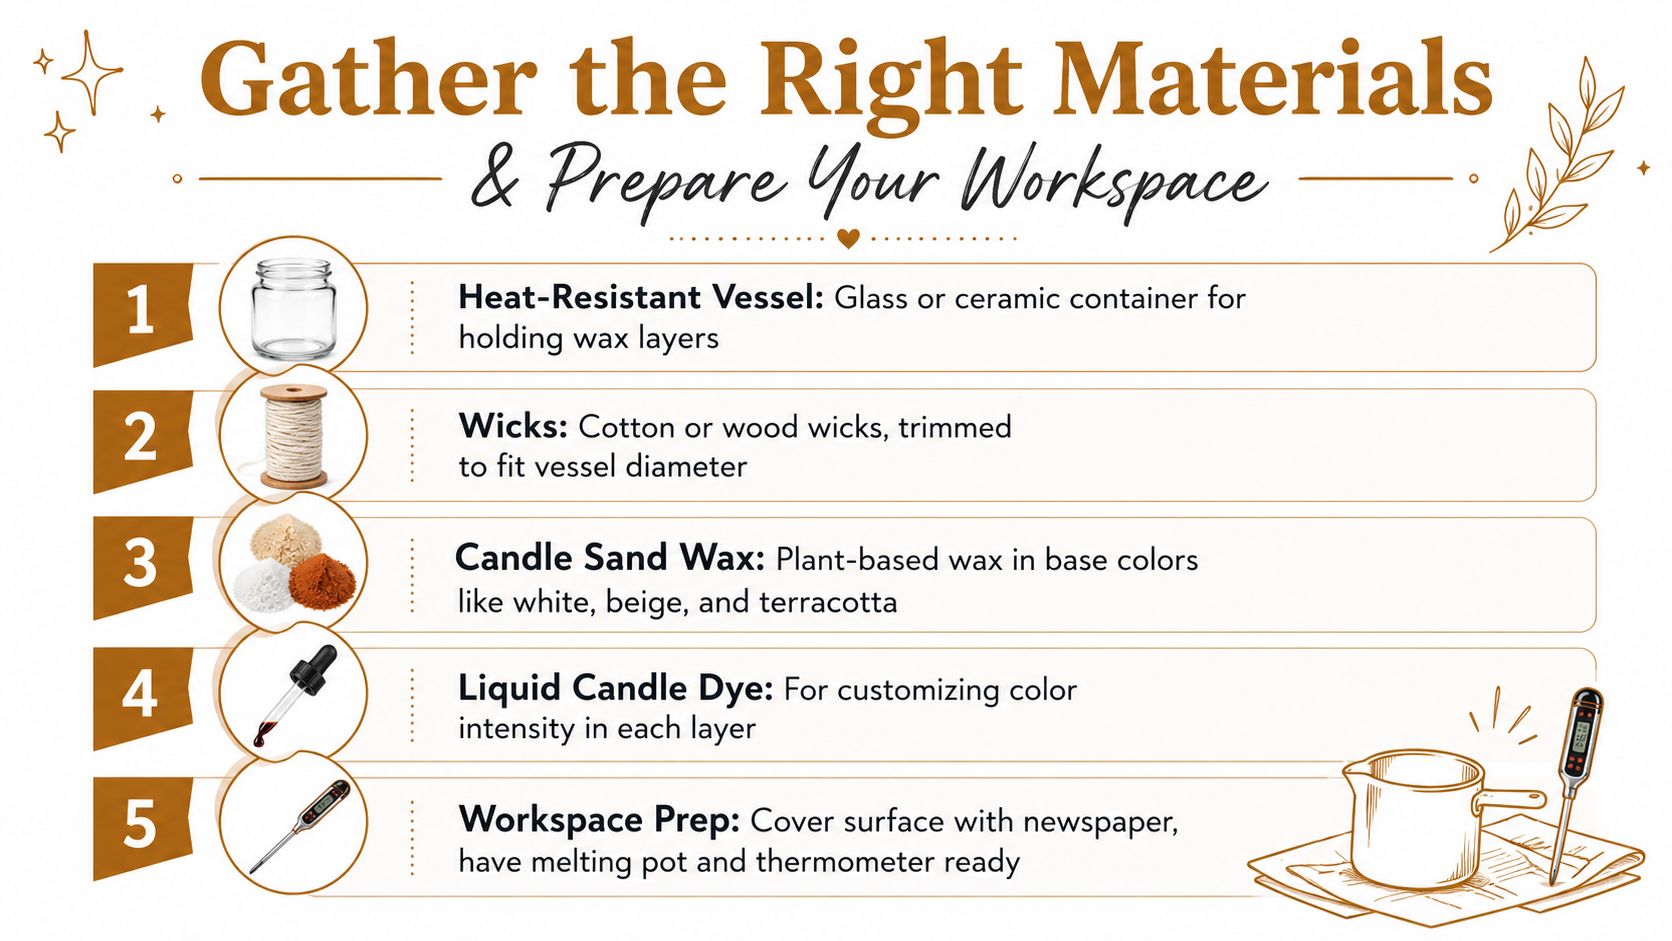
Choose a flat, draft-free surface at room temperature, away from direct sunlight. Moving air can shift lightweight granules before you level them, and sunlight may warm one side of a glass vessel, changing the finished appearance. Plant-based sand wax is handled dry, so chilling it adds work without improving layer formation.
Optional decorations include dried botanicals, small gold-foil accents, or a textured top. Keep every addition away from the wick and flame path, and select materials suitable for candle use. For a quiet, unscented palette, Baby Pink unscented Candle Sand 350g/0.73lbs provides a soft color base. This dry format also supports refillable presentation, since unused sand can be gathered and reused rather than discarded.
Before filling, wipe the vessel clean and dry. Dust or oily residue can interrupt the edge between colors and prevent the wax from sitting evenly against the glass. The beginner's guide to using candle sand offers further handling guidance. The working check is simple: clean container, centered wick, measured fragrance, and organized colors. The same preparation helps with traditional melted-wax pours, although those require heat-safe melting equipment and temperature control.
Build Distinct Candle Layers
Set the empty vessel on a protected, level surface and secure the wick in the center. A centering bar works well, although a clothespin balanced across the rim can also hold it steady. Add a small amount of plant-based sand wax around the wick's base. Press gently so the wick stays upright without bending.
Choose the first color according to the candle's final viewing angle. A pale base gives stronger colors a light foundation, while a darker lower band creates a more dramatic edge when the candle sits on a clear table. Scoop the sand slowly around the wick, keeping the stream low. This reduces scattering against the glass and helps prevent the wick from shifting.
Create a stable first bed
Level the first layer with the back of the scoop or another flat tool. Use light pressure. The goal is an even bed without hollows, not a compressed block that makes later refill work difficult. If the granules appear unusually loose, a very light mist may help them settle. Use restraint because excess moisture can change the texture and affect burning.
Let the layer rest for several minutes. Granules settle around the wick during this pause, giving you time to inspect the vessel wall for gaps. A clean edge matters more than speed.
Add scent with control
For a scented design, apply fragrance toward the center of the layer instead of soaking the whole visible surface. Keep the amount within the fragrance manufacturer's guidance. Candle-making guidance commonly places fragrance loading for wax at 6–10% by wax weight. Overloading can contribute to sweating, surface irregularities, or incomplete setup, as outlined in this layered-candle technical guide.
Use scent sequencing to support the color order. A fresh opening layer can lead into a warmer middle and finish with a deeper base. For a dining-table candle, a restrained or unscented arrangement may work better than a strong fragrance that competes with food.
Repeat the visual rhythm
Add the next color in a low, controlled stream. Keep the scoop close to the surface and work around the wick before filling the outer edge. Level the band, let it settle, then decide whether it needs fragrance. Alternating shades and scents can create a clear composition, while too many abrupt changes may look busy.
Equal layer depths usually produce the calmest appearance. Vary the depth deliberately for a more architectural design, such as a narrow accent stripe between broader color fields. Angled bands are also possible if the vessel remains securely supported throughout construction. A shifted container can move the wick and distort every layer above it.
Finish with a contrasting or slightly darker top band to give the candle visual weight. Check that the wick remains centered and vertical, then leave the candle undisturbed until the surface settles. Trim the wick according to the supplier's instructions before lighting.
Traditional melted-wax pours follow the same visual sequence but require heat control between layers. The previous layer should be fully opaque and no longer warm before the next pour. One guide recommends melting soy wax at 65–70°C, cooling it to 55–60°C before pouring, allowing 2–3 hours between layers, and curing the finished candle for at least 24–48 hours. These temperatures and timings are detailed in the same layered candle method. With sand wax, the dry format avoids the melting and cooling pauses, which makes consistent presentation easier for refills, event favors, and repeat B2B orders.
Design Colors, Scents, and Decorative Effects
A layered candle should work from across a room, through the vessel at close range, and through fragrance during use. Choose the setting before choosing the palette. Ivory, blush, and terracotta create a soft, editorial progression, while black, cream, and rust give retail displays stronger definition. Gentle tonal shifts suit bedrooms and gift sets. Higher contrast remains easier to read at events, where guests view the candle from different distances.
Sand wax makes color planning especially flexible because each layer can be placed dry, adjusted, and reused without remelting. Keep the visual order consistent with the scent sequence. Citrus can open into cedar or vanilla, while floral, spice, and wood notes support seasonal color stories. Measure fragrance carefully and keep it localized so the granules remain free-flowing. Traditional wax pours need closer control of the recommended fragrance load, since excess oil can affect setting and surface quality.
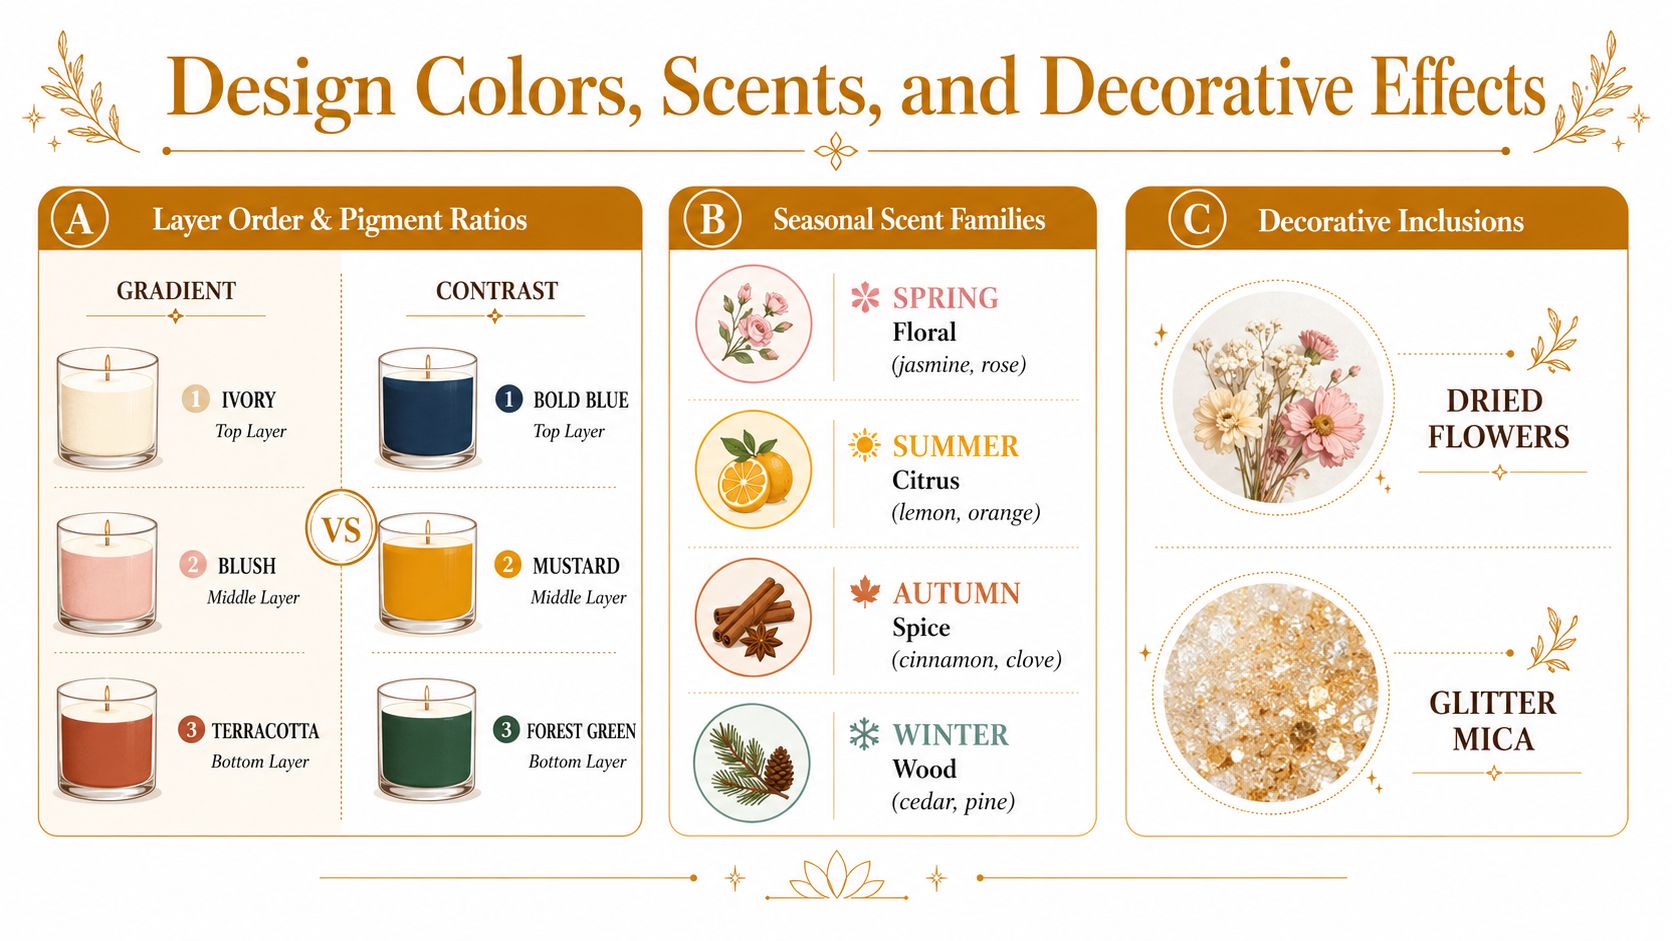
Choose the right visual break
A pale band beneath a saturated one makes color migration easy to spot. In melted wax, a pour that is too warm can soften the lower layer and blur its edge. Bramble Berry's layered candle guidance recommends pouring a fresh layer at 140°F, or 60°C, or below, while noting that pouring too cool can create adhesion and surface problems. Adjust temperatures in small 5°F increments rather than making large changes.
Dried flowers, glitter mica, and gold foil work best as restrained accents. Place them around the perimeter, or reserve them for a non-burning display candle. In a candle intended for lighting, follow the supplier's safety instructions and keep every inclusion away from the wick. Sand wax offers a practical presentation advantage here, since decorative elements can be removed during a refill instead of being trapped in a new pour.
Record every formula that performs well. Note the color order, fragrance family, vessel shape, layer depth, and appearance after settling. Transparent vessels need enough contrast to stay legible from each angle. Opaque containers can use subtler changes because the flame becomes the main visual anchor. For gifts, favors, and branded collections, personalization ideas for candles can help shape a repeatable design language for small batches and larger event orders.
Troubleshoot Layering Problems
A layer can look clean during assembly and still fail later. Start by identifying the format, because dry sand wax and melted wax respond to different problems. In a traditional pour, heat, fragrance load, and vessel temperature affect adhesion and color separation. In smooth, plant-based sand wax, uneven filling, movement, and excess fragrance are more common causes of trouble.
Bleeding between colors in poured wax usually means the lower layer softened when the next layer was added. Let it become opaque and cool, then check that the vessel no longer feels warm. Add the next pour at a slightly lower temperature, adjusting in small steps rather than making a large change. If fragrance has pooled in sand wax, remove the oily granules and rebuild that band with a lighter application.
Collapsed or sloped bands often come from rushing the fill, skipping surface leveling, or shifting the vessel. Remove loose sand from the damaged area, add a small amount back, and compact it gently. For melted wax, restart the layer if its boundary has fused visibly. A thick patch rarely restores a clean profile.
Read the surface before repairing it
A depression in melted wax can form as the wax contracts and leaves a void below the surface. Keep a little of the same batch aside for a top-off, then fill the hollow after the candle cools. A hollow in sand wax usually indicates trapped air around the wick or uneven settling. Reopen the area carefully, add granules in small amounts, and level each addition instead of tipping in one large scoop.
Frosting is common on soy and other plant-based waxes. A warmer pour or gently warmed vessel may improve the finish, but increasing heat also raises the risk of color migration. Repeated heating and cooling can weaken glass adhesion. Some change is normal as the vessel expands and contracts, as explained in Candlewic's layered candle troubleshooting guidance.
Repair rule: Patch a local hollow. Restart the layer when its color boundary, wick position, or glass contact has failed across most of the vessel.
Check wick behavior separately. Tunneling, mushrooming, or drowning can result from an unsuitable wick, an off-center position, or an untrimmed wick. Confirm the wick suits the vessel diameter and stays centered before lighting. Record the vessel, material, fragrance sequence, color order, room conditions, and result. That log helps refine a repeatable design for refills, gifts, favors, and larger event or B2B batches.
Reuse, Refill, and Scale Your Candle Design
The first burn does not have to end the design. Once a sand-wax candle is completely cool, remove the used wick and separate clean remaining granules from debris. Sift colored sand gently, then store each shade in a labeled airtight container. Keep fragrance notes with the material, since a later refill may complement the original scent sequence or make it feel muddled.
Before refilling, remove the wick base and wipe residue from the jar. Check the glass for cracks, heat marks, and staining. A reusable vessel needs a stable base, a smooth interior, and enough opening space for safe wick placement. Appearance alone is not a sufficient reason to reuse a container.
The same visual discipline applies to traditional wax pours, although leftover poured wax usually needs to be remelted and handled as a new batch. Sand wax makes refill sorting simpler because clean layers remain granular. For either format, record the color order and scent sequence so the visual rhythm and fragrance progression can be repeated.
For weddings, consistency starts with a written recipe. Specify the vessel, color order, scent zoning, wick type, and approximate layer depth. Use one palette across coordinated centerpieces, or assign different scent groupings to dining, welcome, and lounge areas. Small labels or tags can identify the fragrance and explain that the vessel can be refreshed.
Build a repeatable small-batch system
A boutique or hospitality buyer needs a repeatable product, not only an attractive prototype. Standardize the fill level, photograph the finished profile, and keep a sample beside the production notes. Corporate gifts can use branded bands, embossed lids, or coordinated color accents. Restaurants and hotels may prefer unscented or restrained designs that support the room without competing with food or guest amenities.
The market figures in Grand View Research's candle market analysis come from different report estimates or methodologies, so they should not be read as one continuous forecast. One estimate gives USD 14.77 billion in 2025, projected to reach USD 25.44 billion by 2033, with a 7.3% CAGR. Another gives USD 10.29 billion in 2025 and USD 14.62 billion by 2030, with a 7.2% CAGR. Consult the primary report version that matches your planning purpose. Both estimates indicate a substantial category in which refillability, scent sequencing, and consistent presentation can help a small-batch product stand apart.
Final Candle-Making Checklist
Before lighting or packaging, make one deliberate pass. A layered candle succeeds because the maker controls the small details that affect alignment, texture, scent, and reuse.
Before pouring
- Clean vessel: Remove dust, oil, and residue.
- Secure wick: Center it and keep it vertical.
- Stage materials: Measure sand, prepare colors, and identify candle-safe fragrance.
- Protect the surface: Use paper and keep the workspace free of drafts.
During assembly
- Firm foundation: Level the first band before adding the next.
- Controlled scoop: Add sand close to the surface rather than from height.
- Clear separation: Let each band settle before continuing.
- Stable design: Keep the vessel still and check the wick after every layer.
After filling
- Finish the rim: Remove stray granules from the glass.
- Trim carefully: Set the wick to the supplier's recommended length.
- Record the recipe: Label colors, scent, vessel, and burn observations.
- Store leftovers: Keep unused sand dry, separated, and clearly identified.
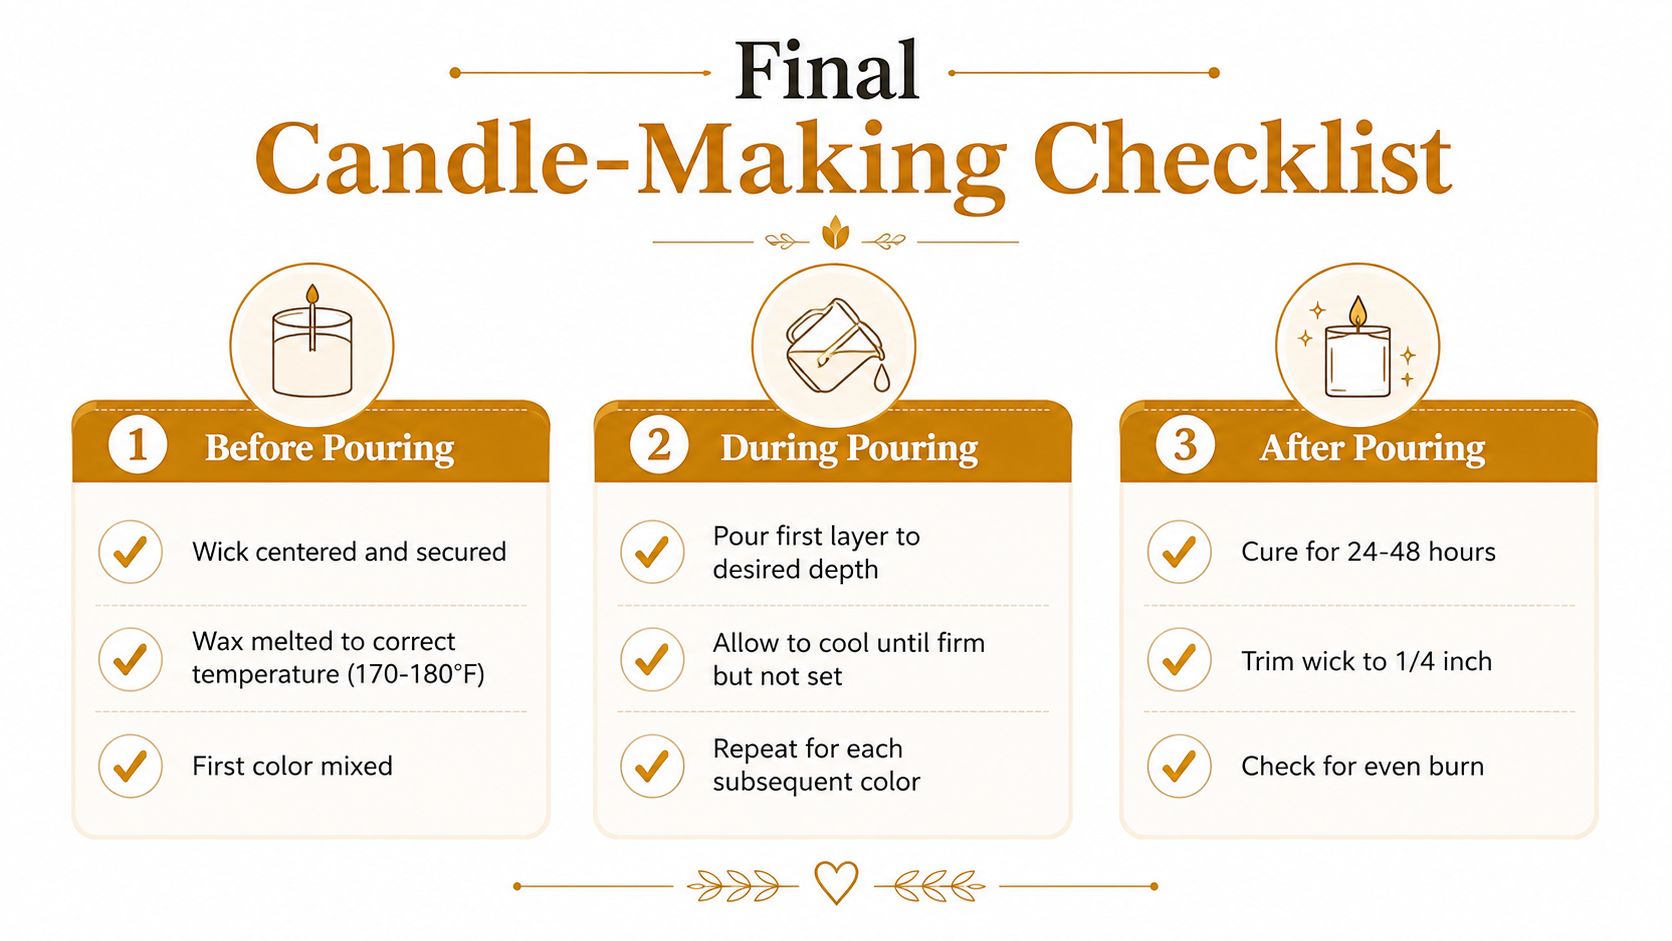
The strongest results come from matching the material to the finished use. For additional vessel and candle inspiration, The Cactus Outlet cactus products can help you consider how layered candlelight fits into a broader decorative arrangement.
The Candledust offers fine, plant-based candle sand in scented and unscented formats, along with reusable vessels and wicks for layered designs that can be refreshed instead of discarded. Visit The Candledust to choose your colors, plan a custom scent sequence, and turn a heat-resistant vessel into your next layered candle.