

You're probably here because you want a candle that feels personal. Maybe you've saved a nice glass jar, maybe you want your home to feel warmer tonight, or maybe you love the idea of making something by hand but don't love the idea of wax on the stove, thermometers, and cleanup.
That's exactly why jar candles remain such a strong starting point for beginners. They're practical, forgiving, and easy to style around your space. They also fit what consumers seek from candles. Container and jar candles are the most popular candle type in the market, and nine out of ten candle users say they use candles to make a room feel comfortable according to the National Candle Association.
If you already enjoy the look of a finished coconut soy wax candle, learning how to make jar candles helps you understand what goes into that cozy result. And today, you've got more than one path. You can make a classic poured candle from melted wax, or you can use modern candle sand for a cleaner, faster, more flexible approach.
Table of Contents
- Beyond the Wick The Art of Creating Jar Candles
- Traditional Wax vs Modern Candle Sand
- Your Essential Candle Making Toolkit
- From Preparation to Pour A Step-by-Step Guide
- Curing Testing and Common Fixes
- The Sustainable Future of Candle Making
Beyond the Wick The Art of Creating Jar Candles
A jar candle looks simple, but it does a lot of jobs at once. It holds the wax, keeps the flame contained, supports the wick, and shapes the whole mood of the room. That's why jar candles feel approachable to beginners. The container does part of the work for you.
There's also a craft element that makes them satisfying. You get to decide whether the candle feels rustic, minimal, festive, soft, dramatic, scented, unscented, giftable, or purely functional. A mason jar says one thing. A low tumbler says something else. A smooth ceramic cup changes the feeling again.
A good jar candle isn't just wax in a container. It's a small lighting object that combines fragrance, heat, and design.
That mix of usefulness and creativity is what keeps people coming back to candle making. Traditional methods still have their place, especially if you enjoy the process of melting, measuring, and pouring. But modern materials have widened the field. Today you can make a jar candle with a classic wax workflow or choose a refill-style approach that skips most of the mess.
For home makers, that means less intimidation. For event planners, it means faster setup across many tables. For hospitality teams, it means a decorative candle format that's easier to refresh between services. The method you choose changes the work involved, but the goal stays the same. You want a clean-looking candle that burns well and suits the container you've chosen.
Traditional Wax vs Modern Candle Sand
Traditional jar candle making and candle sand can both produce a beautiful result, but they ask for very different kinds of attention.
What traditional wax making asks from you
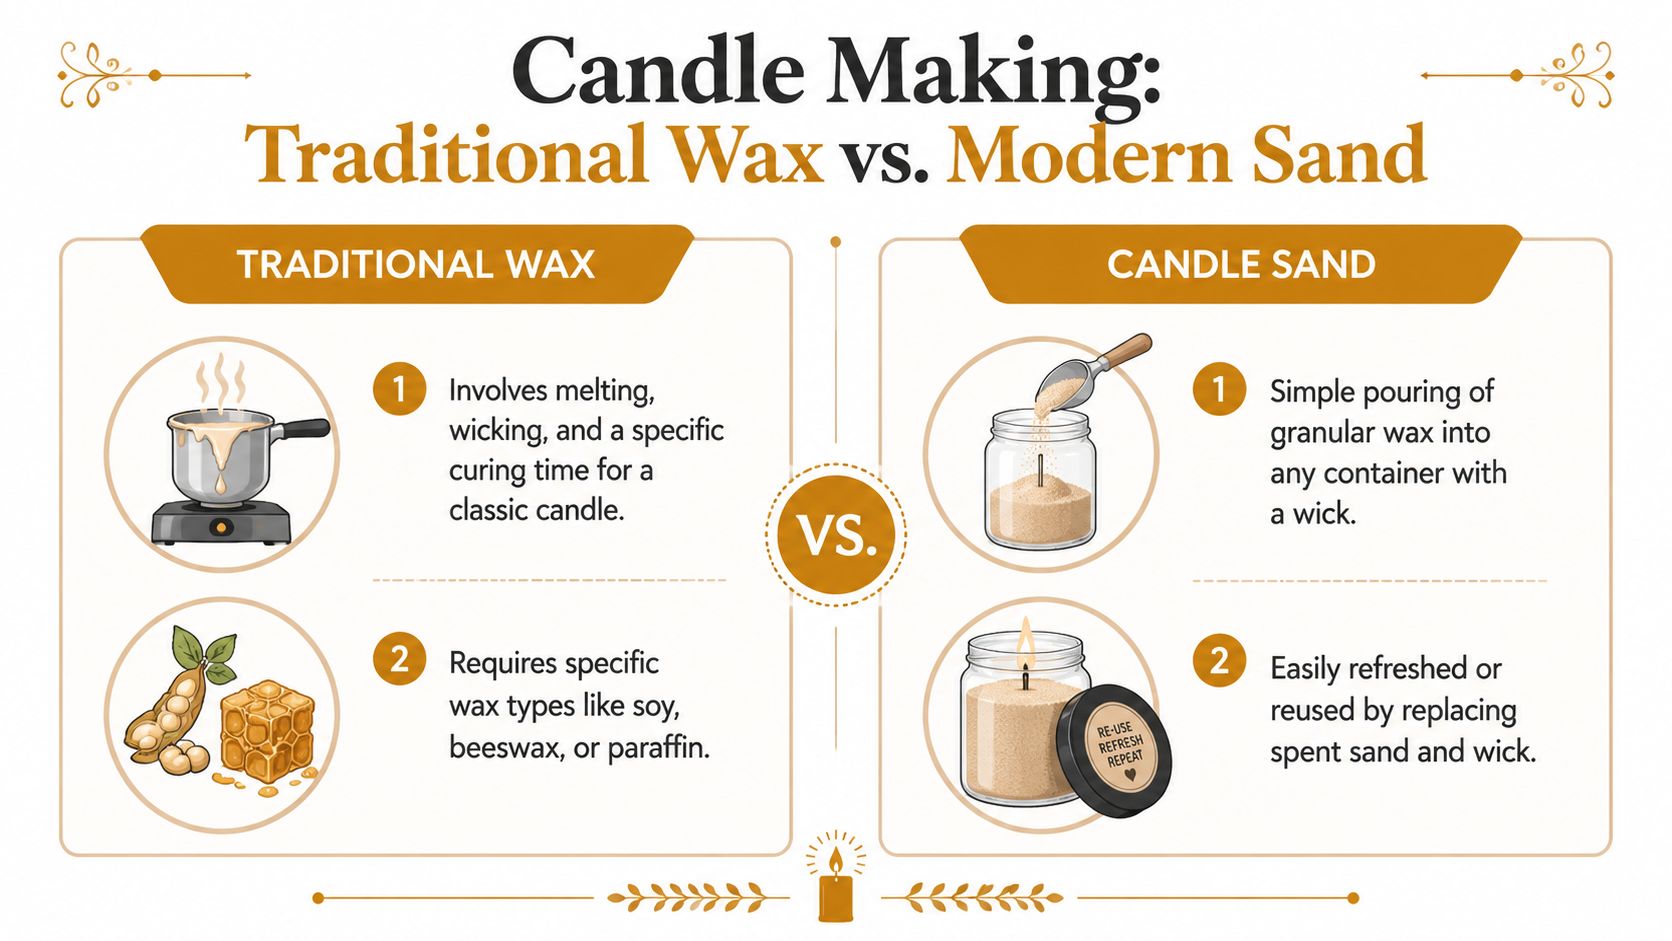
With a poured candle, you are managing a chain of heat-based steps. You melt the wax, watch the temperature, add fragrance at the right point, pour carefully, and then wait for the candle to cool in a stable way. A beginner-friendly example of that workflow appears in this traditional jar candle tutorial.
That sequence is part craft, part kitchen science. Wax behaves a bit like chocolate in that temperature affects texture, finish, and consistency. If the wax is too hot, fragrance can suffer and the surface can shrink more as it cools. If it is too cool, the pour may set unevenly or leave rough spots.
Small details matter here. The wick has to stay centered. The container has to be heat-safe. The cooling area should be free from drafts so the candle sets evenly. Traditional wax is satisfying for makers who enjoy that hands-on process, but it does ask for more tools, more cleanup, and more patience.
Why candle sand feels different
Candle sand changes the job completely. Instead of melting a solid wax and hoping it cools well, you fill the jar with fine wax granules, place the wick, and burn only the area around that wick. The work shifts from temperature control to smart setup.
That makes the method easier to understand for beginners. It also makes it easier to repeat across many containers, which matters if you are styling a long event table or refreshing candle holders in a restaurant. You get more flexibility with less mess.
The material itself also affects the final look. Coarse or uneven granules can make a jar candle look rough, even in a nice vessel. A fine, even texture settles into a cleaner surface, which is why The Candledust focuses on its #Perfect pearl finish. The result looks closer to a styled retail candle and less like a rushed DIY project.
If you want to understand the material itself, what Candle Sand is made of explains the composition in more detail. A product example such as Space Grey unscented Candle Sand 1Kg / 2.20lbs fits this modern approach. It is designed for refill-style use, so you can choose the vessel, adjust the amount, and reset the look without remelting a full candle.
For home use, that means less setup and less wax residue on tools.
For B2B users, the advantage is even clearer. Event planners can match candle color to the theme without committing to one fixed jar candle design. Hospitality teams can refresh vessels between services instead of replacing the whole candle. Retail stylists can create a consistent look across mixed containers, which is hard to do with poured wax unless every batch behaves perfectly.
Candle Making Methods Compared
| Attribute | Traditional Wax (Soy/Beeswax) | The Candledust Sand Wax |
|---|---|---|
| Setup | Requires a melting setup and heat-safe pouring workflow | Uses a pour-in format with wick placement |
| Skill focus | Temperature control, wick centering, cooling | Vessel choice, fill level, wick placement |
| Mess level | More cleanup from melted wax tools | Less handling of melted material |
| Look of final surface | Depends on pour temperature and cooling | Depends heavily on particle texture and leveling |
| Reuse | Jar can be reused after cleaning | Vessel is designed around refill and reset use |
| Best fit | Makers who enjoy classic candle craft | Home décor, events, hospitality, and flexible styling |
Practical rule: Choose traditional wax if you enjoy the making process itself. Choose candle sand if you want a polished jar candle with fewer steps, easier resets, and a more sustainable refill habit.
Your Essential Candle Making Toolkit
A good toolkit does one job well. It removes avoidable problems before you light anything.
For jar candles, the tools change with the method. Traditional wax asks you to manage heat, timing, and cleanup. Candle sand shifts the focus toward vessel styling, wick placement, and surface control. That is part of why many beginners find modern options such as The Candledust easier to work with. The #Perfect pearl texture gives the top of the candle a neat, finished look with far less fuss than a poured surface that can sink, crack, or frost as it cools.
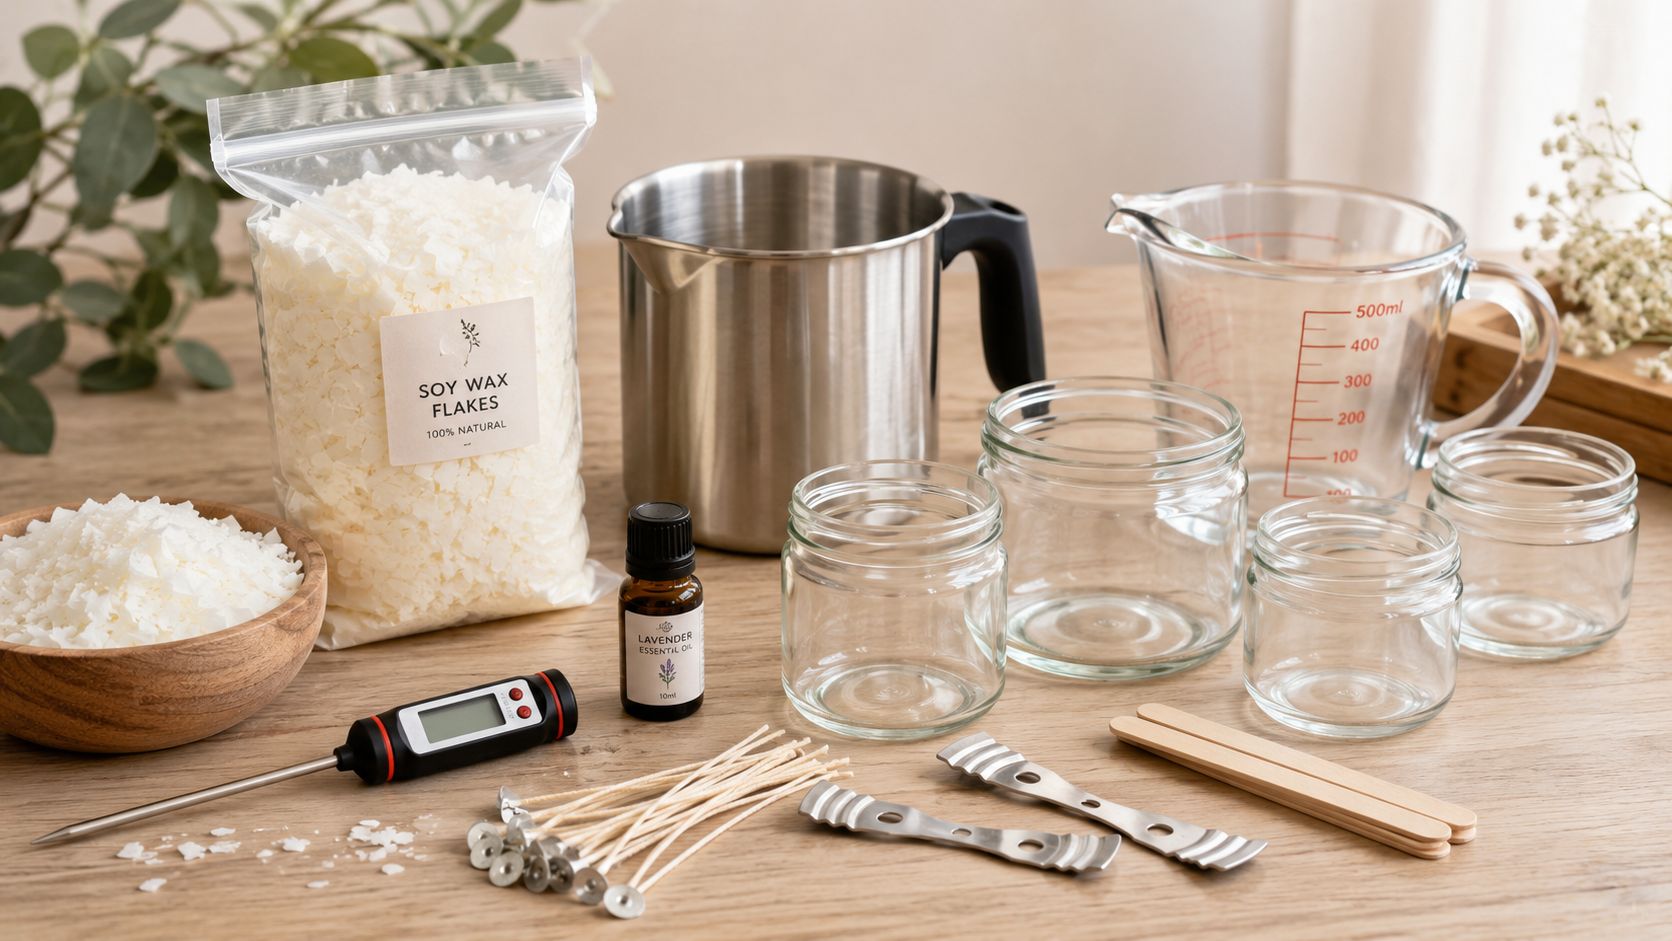
For traditional wax candles
Poured candles need a few more moving parts because you are cooking, scenting, and setting the wax in stages. Gather these before you start so you are not holding a hot pitcher while searching for a wick sticker.
- Wax: Soy flakes or beeswax pellets are common starting points.
- A heat-safe pouring setup: A pouring pitcher or bowl used over simmering water creates a simple double boiler.
- Candle jars: Choose clean, heat-resistant containers made for candle use or known to handle heat safely.
- Wicks and wick stickers or glue: These secure the wick to the base of the jar.
- A thermometer: Helps you track melt, fragrance, and pour temperatures with more control.
- A wick holder: A bar, clip, or even a stick across the rim keeps the wick upright.
- Fragrance, if wanted: Add it only within the temperature range your wax type calls for.
If you skip the thermometer, candle making can feel like baking bread without checking the oven. You might still get something usable, but repeatable results become much harder.
For candle sand creations
A candle sand setup is leaner, which is one reason it suits home makers and B2B users who need a polished result without a prep table full of tools.
- Candle sand: Fill the vessel to the depth and shape you want.
- Wick: Place it upright where you want the flame to sit.
- A heat-resistant vessel: Glass or ceramic works well if it is suitable for candle use.
- A spoon or small scoop: Useful for leveling and refreshing the top layer.
If you want a factual example from the current catalog, Space Grey unscented Candle Sand 1Kg / 2.20lbs fits larger refill or styling needs, while Rhubarb Sparkle Scented Candle Sand 350g/0.73lbs suits smaller decorative projects. The practical difference is simple. Bulk formats make sense for repeated setups such as events, restaurant tables, hotel lounges, or retail displays. Smaller packs are easier for testing color, scent, and vessel ideas at home.
The benefit here is not only convenience. It is consistency. If one table arrangement needs a quick refresh before guests arrive, you can smooth the surface, replace the wick if needed, and keep the same container in service.
The jar and wick need to match
Container candles behave a bit like cookware. Two pots can hold the same amount, but a wide shallow pan heats very differently from a narrow saucepan. Jars work the same way with flame and melted wax.
A common beginner mistake is choosing a jar for its look and treating the wick as an afterthought. Burn performance usually works the other way around. The opening width, wall shape, and overall depth all affect how heat builds and how the melt pool spreads, as discussed in this wick and vessel geometry discussion.
Use these checks before you make the candle:
- Check the opening width: This matters more than total volume because it affects how far the melt pool needs to travel.
- Notice the shape near the top: Shoulders, curves, and narrow necks can change airflow and heat concentration.
- Be careful with decorative containers: A pretty jar is not automatically a safe candle jar.
- Start with straight sides: They are easier to test and easier to wick well.
For candle sand, vessel choice still matters, but the setup is more forgiving because you are not pouring and cooling a full body of wax in place. For traditional poured candles, the vessel and wick pairing can decide whether the candle burns cleanly or gives you tunneling, overheating, or wasted wax.
If a jar candle struggles, check the container and wick combination before blaming the wax.
From Preparation to Pour A Step-by-Step Guide
This is the part most beginners want most. What do I do, in order, without getting confused? The easiest answer is to treat poured candles and sand candles as two separate crafts. They overlap in style, but not in workflow.
Crafting a traditional poured candle
Start by preparing your jar. Wash and dry it fully. Any moisture left inside can interfere with the pour or affect the surface as the wax sets.
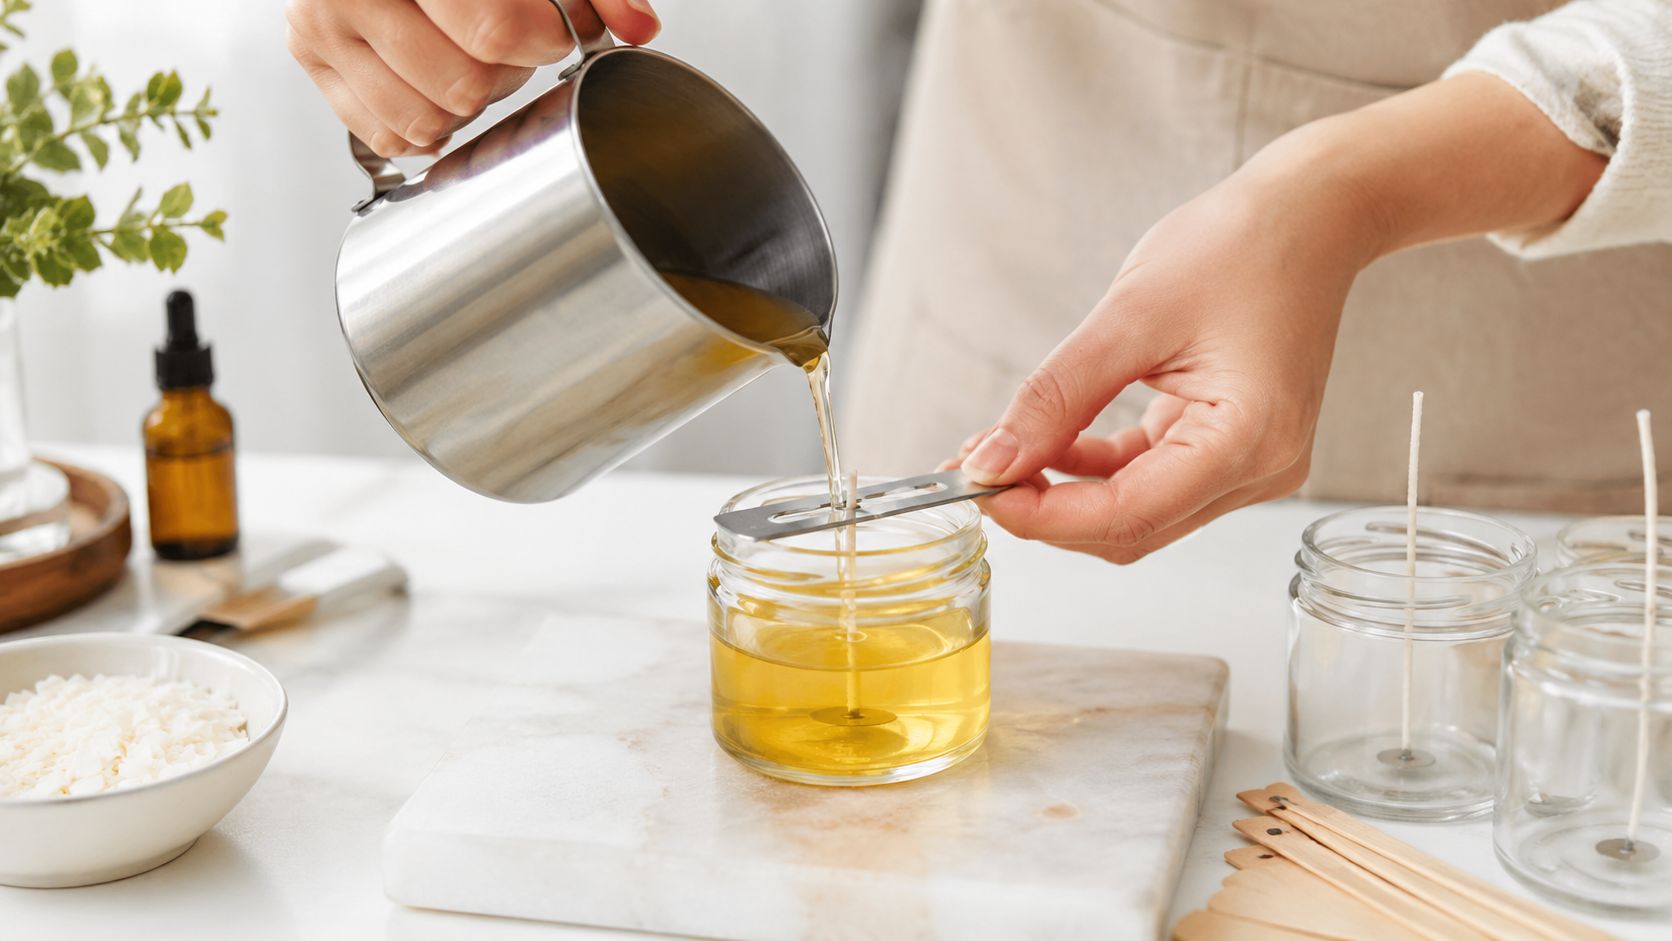
Next, secure the wick at the base and hold it upright with a wick bar or simple stick across the rim. Don't skip this. A centered wick helps the candle burn more evenly and makes the finished jar look intentional.
Then melt your wax gently in a double boiler. If you're using soy, many makers work within a controlled range rather than just melting and guessing. Add fragrance when your wax is in the proper zone for that wax type, and pour only after it has cooled enough for a smoother set. Fill the container thoughtfully rather than to the absolute top. Many makers leave room because surface correction may be needed later.
A visual demonstration can help if you learn better by watching hands move through the process:
After pouring, leave the candle alone at room temperature. Don't move it unnecessarily, and don't try to force cooling in the fridge. Fast cooling can create cracking.
Creating an instant sand candle
A sand candle works more like styling a vessel than cooking a recipe. Choose a clean, heat-resistant jar. Pour in the candle sand. Smooth the top if you want a neat finish, or leave it softly textured for a more relaxed look. Insert the wick into the center area and keep it upright.
Pour the sand. Place the wick. Light the candle.
That simplicity is the reason many people switch once they've tried both methods. There's no wax pot to scrub and no pour temperature to hit. If your material has a smooth, even particle texture, the jar also looks polished with very little effort. That's why a refined pearl texture matters so much. It saves you from the rough, uneven look that cheaper granular waxes can create.
For weddings, restaurants, and events, this method is especially practical. You can fill matching or mismatched vessels to suit the table design, then refresh only what was used instead of replacing the whole candle. It's also helpful when you need many candles to look coordinated without spending hours pouring each one.
A simple mental checklist helps:
- Choose the vessel well: Keep it heat-resistant and stable.
- Fill to the look you want: Low and minimalist or full and dramatic both work.
- Place the wick straight: The burn starts with placement.
- Check the surface: A quick smoothing pass makes the jar look finished.
If you're still deciding between methods, ask yourself one honest question. Do you want to practice candle making as a process, or do you mainly want beautiful candlelight in your own jar? Your answer usually tells you which route fits best.
Curing Testing and Common Fixes
Why curing matters
A jar candle can look finished long before it is ready to burn well.
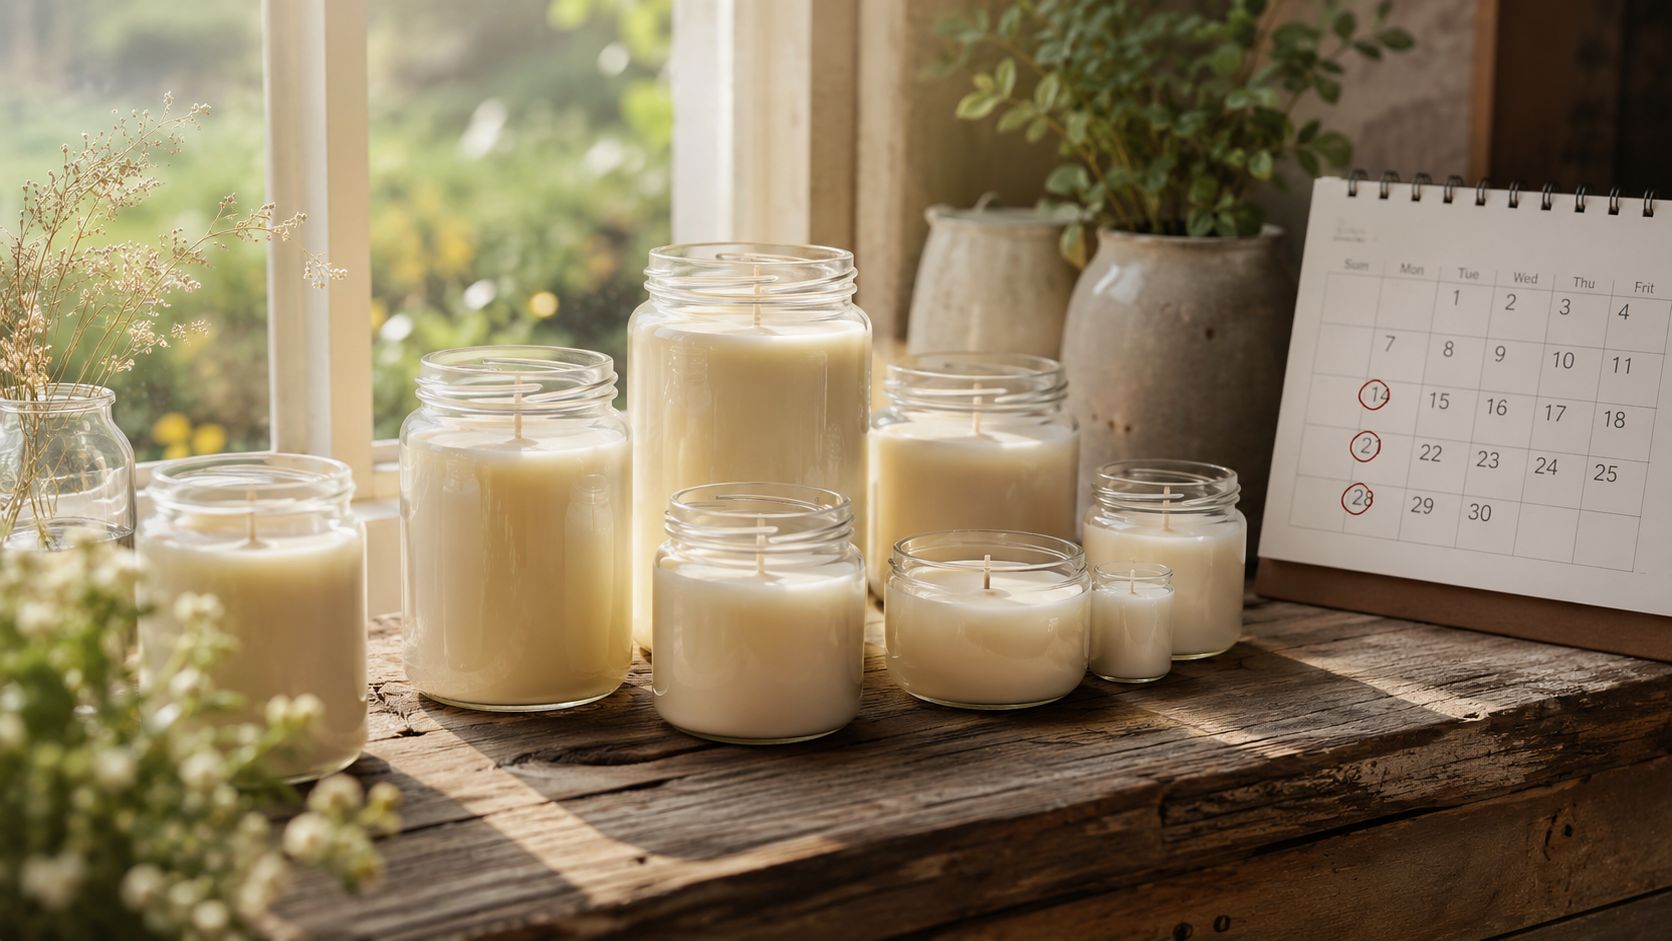
With poured wax, the outside often hardens first while the inside is still settling. Fragrance, wax structure, and the area around the wick need a little time to stabilize. That is why experienced makers wait before the first test burn. If you light too soon, you can get a weak scent throw, an uneven melt pool, or a top surface that later sinks.
A useful way to read this stage is to treat curing like letting a cake cool before slicing. It may hold its shape early, but the inside has not fully set.
Candle sand changes this part of the process. Because you are not managing a hot pour and cooling wax mass in the same way, there is less waiting and less uncertainty. A clean, even pearl texture such as The Candledust helps the surface look polished right away, which is one reason many home users and hospitality teams prefer it for quick setup and reliable presentation.
How to test a new jar candle
Your first burn is a small trial run. Stay nearby and watch what the candle does for long enough to learn from it.
Look at three things. Is the wick staying centered? Is the flame calm rather than wildly flickering? Is the top melting evenly, or only tunneling through a narrow channel? Those clues tell you whether your wick, vessel, and fill method are working together.
For event planners, restaurants, and other B2B users, this step matters even more. One candle on a kitchen counter can be an experiment. Fifty candles across reception tables need repeatable results. Testing one full setup before a large order saves time, protects the look of the space, and cuts waste from avoidable remakes. If you also pack candles for delivery or event installs, protect the jars well and buy compostable bubblewrap.
Common problems and practical fixes
Small mistakes are normal. They are feedback.
Use this checklist to diagnose what you see:
- Wick drifting off-center: Straighten and secure the wick earlier next time. In sand candles, remove the wick and reset it in the correct position.
- Sinkholes or dips in poured wax: The candle likely cooled unevenly or settled around the wick. Save a little wax for a small top-off once the candle is fully cool.
- Cracks on the surface: The candle often cooled too fast. Let the next one rest at a steady room temperature, away from drafts or cold countertops.
- Weak flame: The wick may be too small, buried, or poorly placed. Check wick size and make sure the area around it is clear.
- Uneven early burn: Match the wick to the jar diameter more carefully. A wide jar with a small wick often struggles to melt evenly.
Beginners often assume a rough surface means the whole candle failed. Usually, it means one variable needs adjusting.
Why sand candles are easier to reset
Poured candles ask you to predict a lot before the wax sets. Candle sand is more forgiving because the candle is easier to correct after the fact.
If the burn area looks messy, smooth the top. If the wick is spent, replace it. If one section has darkened after use, remove that portion and refresh only what was burned. It works more like topping up a planter than remaking the whole container. That reset-friendly approach is especially useful for venues, hotels, and stylists who want consistent jar candles without the labor of repouring each vessel.
For longer burn time and cleaner performance in any candle format, this guide on how to make candles last longer is a helpful next read.
The Sustainable Future of Candle Making
People often start making candles for the look and stay for the control. You choose the vessel, the color story, the scent level, and the overall waste you're willing to create. That's where jar candles have a real advantage. The container can keep serving a purpose long after one candle is finished.
If you're using traditional wax, clean and save your jars whenever possible. They can become new candles, storage cups, match holders, or table accents. If you ship handmade candles or event sets, sustainable packing choices matter too. Something as simple as using protective materials like compostable bubblewrap can support a lower-waste routine around the candle itself.
Refill-style candle sand pushes that logic further. You keep the vessel in use and refresh only what's needed. That's attractive for home decorators, but also for venues, restaurants, planners, and hospitality teams that need consistent ambiance without treating every candle as single-use décor. If you're building a lower-waste setup, this resource on eco-friendly candle-making supplies is worth bookmarking.
The simplest sustainable candle is often the one that lets you reuse what you already own, avoid unnecessary mess, and reset the candle instead of discarding the whole thing.
If you want a jar candle method that skips melting pots and gives you a clean, styled look with a smooth pearled texture, take a look at The Candledust. It's a practical option for home projects, events, hospitality settings, and anyone who wants to turn a favorite vessel into a candle with less fuss.