

You set a broad glass vessel on the table, add one wick, and the result feels underpowered. The center burns hot, the edges stay untouched, and the candle never quite matches the scale of the piece. Wide vessels ask for a different approach.
Multiple wick candles solve that problem by spreading heat and light across the surface. Done well, they create a fuller glow, a more even burn, and a stronger presence in the room without forcing a single flame to do all the work.
For this kind of candle, we prefer candle sand over traditional melted wax. Sand candles are made from loose, pearled wax beads, often called candle sand or sand wax, and the format allows the beads around the wick to melt while the unmelted beads stay loose and reusable, which helps eliminate tunneling and wax waste according to Aroma Paradise's explanation of sand candles. The process is cleaner, more forgiving, and far easier to adjust. You can build a multi-wick candle directly in the vessel, correct wick placement as you go, and refresh the surface after burning without remelting a full batch.
That simplicity is part of the appeal, but so is the finish. A refined candle sand gives multi-wick designs a clean, sculptural look that is difficult to get from poured wax at home, especially in wide or irregular containers. We use that flexibility often because it lets us create generous, elegant candles with less waste and far more control.
Table of Contents
- The Allure of Multi-Wick Ambiance
- Designing Your Candle Wick Count and Spacing Rules
- Choosing Your Materials Wicks and Premium Candle Sand
- Crafting Your Candle Pouring Sand and Placing Wicks
- Mastering the Burn Pool Management Safety and Scent Throw
- Advanced Tips Refills Reuse and Event Styling
The Allure of Multi-Wick Ambiance
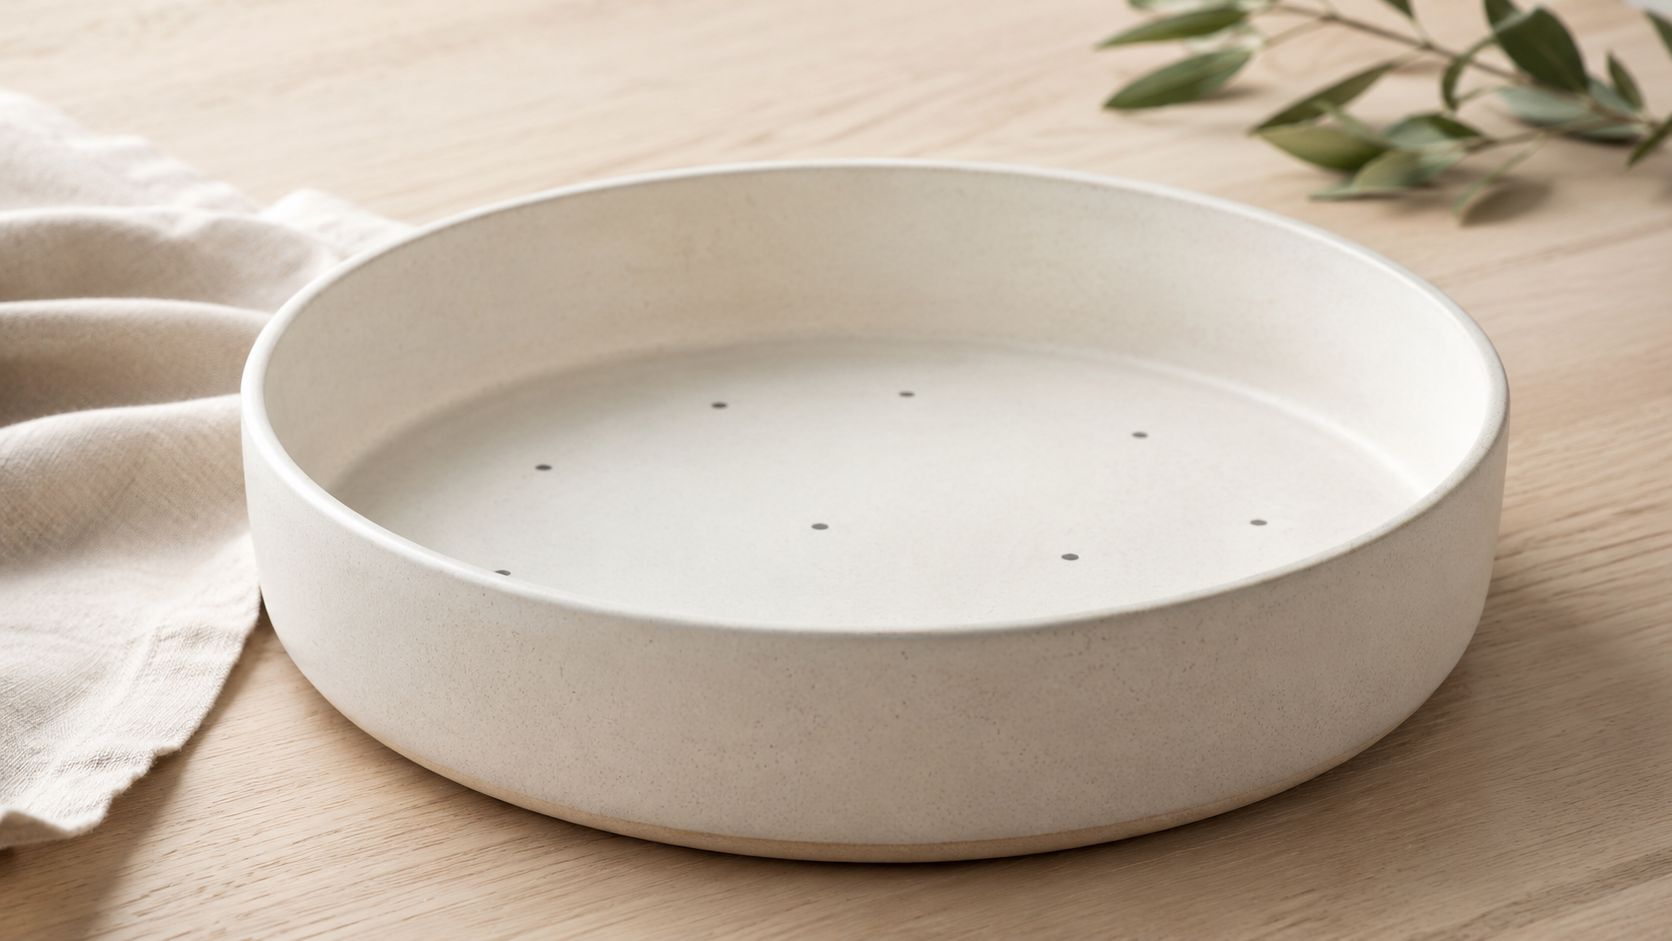
A broad vessel asks for a different kind of candle. If the container is wide and shallow, one wick often creates a bright center and a neglected perimeter. Several flames, placed with intent, create a softer and more architectural effect.
That idea isn't new. The Romans are widely credited with inventing the first modern wick candle around 500 BC by dipping folded papyrus into molten tallow or beeswax, and that early wick-based design established principles that still shape how candles serve ambiance and self-care today, as noted in this history of candle invention.
Why wide vessels call for more than one flame
A multiple wick candle gives you more than a larger glow. It gives visual rhythm. The light moves across the whole surface instead of drilling downward from one point. In interiors, that matters. A sideboard, dining table, bath ledge, or restaurant counter often needs width in the light pattern, not height in the flame.
Traditional poured candles can absolutely achieve this, but they also ask for more setup, more cleanup, and less flexibility once the wax has set. If the wick placement is off, you usually live with it. If the vessel choice changes, you start again.
Practical rule: A wide candle should feel calm when lit. If the flame pattern looks crowded or lopsided, the design needs adjustment before the first proper burn.
Why candle sand changes the experience
Candle sand makes multiple wick candles feel far less intimidating. You don't need to melt a batch, monitor temperature, pour at speed, then hope your surface sets cleanly. You pour the pearls directly into a heat-safe vessel, place the wicks, and refine the layout by eye.
That simplicity is exactly why sand candles suit decorative vessels so well. You can use a minimalist glass one day and a sculptural ceramic bowl the next. If you want a lower profile centerpiece, you can create it. If you want a taller, narrower composition, you can do that too.
For readers who care about finish, material quality is evident. Uneven granules produce an uneven surface. Lumpy pearls interrupt the clean, crisp top line that makes premium candle styling feel intentional. Silky, consistent pearls create a surface that looks composed before it's ever lit.
Designing Your Candle Wick Count and Spacing Rules
A beautiful multi-wick candle can still burn poorly if the layout is careless. We see this often with wide bowls and statement vessels. The vessel looks right, the fragrance is lovely, but the flame pattern fights the design because the wicks were placed by instinct instead of by proportion.
With candle sand, we have a real advantage over traditional poured wax. The layout is adjustable before lighting, so you can refine the composition with a calmer hand. That flexibility is one of the reasons multi-wick designs feel more approachable in #PerfectPearl candle sand. You can build for symmetry, test the visual balance, and correct spacing before the first burn.
A practical sizing rule
A useful starting point for multi-wick candles is this guideline from Lone Star Candle Supply's multiple-wick sizing reference. Add one wick for every inch of diameter beyond 3 inches. In practice, that usually means a 4-inch vessel takes two wicks, a 5-inch vessel takes three, and a 6-inch vessel takes four.
Spacing matters just as much as wick count. A common rule is to divide the jar diameter by the number of wicks, then add 0.25 inches for overlap. In a 4.5-inch vessel with three wicks, each wick should support a melt pool reach of about 1.75 inches so the pools meet cleanly instead of leaving wax ridges between flames.
That overlap is where many designs succeed or fail.
Too little space between wicks creates unnecessary heat concentration. Too much space leaves separated burn zones and a patchy surface. In candle sand, those mistakes are easier to prevent because the wick positions are not locked into cured wax.
Quick reference table
| Vessel Diameter | Recommended Wick Count | Approximate Spacing |
|---|---|---|
| 4 inches | 2 wicks | Divide the diameter into two balanced zones with slight overlap |
| 4.5 inches | 3 wicks | Each wick should support about 1.75 inches of melt pool reach |
| 5 inches | 3 wicks | Space evenly in a triangular layout with overlap |
| 6 inches | 4 wicks | Space in a balanced grid or square formation with overlap |
For round vessels, even spacing usually gives the cleanest result. For oval or rectangular vessels, equal distance matters more than strict geometric perfection. We often adjust by eye after the initial placement because a candle should look composed unlit as well as lit.
If you want to test proportions before arranging your vessel, our candle calculator is a useful planning tool.
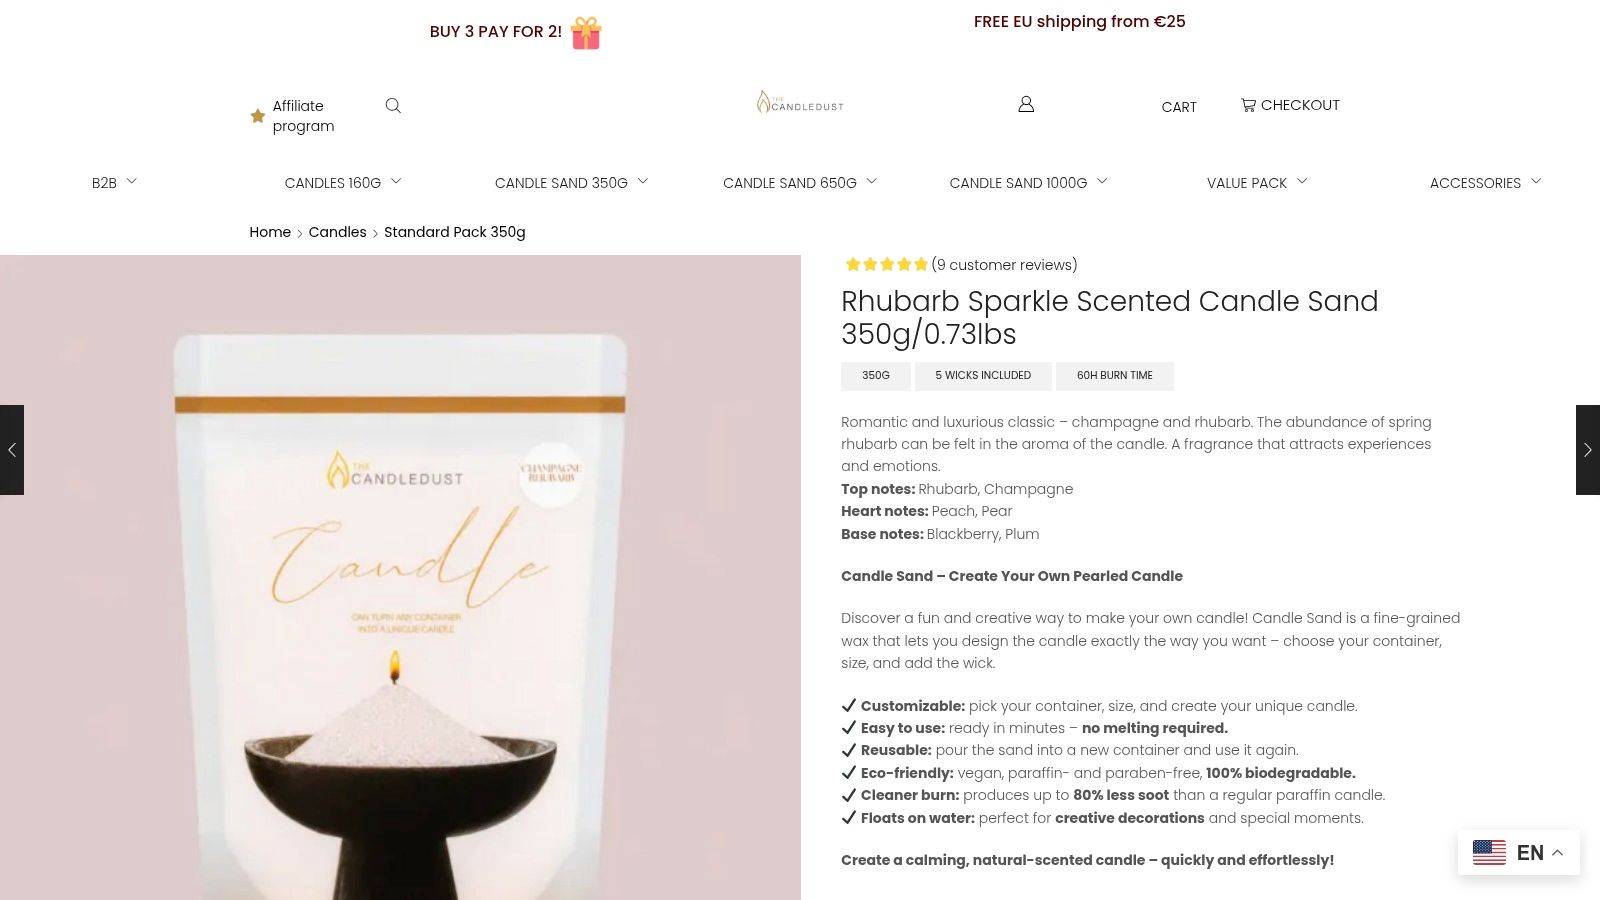
A smaller refill can be helpful while you experiment with different layouts and vessel widths. Our Rhubarb Sparkle Scented Candle Sand 350g/0.73lbs works well for that stage because you can try a design, adjust it, and refine the wick placement without committing to a full large-format piece.
The most elegant multi-wick candles rarely use the highest number of wicks a vessel can hold. They use the number that gives an even burn and a calm flame pattern.
Choosing Your Materials Wicks and Premium Candle Sand
A well-made multi-wick candle should look composed before it is ever lit. The surface needs to feel clean, the wick line needs to read clearly, and the material needs to suit the vessel rather than fight it. That is one of the clearest advantages of candle sand over poured wax. With sand, we can build a refined multi-wick arrangement without managing cooling times, sinkholes, or surface flaws from a traditional pour.
Why the medium matters
In a multi-wick candle, the medium does more than hold the wicks. It sets the visual tone and affects how easy the candle is to build, refill, and refresh. Melted wax can produce a beautiful result, but it asks for more control at every stage. Candle sand gives a cleaner path. You pour, adjust, and refine the layout directly in the vessel, which makes it especially well suited to designs with two or more flames.
Our candle sand is made to look as polished as the finished candle itself. We use a fine, even pearl structure that settles neatly and keeps the top surface calm rather than coarse. We call that finish #PerfectPearl. In practice, it means the candle looks intentional in clear glass, ceramics, and larger statement vessels where texture is easy to judge.
For makers who want a reusable neutral base for larger projects, Space Grey unscented Candle Sand 1Kg / 2.20lbs is a strong choice. It works particularly well for multi-wick vessels because the larger format gives enough material for testing proportions, refilling, and seasonal restyling.
What we select before we build
We keep the material checklist simple, but we do not treat it casually.
- Choose a vessel with visual discipline. Clean round, oval, or softly rectangular openings make multi-wick layouts easier to balance.
- Choose wicks that suit the intended flame pattern. Several controlled flames usually burn with more grace than fewer oversized ones.
- Choose candle sand with a consistent particle size. Even pearls pour more cleanly, hold wicks more neatly, and leave the surface looking finished.
If you are transitioning from classic jar making, our guide to how to make jar candles shows the difference clearly. Traditional wax rewards precision during melting and pouring. Candle sand rewards precision in composition, which is often the better trade-off for multi-wick work.
We were among the earliest producers of sand wax candles, and the first to introduce scented sand candles. That experience shapes how we approach this material. Candle sand is not merely an alternative to poured wax. For multi-wick candles, it is often the more elegant and more workable choice.
Crafting Your Candle Pouring Sand and Placing Wicks
A quiet evening setup often fails at the fussy stage. Melted wax cools, tools pile up, and a multi-wick idea that looked simple on paper starts asking for speed. Candle sand changes that rhythm. We can pour, pause, adjust, and refine the layout until the vessel looks composed from every angle.
Building the base with control
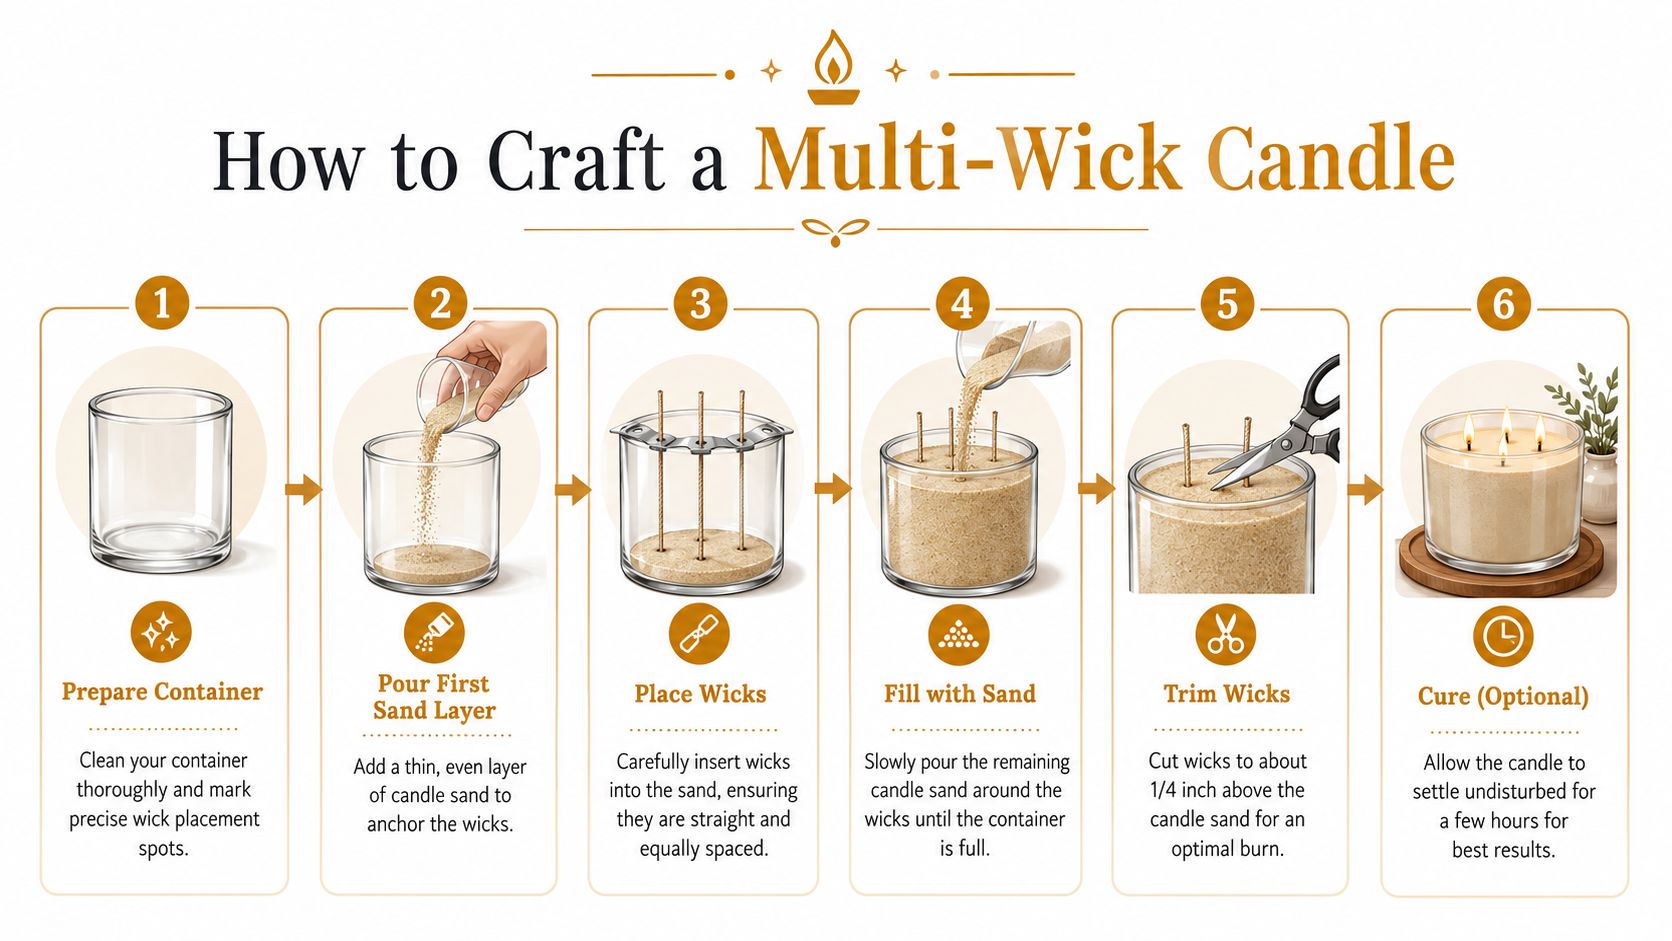
Begin with a clean, dry, heat-safe vessel on a level surface. Before any sand goes in, decide exactly where each wick will sit. For clear vessels, a simple guide placed beneath the base helps keep the arrangement centered and balanced.
Pour a modest first layer of sand and stop. That layer acts as your anchor bed, which is one of the reasons multi-wick designs are so much easier to compose in candle sand than in traditional poured wax.
For a neutral refill option, Space Grey unscented Candle Sand 1Kg / 2.20lbs gives you enough material to build, adjust, and restyle without committing to a permanent pour. That flexibility is the true luxury here.
Add more sand gradually. A slow pour keeps the surface neat and helps each wick stay where you placed it, instead of shifting as the vessel fills.
Placing wicks with a steady hand
Wick placement decides whether the finished candle looks intentional or slightly off for its entire life. We set each wick vertically into the base layer first, then check the spacing from above, not just from the side. A layout can look straight at eye level and still read uneven once the candle is lit.
Use a simple support if needed. Wick bars work well, but a pair of chopsticks across the rim can do the job just as cleanly. The goal is to keep every wick upright while you top up the sand around it.
Our method stays straightforward:
- Set the first layer of sand deep enough to hold each wick securely.
- Insert the wicks vertically according to your planned pattern.
- Check symmetry from above and correct any drift immediately.
- Pour the remaining sand slowly until the vessel reaches its finished level.
Small corrections made early produce the most polished result.
Once the vessel is filled, trim the exposed wick height to about 1/4 inch. Then tidy the surface with your fingertips or a dry spoon so the top looks deliberate rather than disturbed. Candle sand rewards this kind of finishing work. It gives multi-wick candles a sculpted, composed appearance without the stress of reheating or repouring.
If you want a broader vessel-making reference point, our guide to making jar candles by hand shows where traditional wax methods demand more timing and less freedom to adjust.
Mastering the Burn Pool Management Safety and Scent Throw
A multi-wick candle can look serene and still run too hot. That's the central trade-off. More flames create broader melt and stronger atmosphere, but they also increase heat faster than many people expect.
Heat changes everything in a multi-wick candle
User data shows that 3-wick candles can become dangerously hot within 60–90 minutes and produce excessive soot. The same source notes that multi-wick flames generate 2–3× more heat than comparable single-wick designs, which is why extended burns need supervision, according to this video-based burn safety discussion.
For practical use, we advise reading the candle rather than chasing an edge-to-edge melt pool at any cost. If the vessel feels increasingly hot, the flames are stretching tall, or the jar begins to darken near the rim, extinguish early and let everything cool fully before relighting.
A good multi-wick burn is controlled, not heroic.
Getting scent without pushing the candle too far
Scent throw depends on heated surface area, but more heat isn't automatically better. If you overrun the candle, the reward is rarely more elegance. It's usually soot, stressed wicks, and a vessel that feels harsher than it should.
Use these habits instead:
- Light all wicks together. Multi-wick layouts are designed to work as a system.
- Trim before each burn. A clean wick line supports steadier flames and a more composed surface.
- Keep the candle away from moving air. Drafts distort the melt pattern and encourage uneven performance.
- Let the candle cool undisturbed. Relighting too soon can disrupt wick position and the surface around it.
Watch the vessel as closely as the flame. In multiple wick candles, the container tells you when the burn is becoming too aggressive.
If you want to improve burn quality over time, our notes on how to make candles last longer are a helpful companion.
Advanced Tips Refills Reuse and Event Styling
The most satisfying part of candle sand comes after the first burn. You don't scrape out a failed pour or retire a vessel that still looks beautiful. You refresh the candle, reset the wick, and use the container again.
Refreshing a candle instead of replacing it
In a home setting, this often happens naturally. A dinner candle burns down, the wick nub is removed, the surface is topped up, and the vessel comes back into use with almost no mess. That's especially useful when the container itself is part of the décor.
Candle sand was developed after years of research and development as a white, unscented, granular wax alternative that requires no melting, no mess, and no waste, turning any heat-safe vessel into a custom candle, as described in Candlera's story of candle sand. That logic becomes even more compelling in multi-wick formats, where traditional re-pouring can be fussy.
Styling larger spaces with confidence
For weddings, restaurants, and event tables, multi-wick sand candles are useful because they adapt to the vessel instead of forcing the vessel to adapt to the candle. A planner can build low centerpieces in broad bowls, create repeated table rhythm with matching glassware, or refresh installations between services without hauling melted wax equipment on site.
There is one advanced caution worth respecting. Multi-wicking can reduce wick clogging from high fragrance loads, but it requires precise placement to avoid swamp wick failure when fragrance evaporates unevenly between wicks, as discussed in this multi-wick fragrance load video.
That's why we keep coming back to discipline in spacing. Not because it sounds technical, but because it protects the look, the burn, and the calm that a good candle should bring.
If you'd like to build your own multiple wick candles with refillable candle sand, explore The Candledust for scented and unscented options, vessel-friendly formats, and materials designed for creating custom candles in heat-safe containers.