

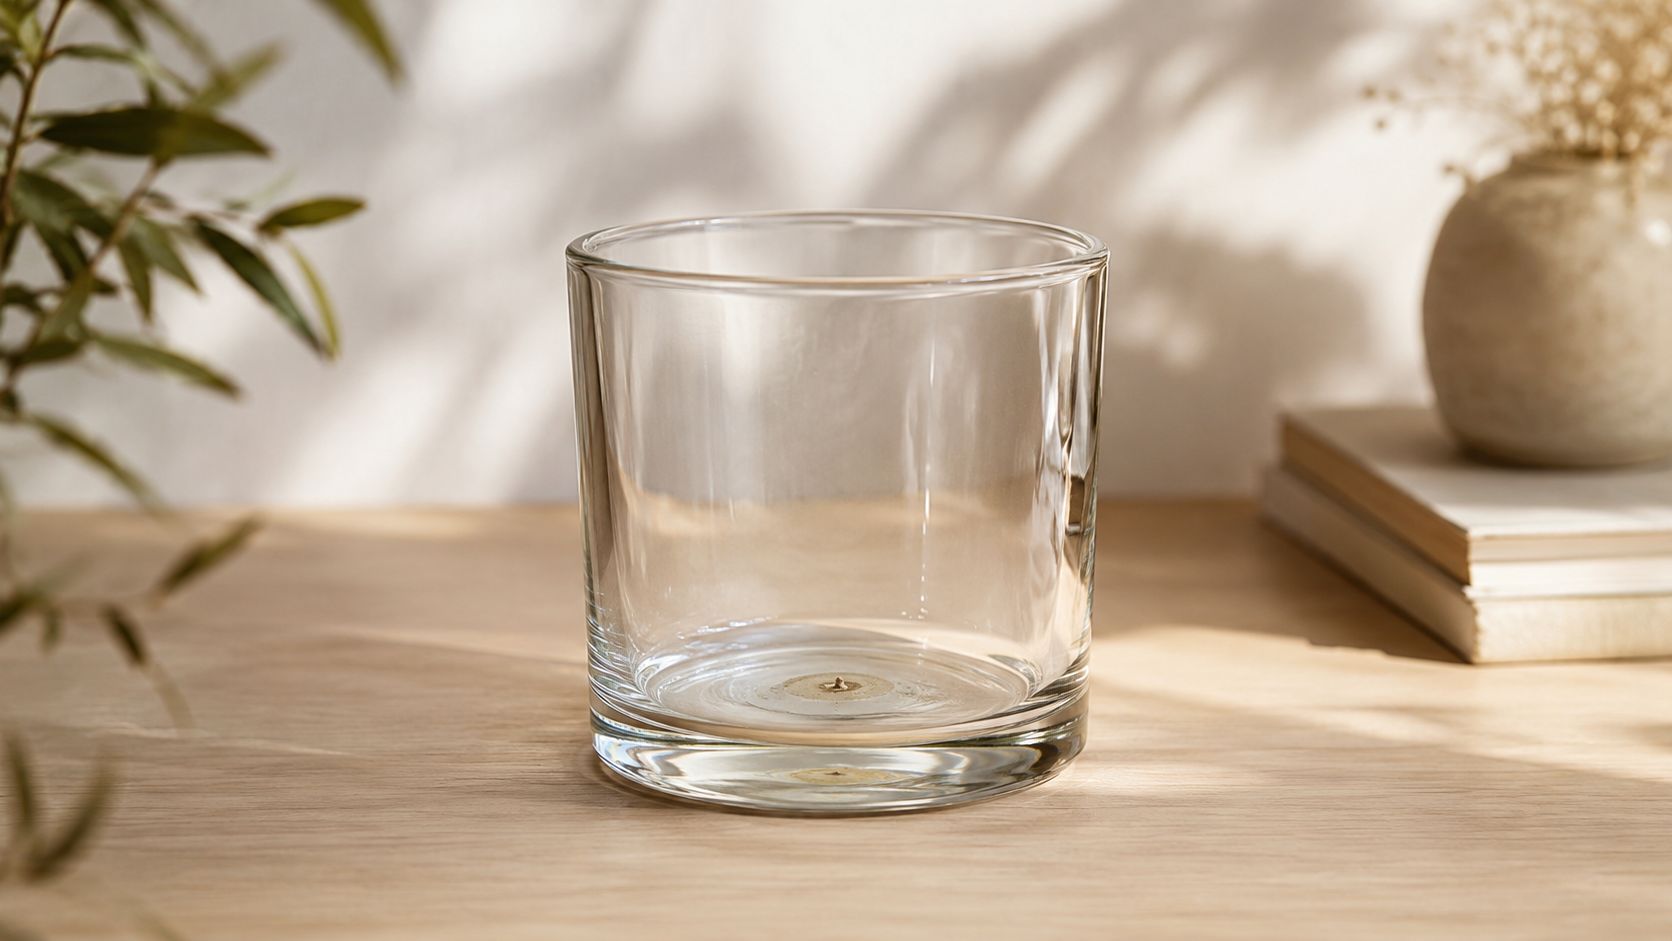
You're probably looking at an empty candle jar right now, with a thin ring of wax at the bottom, a soot mark near the rim, and that stubborn little metal wick base still glued in place. It feels too nice to toss, but not quite ready to reuse.
That instinct is right. A finished candle jar is one of the easiest home items to save, clean, and turn into something useful again. With the right prep, it can become a storage piece, a planter, a vase, or a refillable candle that fits your decor better than most store-bought containers.
Table of Contents
- Beyond the Last Flicker Why You Should Reuse Candle Jars
- The Ultimate Cleanup A Guide to Removing Wax and Wicks
- From Container to Creation Creative Upcycling Projects
- Give Your Jar New Light With The Candledust Candle Sand
- Elevating Your Upcycled Jar Projects
- Your Next Creative Project Awaits
Beyond the Last Flicker Why You Should Reuse Candle Jars
Most candle jars are made to look good on a shelf, so it's no surprise people hate throwing them out. The problem is that recycling isn't as simple as dropping them in the bin. Over 35 million candle jars end up in landfill annually because many local councils lack the specific facilities required to recycle glass contaminated with wax residue, according to the National Candle Association note referenced here.
That number changes how I look at an empty jar. It's not minor packaging waste. It's a durable, attractive vessel that often gets discarded because a bit of leftover wax makes recycling harder than people expect.
There's also a design reason to keep them. Candle jars usually have clean lines, thicker glass, and colors that already work with home decor. Once cleaned, they fit naturally into bathrooms, kitchens, entry tables, and desks. A group of matching jars can make a space look calmer and more organized without buying a new set of containers.
Practical rule: If a jar is heat-safe enough for a candle, it's often useful enough to earn a second life somewhere in the house.
If you like collecting candles in decorative vessels, browsing styles such as jar candles at Online Gifts Canada can also help you spot which shapes are most reusable later. Straight-sided jars usually become the easiest organizers, while wider vessels often make better planters or refillable candle containers.
Reusing candle jars isn't just the eco-friendly option. It's often the prettier one.
The Ultimate Cleanup A Guide to Removing Wax and Wicks
A finished candle jar can look empty and still be unsafe to refill. The problem is usually not the visible wax. It is the metal wick tab glued to the base, plus the thin layer of adhesive and fragrance residue left behind. If you want a jar that works for storage, decor, or a fresh refill with candle sand, clean removal matters.
Start with the step many refill tutorials gloss over
A commonly skipped step is removing the metal wick base properly. Plenty of jar-cleaning tutorials stop once the wax is out, but that leaves the hardest part sitting on the bottom of the container. For anyone planning to refill the jar, especially with a loose-fill product like premium candle sand, that shortcut creates problems fast.
A new wick needs a flat, stable surface. If the old tab or glue mound stays in place, the new wick can sit off-center, tilt as the wax pool forms, or fail to adhere well enough for a safe burn.
Before you tackle the wax, wipe the rim and inner wall with rubbing alcohol to cut soot and fragrance oil. The cleanup guide at Mitala Candle Co. on cleaning and reusing candle jars is useful here. This first pass makes the jar easier to inspect and keeps softened residue from smearing around later.
Choose the wax removal method that fits the jar
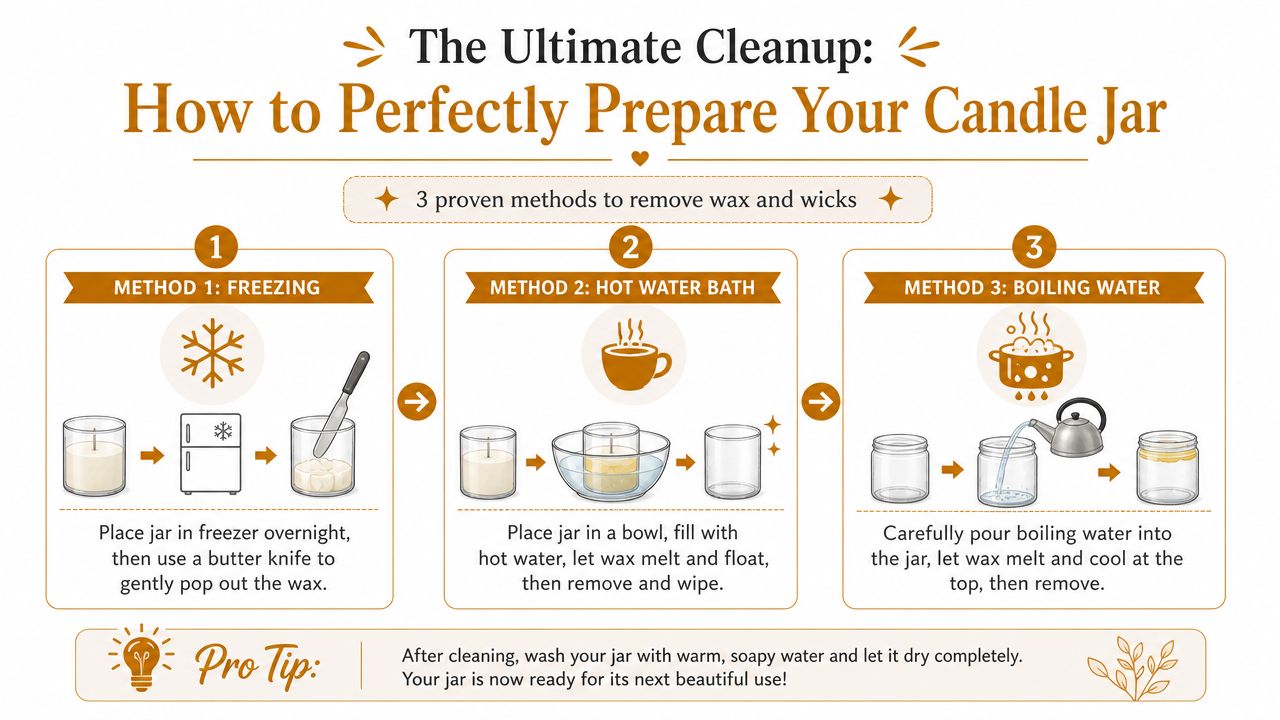
No single method wins every time. Thick glass handles freezing well. Older wax blends sometimes release better with heat. If I am cleaning one premium jar, I usually choose the method that gives me the most control. If I am cleaning several at once, I choose the method that keeps breakage risk low and cleanup manageable.
| Method | Best For | Pros | Cons |
|---|---|---|---|
| Freezing | Thick-walled jars and firm leftover wax at the bottom | Cleaner lift, less oily mess, good control around labels | Soft residue near edges may still need scraping |
| Hot Water Bath | Light wax residue and jars you do not want to shock with direct heat | Gentle, simple, low-stress method | Slower on heavy buildup |
| Boiling Water | Stubborn wax in standard glass jars | Loosens deep residue and lifts wax upward | Requires careful cooling and can stress delicate glass |
| Oven Heating | Multiple jars and heavier residue | Efficient for batch cleaning | Only for oven-safe glass, and close supervision matters |
Three practical rules keep this process safer:
- Do not pour boiling water into a cold jar straight from the freezer.
- Do not use the oven for chipped, cracked, painted, or thin decorative glass.
- Do not force wax out with a sharp tool if the jar still feels cold and rigid.
If you want a second reference for post-burn prep, this guide on how to recycle candle jars safely for reuse is a helpful companion.
How to remove the metal wick base and adhesive safely
This is the part that turns a cleaned jar into a refill-ready one.
- Loosen the bond first. After freezing or warming the jar, press the wick tab lightly with a spoon handle. If the adhesive feels brittle, lift then. If it feels gummy, warm the base slightly and try again.
- Use a dull tool. A butter knife, spoon handle, or small offset spatula works better than anything sharp. Sharp points chip glass.
- Slide under the edge. Approach from the side and apply steady pressure. Prying straight down is how jars get scratched or cracked.
- Twist to break the glue. A small twist usually releases the tab faster than brute force.
- Clear the adhesive film. If glue remains, rub it with alcohol on a cloth. For stubborn patches, use a plastic scraper or your fingernail through the cloth.
- Wash, rinse, and dry fully. Any leftover oil, glue, or moisture can interfere with a new wick sticker or make the jar look cloudy.
Check the base with your fingertips after drying. It should feel smooth, level, and free of bumps. If you can still feel the old adhesive, keep cleaning.
Do not refill any jar with a chipped rim, a hairline crack, or deep scratches on the inside base. Retire that one to storage use only.
A useful visual benchmark is the vessel shape used for Breeze 160g / 350ML / 11.83oz. Looking at a finished candle in a clean, balanced jar helps when you are deciding which empty containers are worth saving and which ones are better recycled.
From Container to Creation Creative Upcycling Projects
You finish a candle, clean the jar properly, and suddenly you have a small piece of sturdy glass that can do far more than sit in a recycling bin. The difference is in the cleanup. Once the wick tab and old adhesive are fully gone, the jar is safer to handle, cleaner to display, and ready for a second life as decor or for a future refill.
The bathroom jar that finally looks intentional
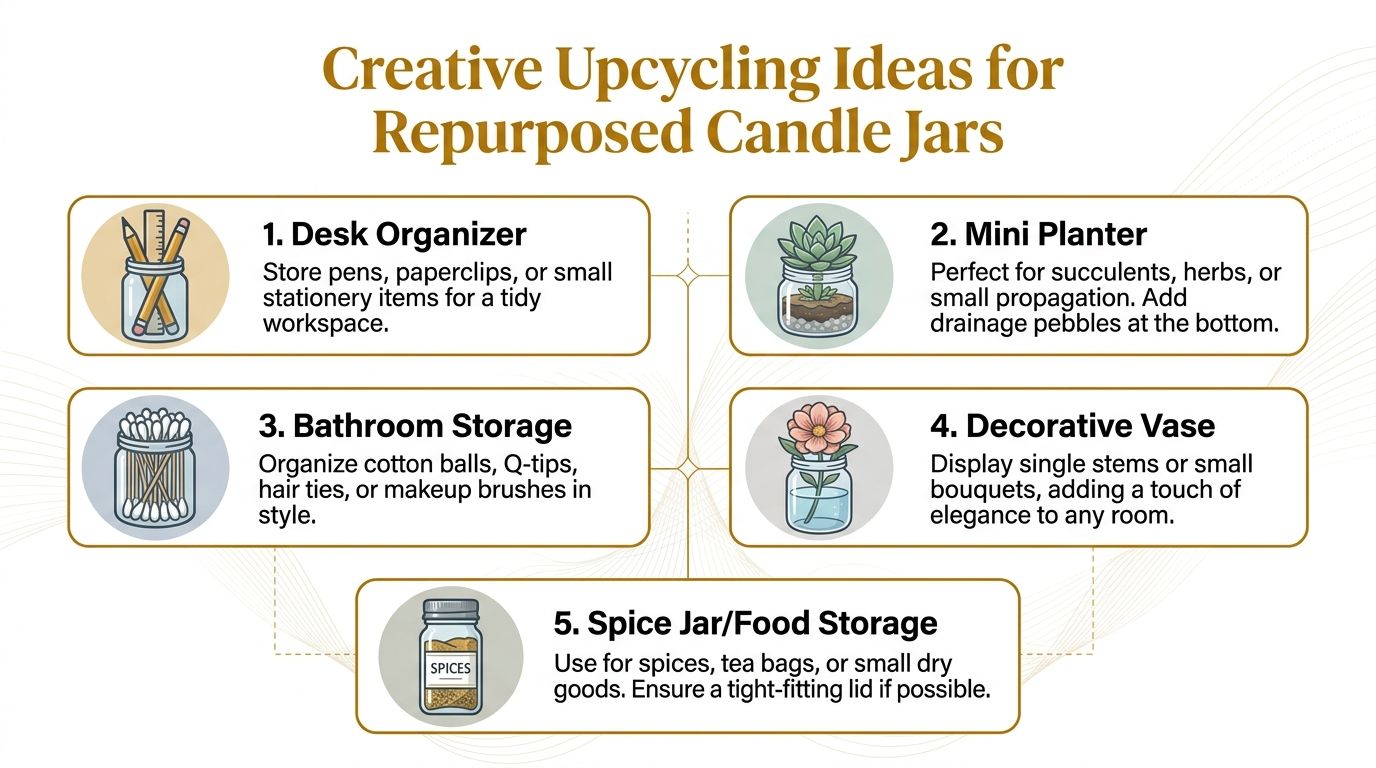
Bathroom storage is one of the easiest wins. A candle jar keeps cotton rounds, hair ties, bath salts, or makeup brushes contained without adding more plastic to the room.
I usually pair jars by function. One stays open for items I reach for every day. Another gets a lid for refills or anything that collects dust. Frosted glass softens a vanity. Clear glass works better when the contents are neat enough to become part of the look.
A reused candle jar should look chosen, not leftover. If it still reads like an old candle, clean the label residue again or give it a job that suits its shape better.
Useful spots beyond the bathroom
On a desk, heavier candle glass makes a solid holder for pens, scissors, clips, or crochet hooks. It stays put better than a flimsy organizer, which matters if you use tools daily.
In the kitchen, these jars are handy for tea bags, spice sachets, or recipe cards. I avoid long-term food storage unless the jar has a proper sealing lid and no lingering fragrance. Scent can cling to the glass longer than people expect, especially in jars that held strongly fragranced candles.
A windowsill is another good fit. Wide jars work well for propagation cuttings or small succulents, but they need a light hand with water. Without drainage, roots sit in moisture fast, and glass gives you no margin for error.
For more practical refill ideas and vessel planning, save this guide on how to make jar candles.
When the jar deserves to become a candle again
Some vessels are worth keeping in candle rotation, especially thick, stable jars with smooth interior walls and a flat base. Those are the ones I save for refills. A jar that still has a rough glue patch under the old wick tab is not ready yet. That missed step can keep a new wick from sitting flat, and that matters even more with loose wax formats such as candle sand.
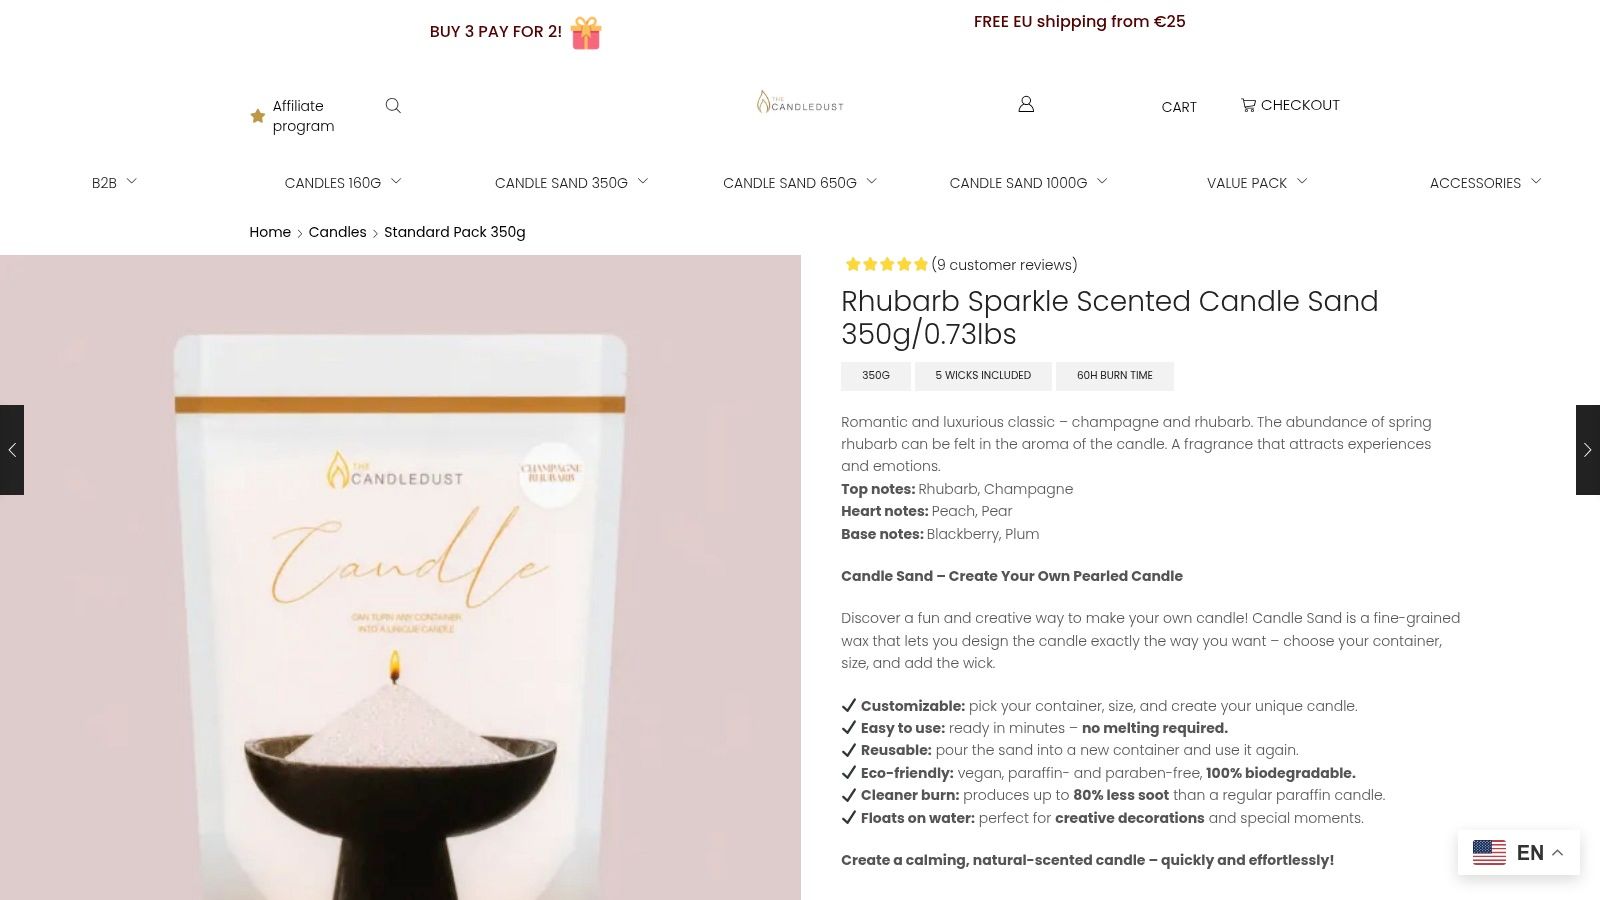
If you want a simple refill option, Candledust offers white natural candle sand sold by weight, which suits older jars because you can fill each vessel to a different height instead of matching a fixed pour. That flexibility is useful when your collection includes mixed sizes or when you want a coordinated group on a shelf without buying identical containers.
A good jar can shift roles through the year. It can hold herb cuttings in spring, a single stem in summer, matches in autumn, and return to candle duty in winter. That kind of reuse feels creative, but it also comes down to careful prep. Clean glass, no hidden metal tab, no adhesive residue, and no damage to the jar. That is what turns an empty container into something you will keep using.
Give Your Jar New Light With The Candledust Candle Sand
A jar that has been fully cleaned, with the wick tab and glue removed, is one of the easiest vessels to put back into candle use. Candle sand works especially well here because you do not need to remelt wax or commit to a permanent refill.
Why candle sand changes the reuse equation
Candle sand is made of loose wax pearls rather than one solid poured mass. In use, the wax around the wick melts first while the surrounding pearls stay loose, which makes it practical for refill projects and mixed jar sizes.
That setup suits older candle jars because the fill height is flexible. A short jar, a wide apothecary vessel, and a small tumbler can all be refilled from the same bag without the measuring and pouring routine of a standard container candle.
It also rewards careful prep. If the old metal wick base or adhesive patch is still on the bottom, the new wick can sit crooked or wobble as the wax settles. For candle sand, a flat, clean base matters.
What #Perfect pearl means in practice
The Candledust uses the term #Perfect pearl for its evenly sized wax granules. From a practical point of view, that consistency is what makes the product pleasant to work with.
Even granulation pours more cleanly, settles with fewer gaps, and gives the surface a tidy finish. It also helps the wick stay upright because the wax around it packs more evenly. With irregular granules, I see more clumping at the top and a rougher-looking candle before it is ever lit.
That difference is easy to spot in clear glass. If you want the jar to look intentional on a shelf or table, uniform pearls usually give the better result.
If you are new to the format, the beginner's guide to using candle sand walks through the setup in more detail.
Pour Wick Light
The method is straightforward, but the setup still matters.
- Pour the sand: Fill a heat-safe jar to your preferred height, leaving sensible space at the top.
- Insert the wick: Set it in the center on the smooth base you prepared earlier so it stands straight.
- Light and maintain: Burn it like a container candle, then remove any spent wax around the wick and level the surface before the next burn.
A quick visual makes the format easier to understand:
For anyone who wants candlelight without melting wax, weighing fragrance, or pouring a full new candle, this refill style is a smart option. It keeps a good jar in use and gives you more control over how each vessel looks and burns.
Elevating Your Upcycled Jar Projects
A clean jar is functional. A finished jar looks intentional. That difference usually comes from a few small upgrades.
Easy exterior upgrades
Paint is the fastest transformation. Chalk paint gives plain glass a soft, matte finish that works well for rustic storage or muted seasonal decor. If you want pantry order instead of a crafty look, vinyl labels are cleaner and easier to wipe down.
A few reliable finishing ideas:
- Twine wrap: Wind natural twine around the lower third of the jar for texture. It works best on wider vessels and pairs well with dried flowers.
- Minimal labels: Use one consistent font and size across several jars. That's what makes a group look custom instead of pieced together.
- Frosted effect: Glass frosting spray can soften mismatched jars so they work as a set.
Small upgrade: Change the lid or top edge treatment and the whole jar looks more expensive.
A few advanced cautions
If you want to drill a drainage hole for a planter, use glass-specific tools, keep the surface wet, and work slowly. This is not a beginner shortcut project. One slip can crack the vessel or leave a sharp edge that never feels safe in use.
Sticker residue is easier. Warm soapy water helps first. If glue remains, rubbing alcohol on a cloth usually lifts what's left without turning the jar cloudy.
One restraint makes the biggest difference. Don't decorate every surface. Leave some clear glass visible so the jar still feels like a refined object, not a craft experiment.
Your Next Creative Project Awaits
An empty candle jar isn't scrap. It's a ready-made vessel with more life in it, as long as you clean it properly and give it a use that suits its shape.
Some jars will become practical storage. Some will hold cuttings or bathroom essentials. Some deserve to return to candle duty with a cleaner, more flexible refill approach. The key step is the one often overlooked: remove the wick base, clear the adhesive, and start with a thoroughly clean container.
Pick one jar today. Clean it well. Choose one purpose. That single project is usually enough to change how you see the rest of the jars in your home.
If you want a simple way to turn cleaned vessels back into refillable candles, The Candledust offers plant-based candle sand designed for heat-resistant jars. It's a practical option for anyone who wants to reuse candle jars without doing a full wax-pouring project.