

You're probably standing in a kitchen or storage cabinet with one or two empty jars in front of you, wondering whether they're useful or just clutter. That's the exact moment DIY candles in glass jars either turns into a messy wax project or becomes a clean, repeatable habit that fits real life.
Table of Contents
- Why Sand Wax Changes the Way You Make DIY Candles in Glass Jars
- What You Need Before You Start
- Pouring Your First Candle the Right Way
- Scent, Color, and Layering That Actually Look Beautiful
- Jar Safety and How Many Times You Can Actually Reuse a Glass
- Finishing Touches, Refilling, and Storing the Leftover Sand
- Scaling DIY Glass Jar Candles for Events and Hospitality
Why Sand Wax Changes the Way You Make DIY Candles in Glass Jars
The first time someone swaps a melting pot for candle sand, the reaction is usually a small pause, then a quiet, “oh, that's easier than I expected.” Instead of hovering over a stovetop, checking a thermometer, and waiting for wax to behave, you scoop fine, plant-based pearls straight into the vessel and let the jar do the work. That changes the whole feel of DIY candles in glass jars, because the project stops being a hot-pour chore and starts feeling like a clean tabletop ritual.
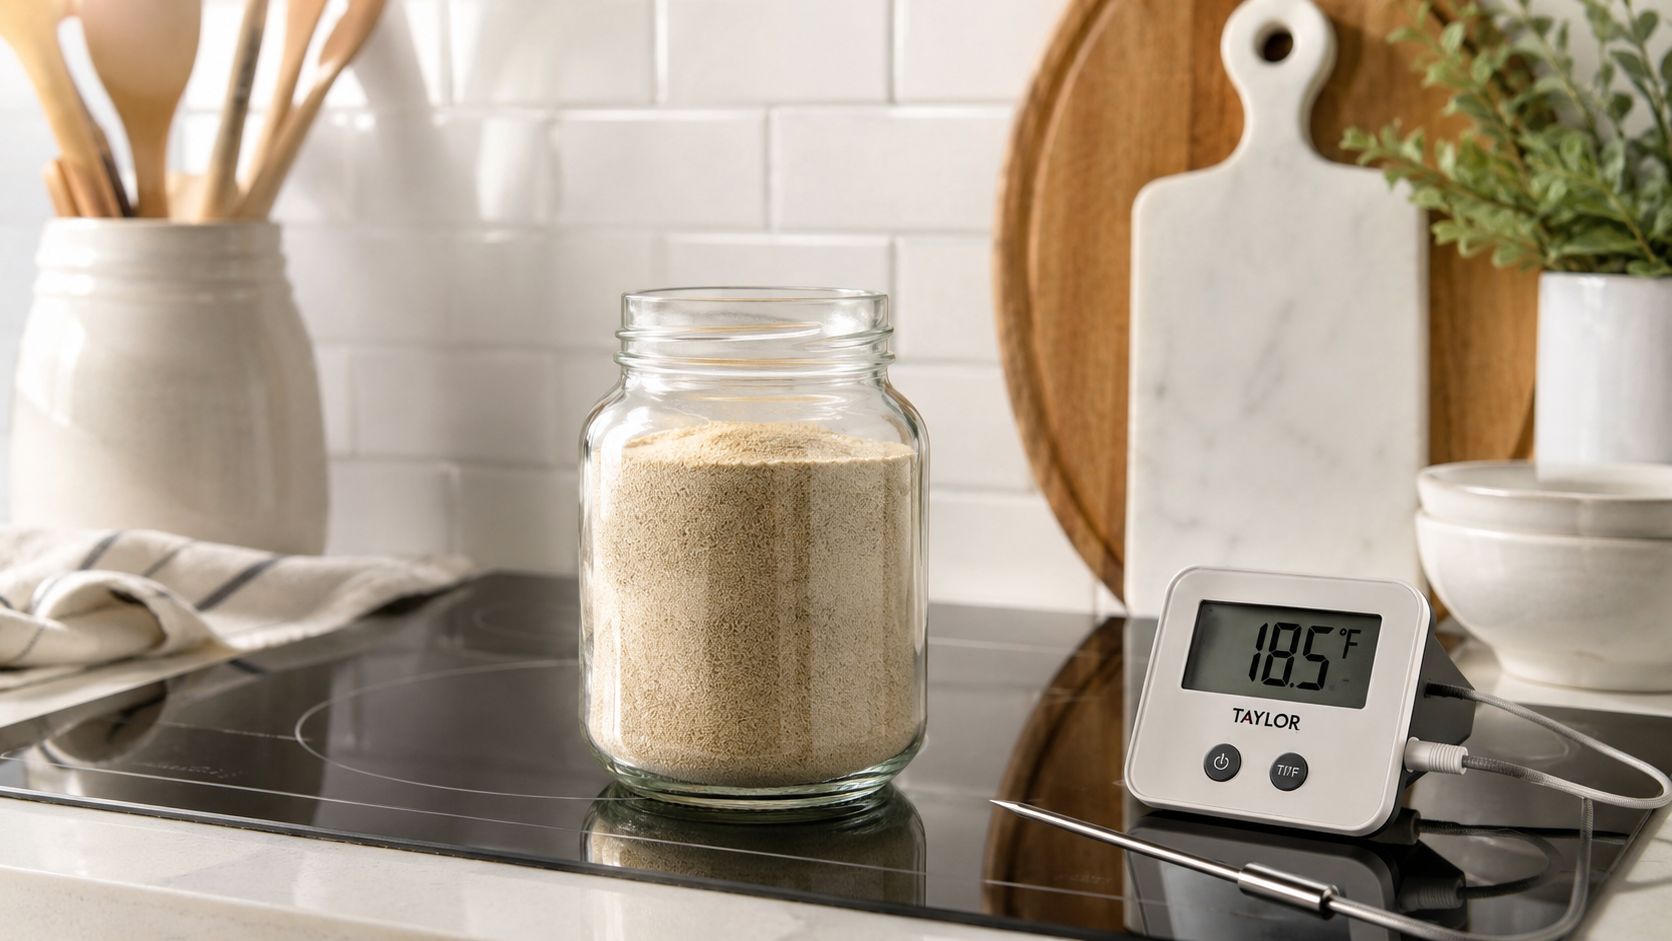
The texture matters more than most beginners realize. The Candledust describes its special processing as producing silky, smooth, even candle pearls without lumps, and that's the payoff you feel as soon as the sand leaves the pouch and levels itself in the glass. A clean, uniform pearl structure gives the jar a polished look without the rough patches that make some craft candles look improvised.
Practical rule: if the material pours like dry, refined sand and settles evenly on its own, the jar will look finished before you ever light it.
That's also why being one of the first sand wax candle producers in the world matters. A format like this doesn't stay useful just because it sounds novel, it gets refined through real use, wick behavior, refill routines, and customer feedback over time. If you're curious about how the material itself is made, the company's overview of what candle sand is made of is a helpful companion to this method.
The result is a candle-making process that feels more like arranging a vessel than engineering one. That matters for beginners, but it also matters for anyone who's tired of cleanup dominating the project.
What You Need Before You Start
If you are setting up diy candles in glass jars with sand wax, keep the kit lean. You need candle sand, a compatible cotton wick, a heat-resistant glass jar, and a small tool for handling the material, such as a spoon or a narrow pour spout. A flat, stable surface matters too, because a tipped jar or a wick knocked off center gives you a poor result even when the fill is simple.
The Candledust sells candle sand in 350g, 650g, and 1000g formats, plus bulk options for events and hospitality. Choose the size based on what you are making. A single test jar calls for a smaller pack, gifts usually need a mid-size option, and tablescape work or repeat refills call for more material. If you want a visual reference for the jar styles people already recognize as easy to live with, the Farmhouse World soy candle picks are a useful place to compare shapes and finishes before you choose a vessel.
What the jar actually needs
A pretty glass is not enough. A candle container should be thick, heat-resistant, non-porous, and explicitly rated for candle use. Thin drinking glasses, decorative ceramics that are not rated for candles, and anything with a visible crack should stay out of the rotation, because heat stress is what turns a simple project into a safety problem.
Use a jar that was made to handle heat, not a jar that only looks sturdy.
Jar reuse deserves attention from the start, since sand wax changes the usual cleanup routine. A glass that survives the first burn still needs to be checked for clouding, chips, stress marks, and lingering residue before you refill it. If the vessel shows heat damage, retire it instead of pushing one more use out of it.
Sand Wax Pack Sizes and the Jars They Fill
| Pack Size | Best For | Approximate Jar Fill |
|---|---|---|
| 350g | First tests, one to two medium jars | Small jars and trial pours |
| 650g | Gifts, home décor sets | Several standard jars |
| 1000g | Multi-jar projects, repeat refills | Larger jars or multiple small vessels |
| Bulk event formats | Weddings, hospitality, white-label work | Batch setups and uniform table runs |
The wick matters too. A wick meant for sand wax should sit securely and burn consistently in a dry-fill vessel, while a wick made for melted pour candles can behave differently in a jar that is not filled the same way. That is where first-time makers waste their first candle, so check compatibility before you pour. If you want a familiar point of comparison for a more traditional setup, the company's how to make jar candles guide shows the older melt-and-pour workflow next to this method.
The shopping list stays short on purpose. Fewer variables make it easier to make a jar that looks intentional instead of experimental.
Pouring Your First Candle the Right Way
Start with a jar that's clean and completely dry. Any moisture inside the vessel fights the finish, and any dust on the rim makes the candle look unfinished before it's even lit. Set the wick base dead center, because once the sand goes in, small alignment mistakes become permanent.
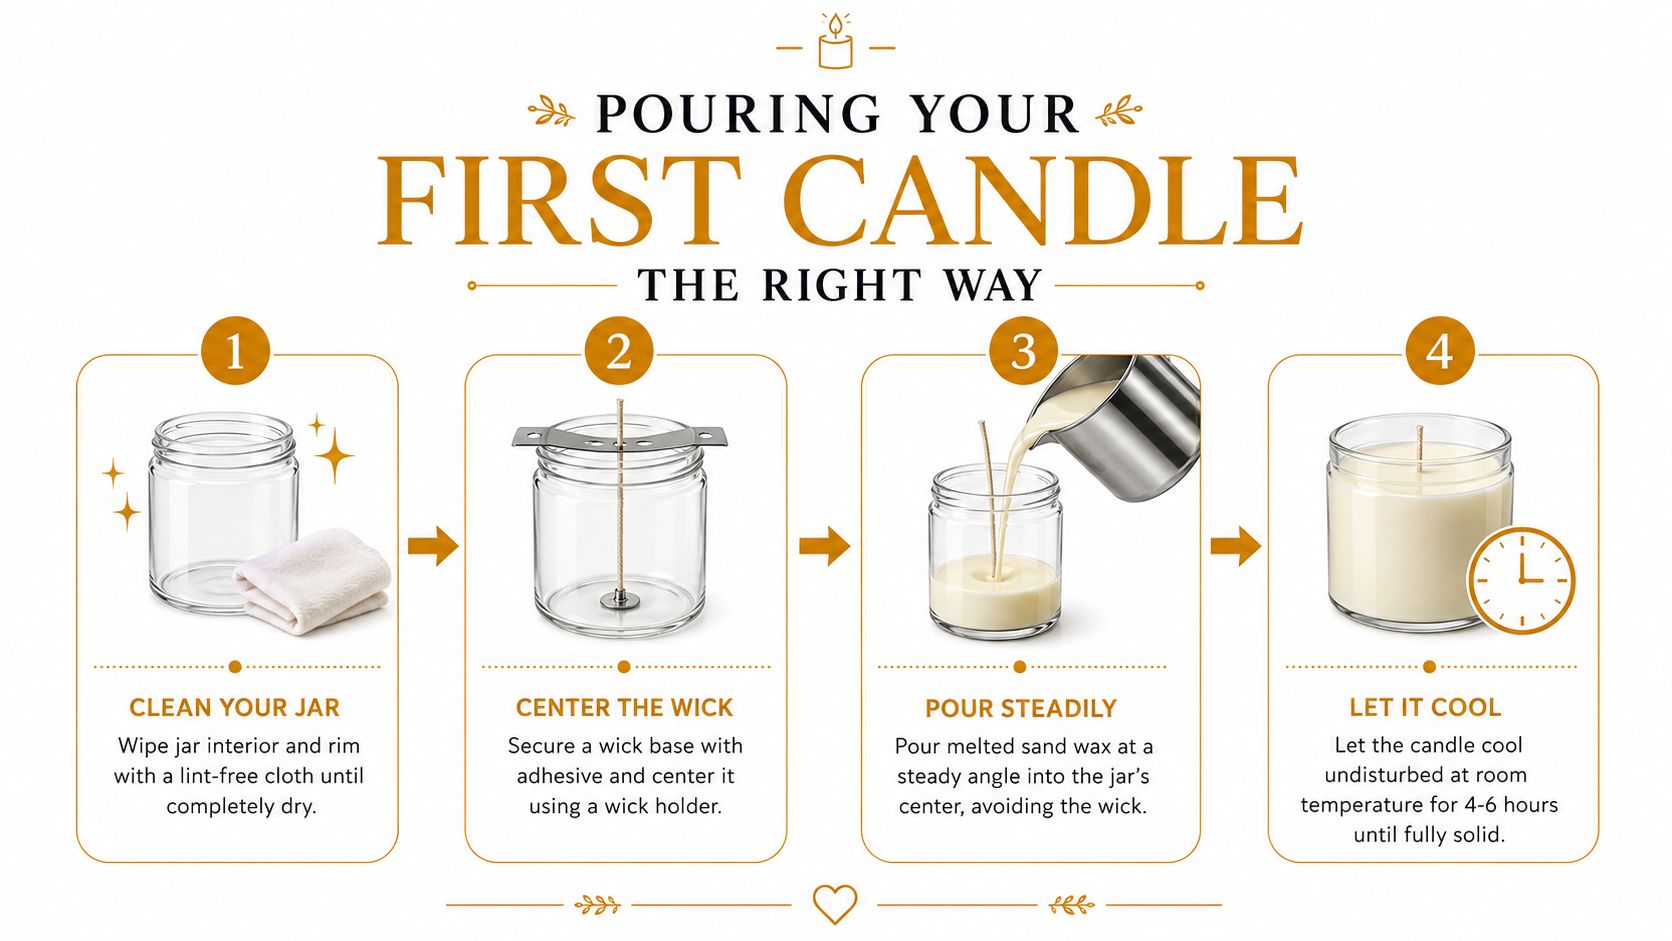
The pour itself is the easiest part when the material is right. Tip the pouch or spoon the sand in at a steady angle, then stop when the sand just covers the wick base and leaves the wick standing upright. Tap the jar once on the table to settle the surface, but don't press or compact it, because the smoothness comes from the pearl structure, not from packing force.
What the first burn should look like
A healthy flame sits steady and bright, not weak and starved. If the wick sinks slightly after the first light, top it off once the candle cools and add a little more sand around the base. Trim the wick so about 1/4 inch remains above the sand before lighting.
That small trim matters more than you expect. Too much wick gives you a sooty, lazy flame. Too little can make the burn inconsistent and shorten the useful life of the jar.
For a more traditional jar-candle workflow, the company's how to make jar candles guide shows how this format compares with other container styles. The difference here is speed and flexibility, not extra fuss.
Don't chase perfection with your hands. Let the candle sand settle on its own, then adjust only what the flame actually needs.
The biggest win is how forgiving the process feels. There's no hot pot to babysit, and no cure window that keeps you waiting before the candle feels finished. You pour, you light, and the jar behaves like a finished object almost immediately.
Scent, Color, and Layering That Actually Look Beautiful
Fragrance load is where a lot of homemade candles go from elegant to overloaded. A common upper bound in candle guidance is up to 10% fragrance or essential oils by candle volume, and a beginner-friendly rule is 1 ounce per pound of wax. For scent mixing, stirring for about 60 seconds before pouring keeps the fragrance distributed instead of pooling in one section.
The point isn't to make the jar smell as strong as possible. It's to keep the structure stable while still giving the candle enough scent to feel complete when it burns.
How to think about scent without guessing
If you want a light room scent, stay conservative. If you're making a dinner-table candle or a gift, avoid pushing the load just because the fragrance smells good in the bottle. Too much can affect solidity and burning properties, and that's a poor trade when the candle already looks polished without extra effort.
The Candledust's colored and white sands give you a useful visual palette, and its 100% fragrance and essential oils let you keep scent choices controlled rather than random. A wedding centerpiece with ivory and dusty rose feels soft and layered. A restaurant table with a deep emerald accent reads cleaner and more intentional than a mixed-up multicolor blend.
Layering that stays crisp
Pour one color first and let it settle. Then tilt the jar slightly and add the second color along the side so it lands as a distinct band instead of muddying the first layer. That creates a clean horizon line, which works especially well in clear glass where the sides are part of the design.
Visual rule: if you want contrast, pour gently and avoid overmixing. If you want depth, let the layers stay visible.
Candle sand looks more like a styling material than a basic fill. You're not forcing colors to compete, you're placing them so the glass does half the design work for you. That's a much better result for open shelving, event tables, and gift jars.
Jar Safety and How Many Times You Can Actually Reuse a Glass
A lot of DIY candle content acts like any attractive jar is fair game forever. It isn't. The useful question is whether the glass is thick enough, clean enough, and stable enough to handle repeated heating without showing stress.
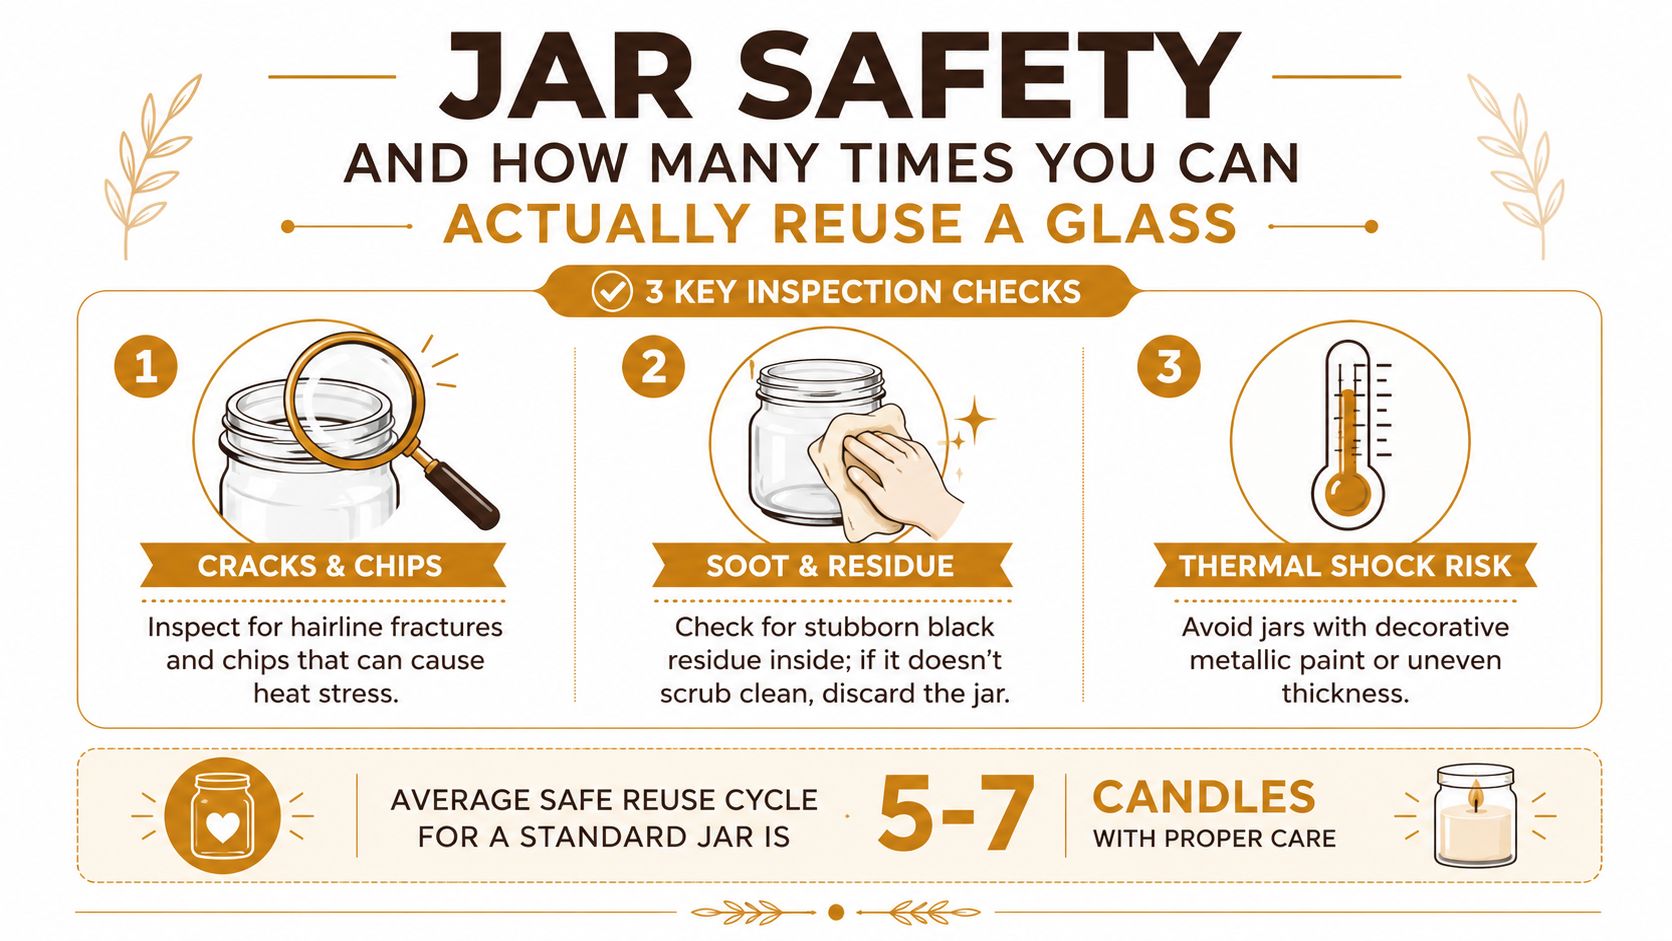
Before each reuse, inspect the rim for chips, scan the sidewalls for hairline cracks, and check the base for cloudiness or a faint craze pattern that can signal heat stress. Soot buildup matters too, because stubborn residue can hide damage and make it harder to see what the glass is doing over time. The guide to candle jars for candle making is useful here because it pushes the same core standard, thick, heat-resistant, non-porous, and explicitly rated for candle use.
What heat stress looks like in practice
A jar that has been overheated may show a cloudy etched ring, tiny internal lines, or a dull patch near the bottom. Those signs don't always mean instant failure, but they do mean the vessel is moving into a higher-risk zone. Thin drinking glasses and decorative jars crack more easily because they aren't built for repeated flame exposure.
Thermal shock is the other risk. Don't move a burning jar onto a cold stone countertop, because the sudden temperature shift can stress the glass fast. Let it cool on a stable, room-temperature surface.
The candles made with sand stay cleaner than standard melted wax candles, so the jar usually comes out with less residue and less cleanup between burns. That makes reuse simpler, but it doesn't erase lifecycle limits. A well-made, thick-walled jar can be reused several times with proper care, then it should be retired if the surface starts to look fatigued.
If a jar stops looking clear, even after cleaning, treat that as a warning sign rather than a cosmetic issue.
For practical reuse advice from the maker side, this candle jar reuse guide is the right kind of follow-up reading. The safer habit is simple, inspect before every refill, not after something goes wrong.
Finishing Touches, Refilling, and Storing the Leftover Sand
A finished candle still needs a proper close. Trim the wick to about 1/4 inch, wipe any loose grains from the rim, and make sure the jar exterior is clean enough to store or gift without fingerprints and residue. That last wipe does more than improve appearance, it keeps the candle looking intentional when it sits on a shelf or table.
The refill rhythm is what makes this format practical. Once the flame is out and the sand is cool, remove the spent wick, scoop in fresh sand, center a new wick, and you're back in business. There's no hardened wax puck to scrape out, which is where a lot of traditional jar candles turn into cleaning projects instead of usable vessels.
How to store the leftover pouch
Keep the opened pouch sealed, cool, dry, and away from direct sunlight. That protects the texture and keeps the pearls from clumping or picking up odor from the room. If you're making several jars at once, label them before lighting so you remember which scent or color went where.
A small storage habit saves more time than people expect. An unsealed pouch on a warm shelf can become annoying fast, while a closed pouch stays ready for the next refill. That matters if you're making candles for a rotating home display or for guests who like to swap scents.
A simple repeatable rhythm
Pour the sand. Light the wick. Let the candle finish. Refresh the jar. That's the loop, and it's what turns a one-time craft into a reusable ritual.
The cleaner the refill process, the easier it is to keep using the same glass without feeling like you're starting from zero every time. For people who make candles regularly, that repeatability is the benefit.
Scaling DIY Glass Jar Candles for Events and Hospitality
The same method that works on a coffee table also works at a long banquet table, only with better planning. For a wedding, that means uniform jars, pre-cut wicks, and a single assembly station where one person can keep jars moving while another tops them off. For a restaurant or hotel, it means standardizing the vessel and keeping a simple rotation so the display looks consistent night after night.
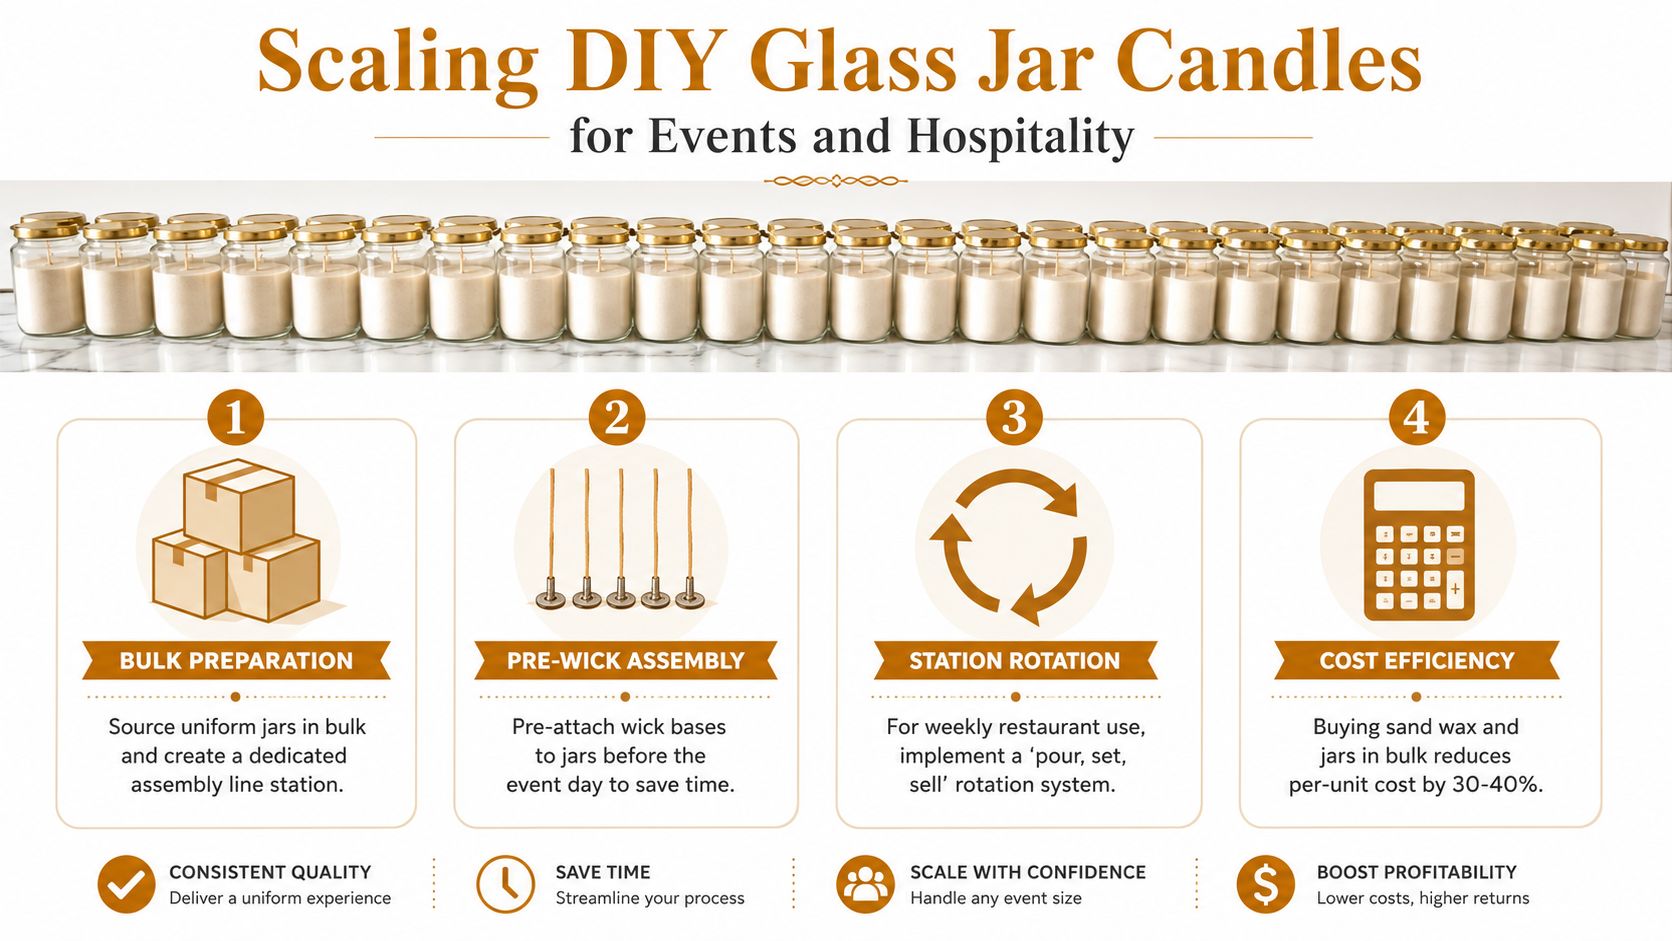
A planner assembling 80 centerpieces the day before a wedding needs speed, not a craft fair workflow. That's where bulk candle sand and repeatable jar sizes make sense, because the fill process stays visually consistent without waiting on a cure. If you're matching candles with décor props, a hens night props guide can help you coordinate the table look without overcomplicating the candle side.
What to standardize first
Keep the jars the same height and diameter if you want a row of candles to look intentional. Pre-attach the wick bases before the event day whenever possible, then group the sand and tools in one location so the crew isn't hunting for parts. That kind of setup matters more than fancy styling when the job is volume.
For hospitality, the benefit is operational as much as visual. A candle that can be poured, lit, and reset without a long wait fits better into service windows than a format that needs cure time. That makes sand wax useful for quick turnarounds, staged event rooms, and repeated table resets.
The Candledust also supports affiliate and B2B programs, which is relevant for planners, retailers, and venue buyers who need a repeatable supply relationship rather than a one-off craft purchase. For European buyers, the offer stack includes Buy 3 Pay for 2 and free EU shipping from €25, which can matter when you're ordering enough material to cover a full event run.
If you're building candles for clients, guests, or retail display, choose the jar once, standardize the fill, and repeat the process instead of reinventing it each time. That's how a simple candle format becomes a dependable production habit.
The Candledust gives you a clean way to make glass-jar candles without the usual melt-and-pour mess, and the sand format is built for quick refills, repeatable styling, and less cleanup. If you want to turn a few empty jars into candles you can relight, refresh, and reuse, visit The Candledust and choose the format that fits your jars, your space, and the way you make things.