


You've poured the wax, centered the wick, and chosen a vessel you'd happily leave on the coffee table. Then the bag of “beads” arrives, and one question stops the project: are these meant to burn, or are they only decorative fragrance pellets? That distinction affects the wick, the vessel, the scent result, and basic fire safety.
True scented wax beads for candles, also called candle pearls or candle sand, are designed to melt around a wick. The Candledust's quality promise centers on #Perfect pearl, with special processing intended to produce silky, smooth, even candle pearls without lumps or uneven particles. This guide treats that finish as a practical buying and testing standard, not a decorative slogan.
Table of Contents
- What Scented Wax Beads for Candles Actually Are
- How to Choose the Right Beads, Scent, and Wick
- Setting Up Your Workbench and Prep
- Melting, Scent-Loading, and Pouring with Confidence
- Creative Ways to Use Scented Wax Beads
- Troubleshooting Common Candle Bead Problems
- Reusing, Storing, and Catching the First-Producer Edge
What Scented Wax Beads for Candles Actually Are
Burning candle pearls are pre-portioned wax granules prepared for use in a heat-safe vessel with a wick. They're commonly made from paraffin, soy wax, or a blend, and may arrive already colored and fragranced. That removes some of the uncertainty beginners face when they measure raw wax, calculate fragrance, add dye, and try to predict how the finished candle will look and burn.
Aroma beads are different. Decorative aroma or sachet beads release fragrance passively in diffusers, drawers, closets, or small display containers. They aren't automatically formulated to melt evenly around a wick, and they shouldn't be lit just because the packaging uses the word “beads.” A product intended for candle sand should clearly state that it's designed to be poured into a heat-safe vessel and burned with a suitable wick.
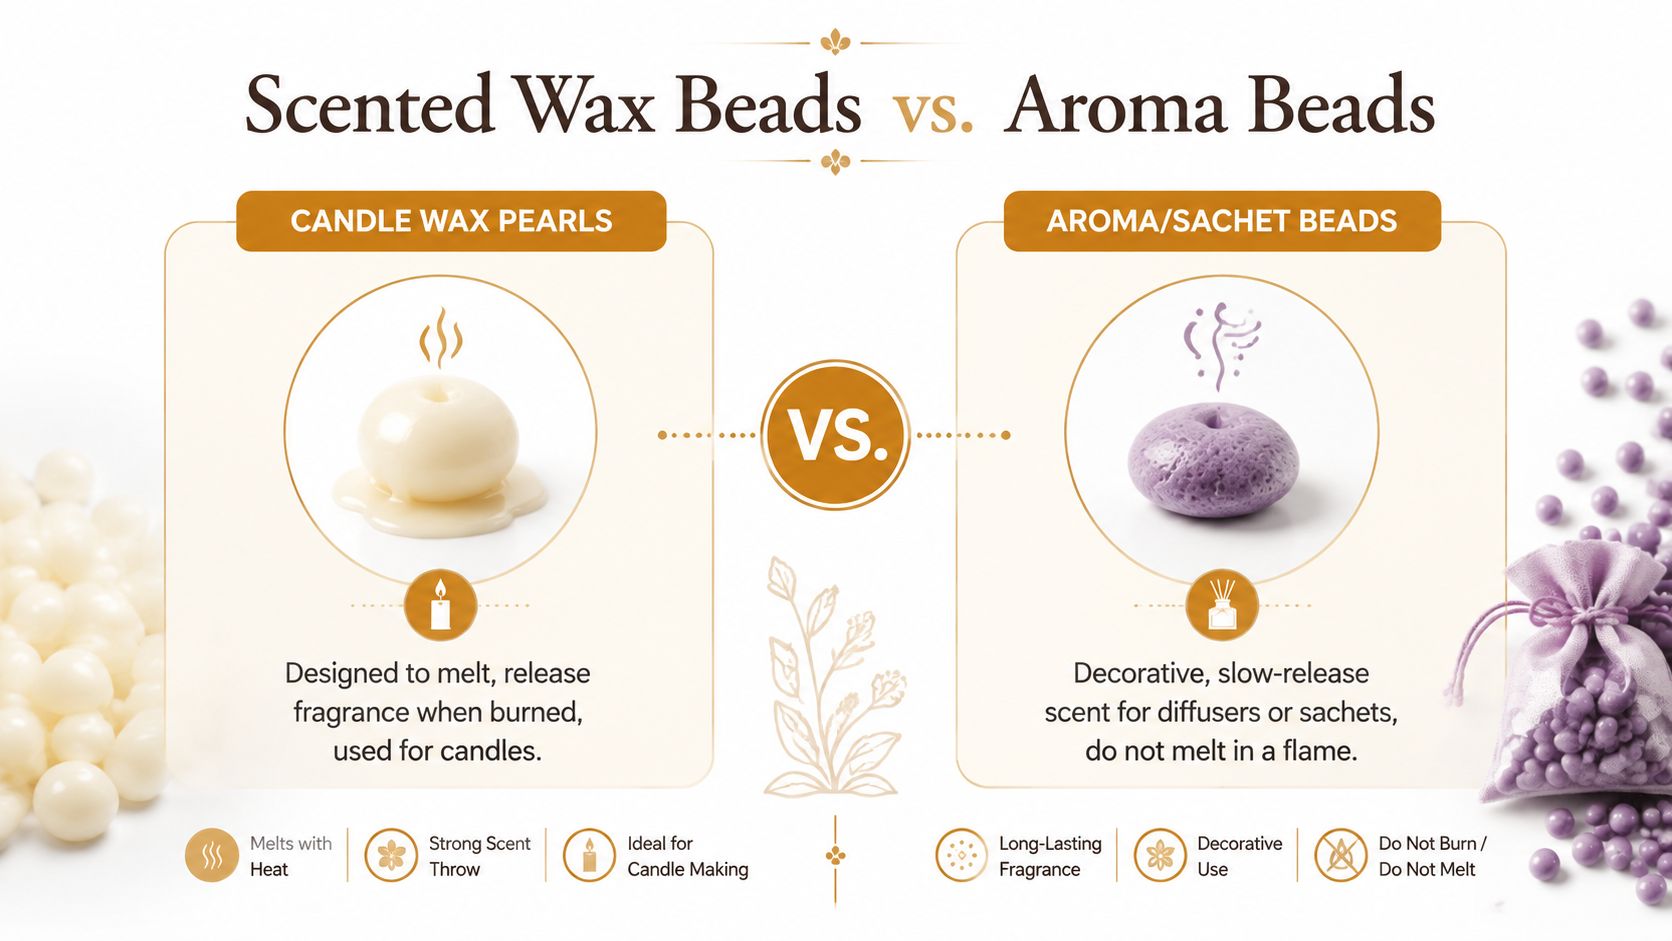
The finish tells you more than the label
Granule size matters because beads must settle into a stable layer around the wick. Uniform particles create more predictable gaps and melt paths. Very dusty material can cloud a clear vessel, while mixed particle sizes may leave visible lumps, uneven color distribution, or a surface that looks inconsistent before it's ever lit.
That's why I look for a silky bead surface, low dust, consistent sizing, and even fragrance distribution across the bag. The #Perfect pearl standard is useful here. “Smooth” shouldn't mean merely attractive in a product photograph. It should mean the material pours cleanly, forms an even bed, and doesn't contain obvious clumps or irregular fragments.
Beads, flakes, and sand
Wax flakes are easy to scoop but can bridge across a wick or compact unpredictably. Coarse wax sand can create a more granular appearance, but it needs careful evaluation for dust and particle variation. Beads sit between those formats, offering a controlled pour with a deliberately finished appearance.
Scent choice also changes the experience. If you're comparing fragrance families before buying, a practical resource such as this men's cologne guide 2026 can help you understand how fresh, woody, spicy, and citrus profiles differ, even though candle fragrance oils still need to be evaluated for candle use. The important question is always whether the beads are true burning wax, not merely scented décor.
How to Choose the Right Beads, Scent, and Wick
Start with the wax, then choose the scent, particle size, color, and wick. Beginners often start with fragrance because it's the enjoyable part, but the wax determines how readily the candle carries that fragrance and how the finished surface behaves.
Paraffin is a practical choice when strong hot throw and vivid color matter. It remains a major industrial candle base, accounting for about 65% of total wax used in candle manufacturing, while U.S. candle production uses roughly 1 billion pounds of wax annually, according to industry candle statistics. Soy suits buyers who prioritize a plant-based positioning, although its surface can be less forgiving. Coconut blends are often selected for a creamy appearance and a softer, premium feel.
Fragrance load deserves disciplined testing. A useful working range is 6% to 10% by weight, with the lower end suitable for lighter applications and the upper end worth testing where stronger throw is needed. More fragrance isn't automatically better. Excess oil can affect wick behavior, surface stability, and burn quality.
| Wax Type | Fragrance Load | Granule Size | Wick Pairing | Best Vessel |
|---|---|---|---|---|
| Paraffin | 6% to 10% | Fine to medium | Cotton wick matched by burn test | Clear glass or colorful jar |
| Soy | 6% to 10% | Fine, even granules | Cotton wick with careful testing | Container with stable sides |
| Coconut blend | 6% to 10% | Fine to medium | Cotton wick suited to softer wax | Ceramic or premium glass |
| Mixed candle sand | Test within the stated range | Uniform medium granules | Tab wick or centered cotton wick | Shallow dish or refillable vessel |
Match granule size to the vessel. Fine beads settle well in narrow jars and shallow layers. Medium beads create more visual texture and work well when the vessel is broad enough for the wick to remain centered. Color should stay stable rather than bleeding into neighboring layers, especially in transparent glass.
For fragrance selection, compare the oil's intended use with your wax temperature. Florals and citrus profiles can lose character if heated aggressively, while heavier vanilla-style notes need protection from scorching. If you're unsure whether a fragrance oil or essential oil is appropriate, this comparison of fragrance oil versus essential oils is a useful reference.
A series-4 cotton wick is a reasonable starting point for a 7 cm jar, then narrower vessels generally call for a step down. Treat that as a starting test, not a guarantee. Wick choice depends on wax, bead depth, fragrance, vessel shape, and airflow.
Setting Up Your Workbench and Prep
A clean workbench prevents more problems than a clever rescue technique. Set up on a flat, heat-safe surface near ventilation, but keep the vessel away from drafts. Place a metal or glass mixing pitcher, silicone spatula, digital thermometer, gram scale with 0.1 resolution, wick stickers, and pre-tabbed wicks where you can reach them without crossing over hot wax.
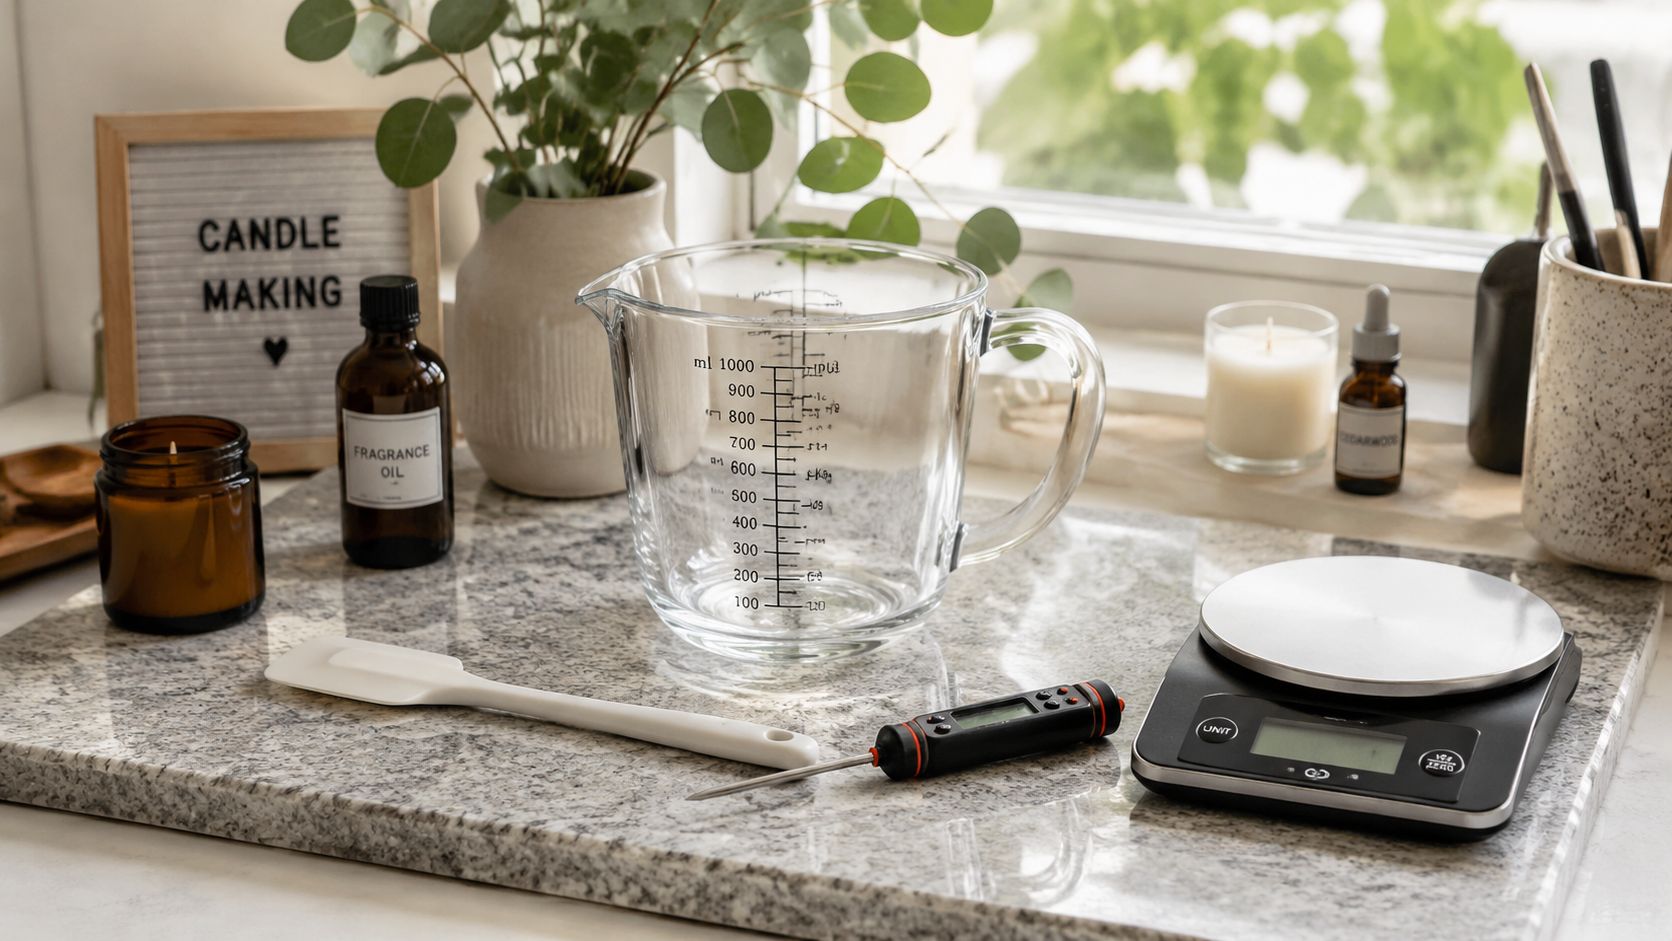
Prepare the vessel before heating
Warm the jar slightly so hot wax doesn't meet a cold surface abruptly. Clean the inside with isopropyl alcohol and let it dry fully. Attach the wick tab, position the wick in the center, and hold it upright with a wick bar across the rim.
Look down through the vessel before pouring. A wick that appears centered at the top may lean at the base, and that small error can shift the melt pool toward one side. Check that it's plumb from several angles.
Stage safety equipment first
Put a fire-resistant mat under the work area and keep a class-K or ABC-rated extinguisher within reach. Remove pets, loose paper, fabric, and other flammable materials from the zone. Don't work beside an open window if moving air can push the flame or cool one side of the vessel.
Workbench rule: If you can't reach the thermometer, extinguisher, and pouring handle without moving a hot vessel, the setup isn't ready.
Finish with a weigh-out ritual. Tare the pitcher, weigh the beads first, weigh fragrance oil separately, and place the thermometer probe in the pitcher. The probe should monitor the batch itself, not the ambient air or the side of the container.
Melting, Scent-Loading, and Pouring with Confidence
Use a double boiler or controlled pour-pot setup. For most paraffin and soy bead blends, work toward 170 to 180°F, and don't exceed 200°F when protecting fragrance integrity. The precise behavior varies by wax blend, so the supplier's technical sheet should take priority over any generic temperature.
The fragrance calculation is straightforward. Weigh the wax, then calculate the fragrance as a percentage of that wax weight. A 6% to 10% load is a useful working range for strong hot throw, while dedicated candle-sand burners may be tested up to 12%, provided the wax and fragrance supplier allow it and the finished candle passes burn testing.
Add fragrance without cooking it
Add fragrance at approximately 185°F, then stir gently for two full minutes. Avoid whipping the mixture, because aggressive stirring pulls air into the wax. Set the pitcher down afterward and allow bubbles to settle before pouring.
A fresh profile such as Breeze fragrance oil 10ml/0.34oz uses recognizable mandarin and bergamot notes for a modern, fresh character. That type of citrus-led scent benefits from controlled handling rather than unnecessary heat.
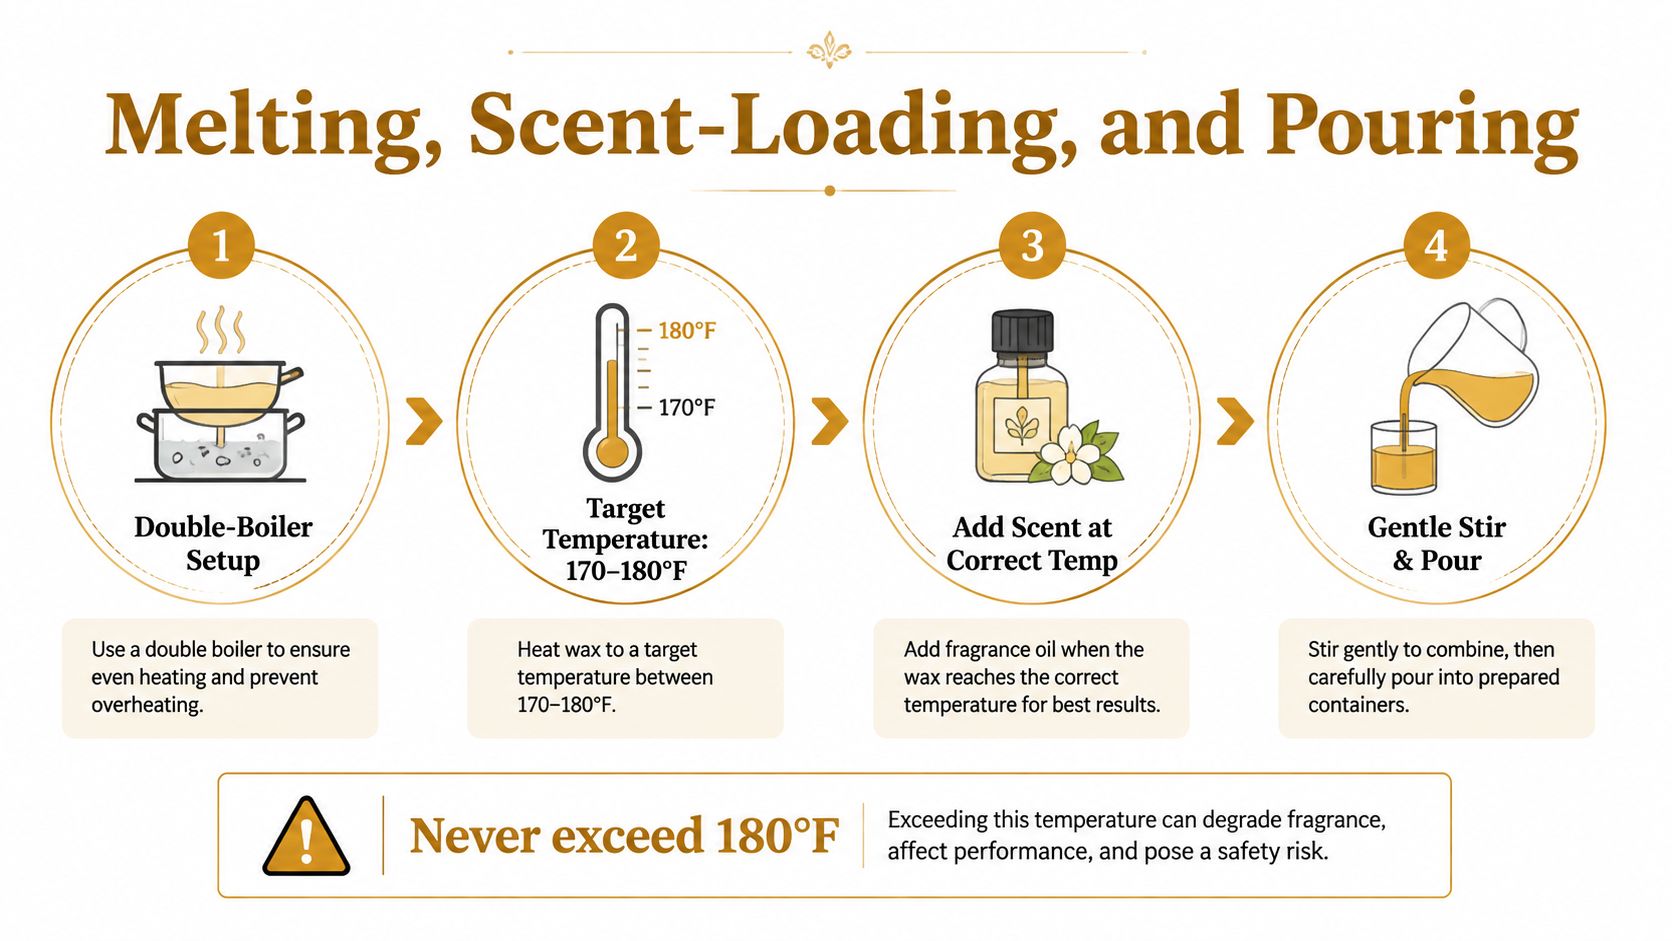
Pour according to the vessel
Use approximately 130 to 140°F for glass, 140 to 150°F for ceramic, and 120 to 130°F when pouring over pre-placed wicks. Pour slowly down the inside wall when clarity matters. A controlled stream keeps the bead bed from shifting and reduces trapped air around the wick.
For a deeper explanation of home candle workflow, use this DIY candle-making guide. Let the candle set for at least 24 hours, then allow 5 to 7 days for fuller scent maturation before judging hot throw. Inspect the top for cracks, sinkholes, wet spots, and loose wick placement before building decorative layers.
Creative Ways to Use Scented Wax Beads
A single bead batch can serve several visual purposes, provided each vessel remains heat-safe and the wick is appropriate for its shape.
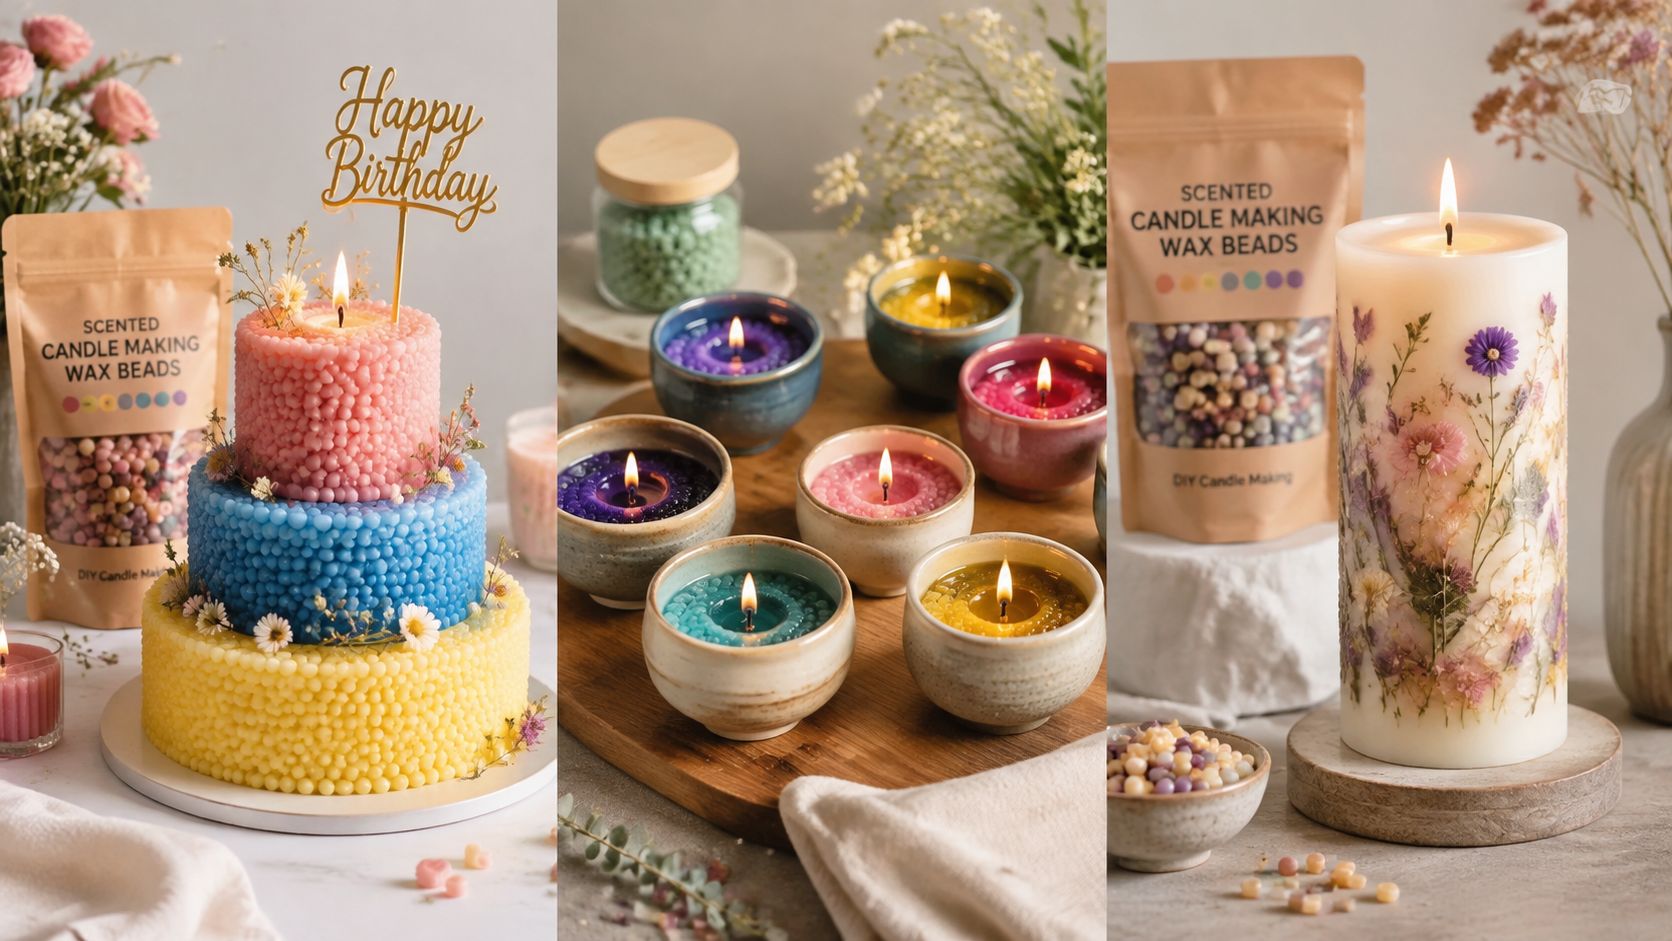
A layered birthday centerpiece
Start with a half-inch base of one color. Let it skin over, then add a contrasting layer and repeat until you have three tiers. A clear top layer adds depth and lets the colored bands remain visible from the side.
For an ombré effect, blend neighboring shades rather than sharply contrasting colors. Dried botanicals can sit between layers, but keep decorative material away from the wick and out of the melt path. Two complementary fragrances can create a custom blend, although it's wiser to test the combination in a small batch before committing to a centerpiece.
A visible clear-vessel candle
Clear glass turns the bead texture into part of the décor. Pour the granules so the layers remain level against the wall, then place one cotton wick in the center with a wick holder.
A smooth, dust-free finish earns its place. Uneven particles and powder can make the vessel look cloudy, while consistent pearls produce a cleaner visual line. The #Perfect pearl promise is especially relevant for transparent containers because the material is visible before and after lighting.
A wedding-style sand arrangement
A shallow brass dish gives candle sand an event-friendly profile. Place a tab wick in the center, surround it with the beads, and leave enough room for safe handling around the flame.
Guests can scoop and relight the remaining sand instead of throwing away a finished candle. That refillable format works particularly well for weddings, restaurants, and other settings where vessels need to change without rebuilding the entire display.
The creative advantage isn't only color. It's the ability to refresh the vessel, change the arrangement, and reuse the remaining wax.
Troubleshooting Common Candle Bead Problems
Strong fragrance isn't guaranteed by a heavily scented bag. Weak throw often comes from overheating fragrance, using a load below 6%, or judging the candle before it has cured. Re-melt the batch when appropriate, add fragrance at the correct temperature, and wait through the full cure before deciding that the formula has failed.
Uneven melt pools usually point to wick selection, airflow, or pouring control. A wick that's too small won't distribute heat across the vessel, while a draft can pull the flame to one side. Pouring more than 10°F away from the intended temperature can also change the finished surface and how the wax settles.
| Problem | Likely Cause | Fix |
|---|---|---|
| Weak scent throw | Excessive heat, load below 6%, or short cure | Re-melt carefully, adjust within the tested load, and allow full maturation |
| Uneven melt pool | Wick too small, draft, or pour temperature off by more than 10°F | Test the next wick size, move away from vents, and verify temperature |
| Wick tunneling | Wick too small for the vessel or first burn too short | Use a full first-burn melt pool and review wick sizing |
| Frosting | Wax crystallization, often visible in soy formulations | Improve temperature control and consider a blend better suited to the desired finish |
| Wet spots | Adhesion variation between wax and vessel | Clean and warm the vessel, then test a steadier pour |
| Sinkholes | Cooling too quickly or unevenly | Adjust cooling conditions and use a controlled second pour if needed |
Fix the burn before blaming the beads
For tunneling, focus on the relationship between wick diameter and vessel diameter. The first burn should run long enough for the melt pool to reach the vessel edge, but you should still follow the product's safety guidance and never leave the candle unattended.
Trim the wick to 1/4 inch before lighting. General candle safety guidance recommends a wick length of 1/4 to 1/2 inch to help reduce excess smoke and soot, as outlined in candle accessory fire-safety guidance. Keep the wax pool clear of debris and avoid drafts.
Scent terminology can also create false expectations. If you're trying to understand why a fragrance changes over time, this explanation of maceration perfume meaning provides useful perfume context, but candle scent maturation still depends on the wax, fragrance, wick, and cure conditions.
Reusing, Storing, and Catching the First-Producer Edge
Leftover candle sand can often support another pour if you keep it clean. Let the vessel cool completely, scrape out the cooled wax pool, and remove wick tabs, ash, and visible debris. Pass the material through a fine mesh before placing it in a dedicated pour pot.
Re-melt at 170 to 180°F, then evaluate the fragrance. If the recovered wax smells tired, add a light boost at 3% to 5%, provided the combined load remains suitable for the wax and fragrance. Don't pour recovered wax into a food-use pot, and don't mix unknown fragrances unless you're comfortable losing precise scent traceability.
Store beads like a batch, not a leftover
Use airtight glass jars away from sunlight and heat. Label every jar with the batch date and original fragrance, so you know what you're combining later. A clear label prevents a common workshop mistake, mixing a citrus remainder with a heavy fragrance and then wondering why the result smells muddy.
For a practical vessel cleanup routine, use this guide on reusing candle jars. Clean glass thoroughly, remove old wick adhesive, and inspect the vessel for cracks before giving it another life.
Set the wax memory with the first burn
The first burn shapes the melt pattern that follows. Aim for a 2-hour first burn, trim the wick to 1/4 inch, and keep the candle away from drafts so the melt pool can reach the vessel edge without leaning or smoking.
The ASTM F2417 candle fire-safety standard was updated in 2023 with requirements addressing wick migration and leaning. During testing, the wick must not migrate or lean so the flame contacts the container for more than 5 seconds, and multi-wick candles must not combine into a single flame for more than 5 seconds, according to SGS coverage of the updated standard. That reinforces why centering and stability matter beyond appearance.
Natural wax remnants may be compostable depending on the formulation and local waste rules. For everything else, filter, label, store, and reuse it deliberately. The Candledust offers plant-based candle sand, scented and unscented refills, wicks, vessels, and fragrance options for people who want to pour into heat-resistant containers and replace the wick after use. Visit The Candledust to explore candle sand formats and build a reusable setup around the smooth, even #Perfect pearl finish.