

You're probably here because candle making looks beautiful online, then immediately turns intimidating when you start reading about melting points, fragrance loads, wick sizes, sink holes, and jars full of half-set wax. That's a normal reaction. Traditional candle making can be rewarding, but for a beginner it often feels like you need a lab setup just to make one decent candle.
There's a simpler way to start. If your goal is a good-looking candle, a clean process, and room to be creative without handling hot wax, candle sand is the modern entry point that makes the most sense.
Table of Contents
- A Better Way to Begin Your Candle Making Journey
- Gathering Your Simple Materials
- Creating Your First Candle in Minutes
- Personalizing with Scents and Colors
- The Sustainable Art of Refilling and Reusing
- Quick Project Ideas for Your Home and Events
A Better Way to Begin Your Candle Making Journey
The appeal of DIY candle making for beginners is easy to understand. Candles make a room feel finished. They add softness, scent, and ritual. The category keeps growing too. The DIY candle craft segment is a primary driver of the broader candle industry, which is projected to grow at a compound annual rate of 5-6% through 2028, and over 80% of American homes use candles regularly, with consumers increasingly looking for eco-friendly alternatives, according to The Spruce Crafts.
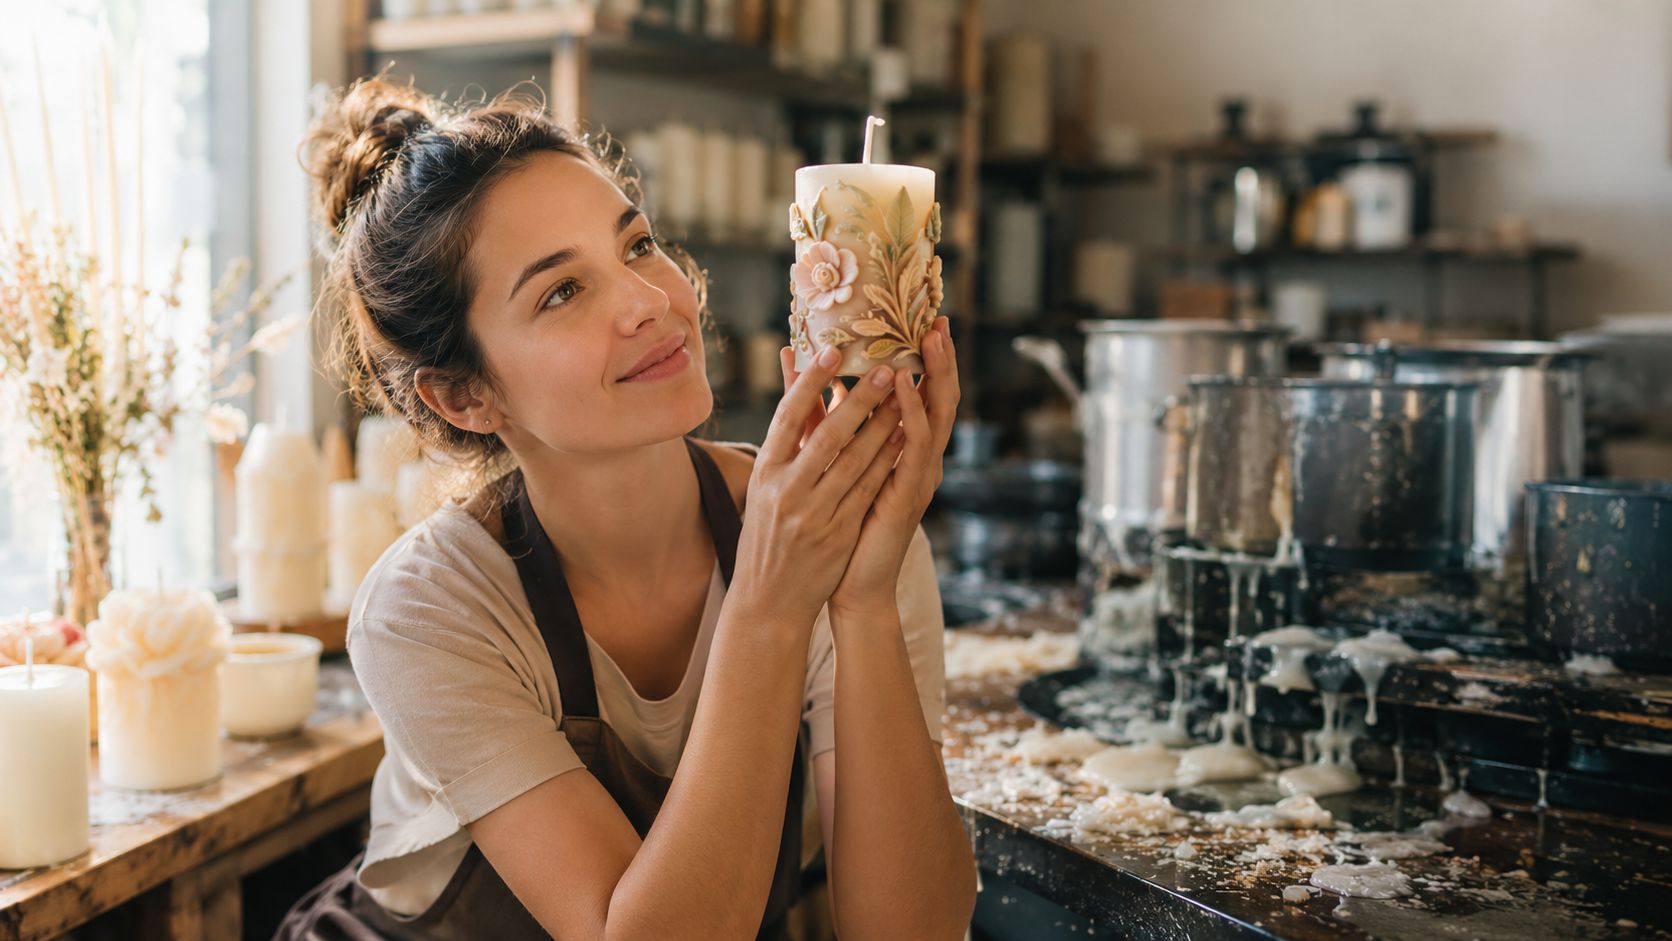
What many beginners don't expect is how technical classic candle making becomes almost immediately. With melted wax, you're not just making something pretty. You're managing temperature, timing, fragrance incorporation, cooling behavior, and surface finish. A small mistake can leave you with cracking, tunneling, weak scent, or an ugly top.
Why candle sand changes the experience
Candle sand removes the hardest part of the process. Instead of melting wax and pouring it at exactly the right moment, you pour ready-to-use wax pearls into a container, place a wick, and light it. The process feels more like styling than manufacturing.
That's why I recommend it as the smartest first step for aspiring candle makers who want candles at home without the usual mess. If you've been comparing methods, this breakdown of sand candle vs traditional candles gives a useful side-by-side view of how the two approaches differ in daily use.
Where quality matters most
Not all candle sand feels the same in the hand or behaves the same in a vessel. Particle consistency matters. If the texture is uneven, the finish looks rough and the candle loses that refined look people want on a table or shelf.
We are providing ultimately best quality candle sand. Special processing ensures silky, smooth, even candle pearls without lumps and uneven particles. We call it #Perfect pearl. That consistency is the difference between a rough craft material and a candle medium that looks elegant the moment you pour it.
One of the first sand wax candle producers in the world, and the first ones that introduced scented sand candles in the world, the brand heritage behind this method matters too. It tells you this isn't a novelty. It's a developed format with a real craft logic behind it.
Candle making gets easier when you stop fighting wax behavior and start using a format designed for flexibility.
Gathering Your Simple Materials
Traditional poured candles often push beginners toward a shopping list that keeps growing. Melt pitcher. Thermometer. Wax. Fragrance. Wick stickers. Stirring tools. Pour pot. Heat source. Cleanup supplies. Extra wax for repairs if the top sinks.
With candle sand, the list is short enough that beginners can start the same day.
The three things you actually need
- A heat-safe container: A glass, ceramic bowl, cup, or vessel that can safely hold a burning wick.
- A wick: Pre-tabbed wicks make setup easier and cleaner.
- Candle sand: This is the material that gives you the candle body without requiring melting.
That's why this format works so well for people who want creative freedom without a complicated setup. You can also pull ideas from broader guides to eco-friendly candle making supplies if you want to build a more intentional kit over time, but you don't need much to start.
Choose the vessel before you choose the mood
A lot of beginners do the opposite. They obsess over fragrance first, then realize they have nowhere to put the candle. Start with the container. A wide bowl gives a sculptural look. A tumbler feels classic. A small ceramic cup works well for bedside use.
Upcycling is one of the joys here. Old glasses, espresso cups, shallow serving bowls, and leftover candle jars all become useful again. Candle sand works with your object collection instead of forcing you to buy matching jars just to get started.
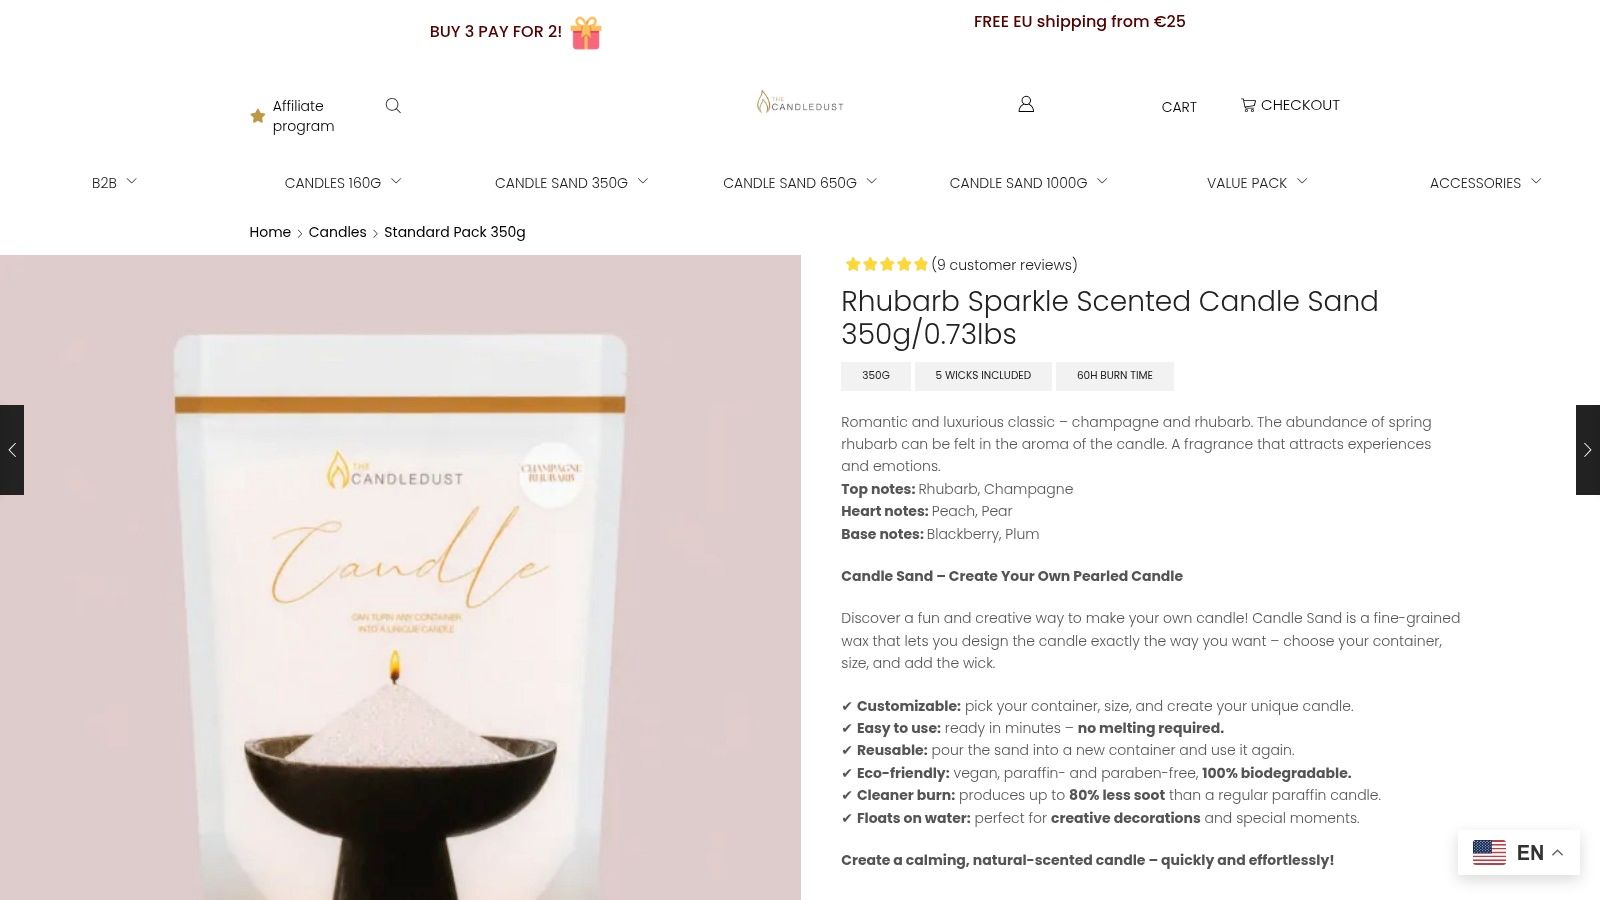
A practical example is Rhubarb Sparkle Scented Candle Sand 350g/0.73lbs, described as Candle Sand – Create Your Own Pearled Candle. The format is straightforward: choose your container, choose the size, and add the wick.
What not to overthink
You don't need to begin with a full workshop mindset. For diy candle making for beginners, that's often what kills momentum. Keep the first project small.
Practical rule: If you can choose a vessel and place a centered wick, you already have the core skill for your first candle sand project.
Creating Your First Candle in Minutes
The fastest way to understand candle sand is to make one. Don't read this like a chemistry lesson. Think of it as arranging light in a vessel.
Here's the simple flow.
What candle sand actually is
Sand wax is defined as tiny, round pearled wax beads that look and feel like fine sand. It creates a reusable, mess-free candle system where only the beads nearest the wick melt while the rest remain loose and ready for the next use, as described by Aroma Paradise.
That behavior is what makes this method feel so different from a standard jar candle. You're not committing the entire vessel to one solid block of wax.
The only thing that melts is the small pool of wax around the wick, leaving the rest of the sand pristine and reusable.
If you want to see the visual rhythm of the setup before trying it yourself, this short demo helps:
How to set it up
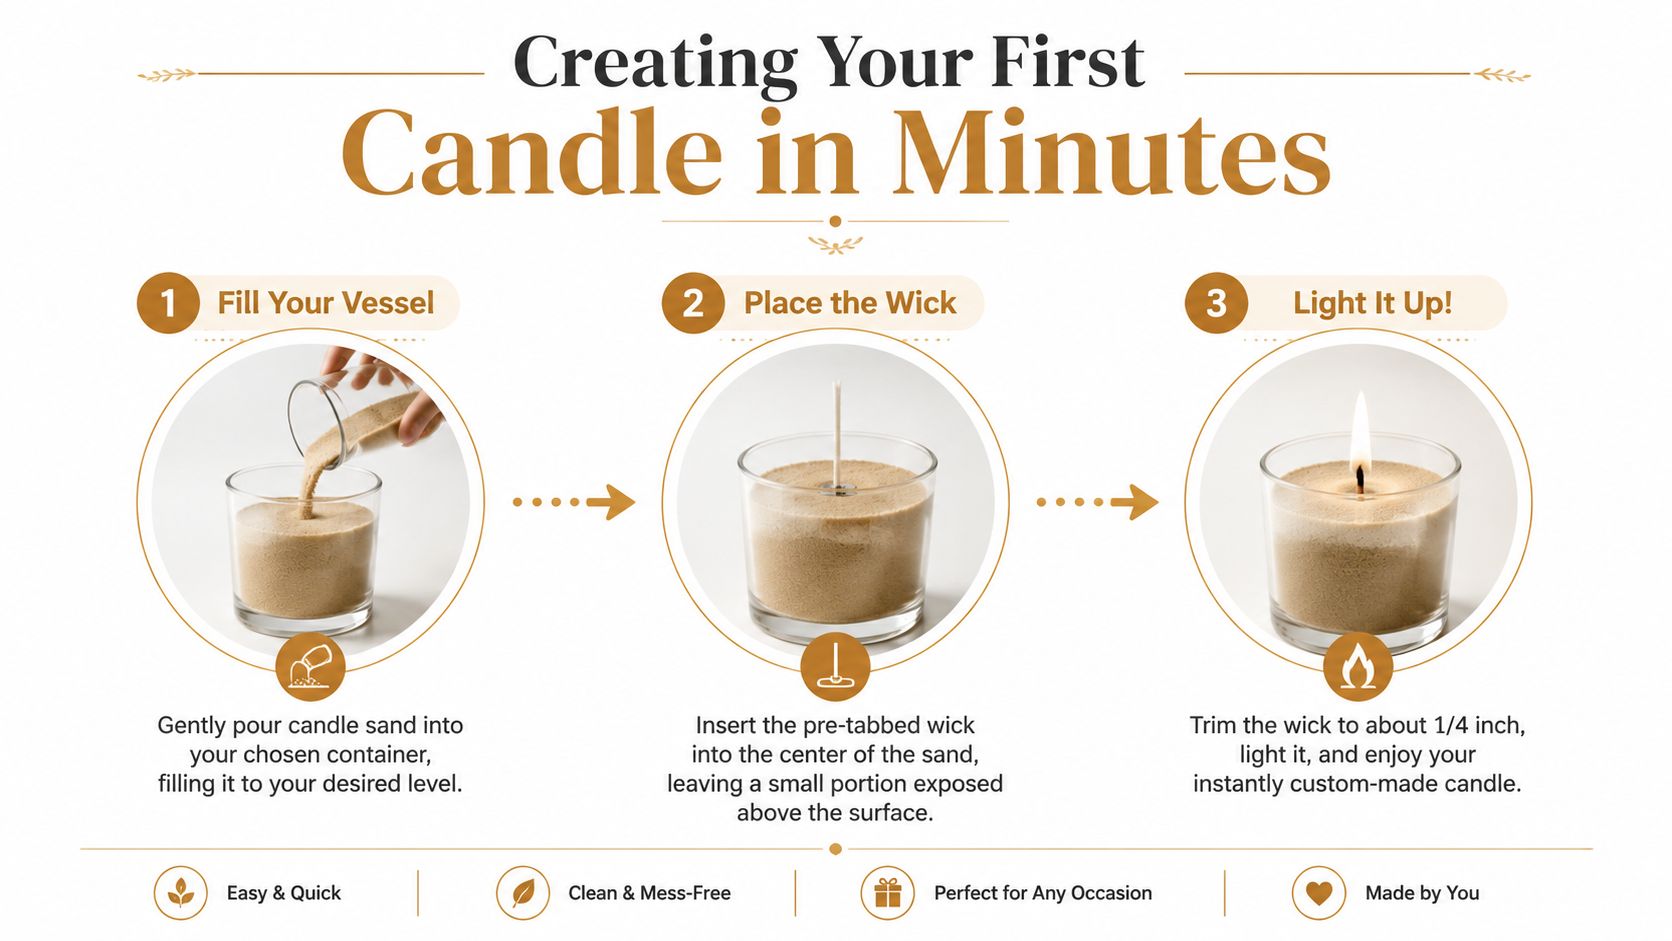
Start by filling your chosen vessel with candle sand to the level you want. Don't pack it down hard. Let it settle naturally. A smooth, even surface looks neat, but slight texture is part of the charm.
Place the wick in the center. Leave a small portion visible above the surface so it's easy to light. If you prefer a cleaner first flame, trim the wick to about 1/4 inch before lighting, as shown in the infographic above.
Then light it. That's the whole start-up process.
What works and what doesn't
What works is restraint. A centered wick, an even fill, and a heat-safe container give you a polished result with almost no effort. What doesn't work is treating candle sand like packed soil. If you jam the wick in too aggressively or compress the pearls too firmly, the setup looks clumsy and can burn less neatly.
This is also why smooth particle quality matters. The silky finish of #Perfect pearl makes the vessel look deliberate rather than homemade in the rough sense. You don't have to fight lumps or uneven particles to get a refined surface.
Some people also prefer a ready-made option before assembling their own. Breeze 160g / 350ML / 11.83oz is a ready-to-use candle that you just light. Its profile is described as a fresh morning aroma with notes of mandarin, bergamot, jasmine, and a light touch of vanilla, with top notes listed as chocolate, bergamot, citrus; heart notes amber; and base notes Sandlawood, Vanilla.
Why this is easier than poured wax
Classic beginner candle tutorials often ask you to monitor fragrance temperature around 185°F (85°C), pour around 170°F (77°C), and let the candle rest for 24 hours before the first burn for stronger hot throw, according to a beginner video tutorial. That method can work well, but it asks for timing and control from the start.
Candle sand skips that learning curve. You still get the satisfaction of making something personal, but the process stays approachable enough that beginners usually keep going instead of quitting after one messy batch.
Personalizing with Scents and Colors
Once you've made one plain candle sand setup, the next temptation is customization. That's where this format becomes more than easy. It becomes expressive.
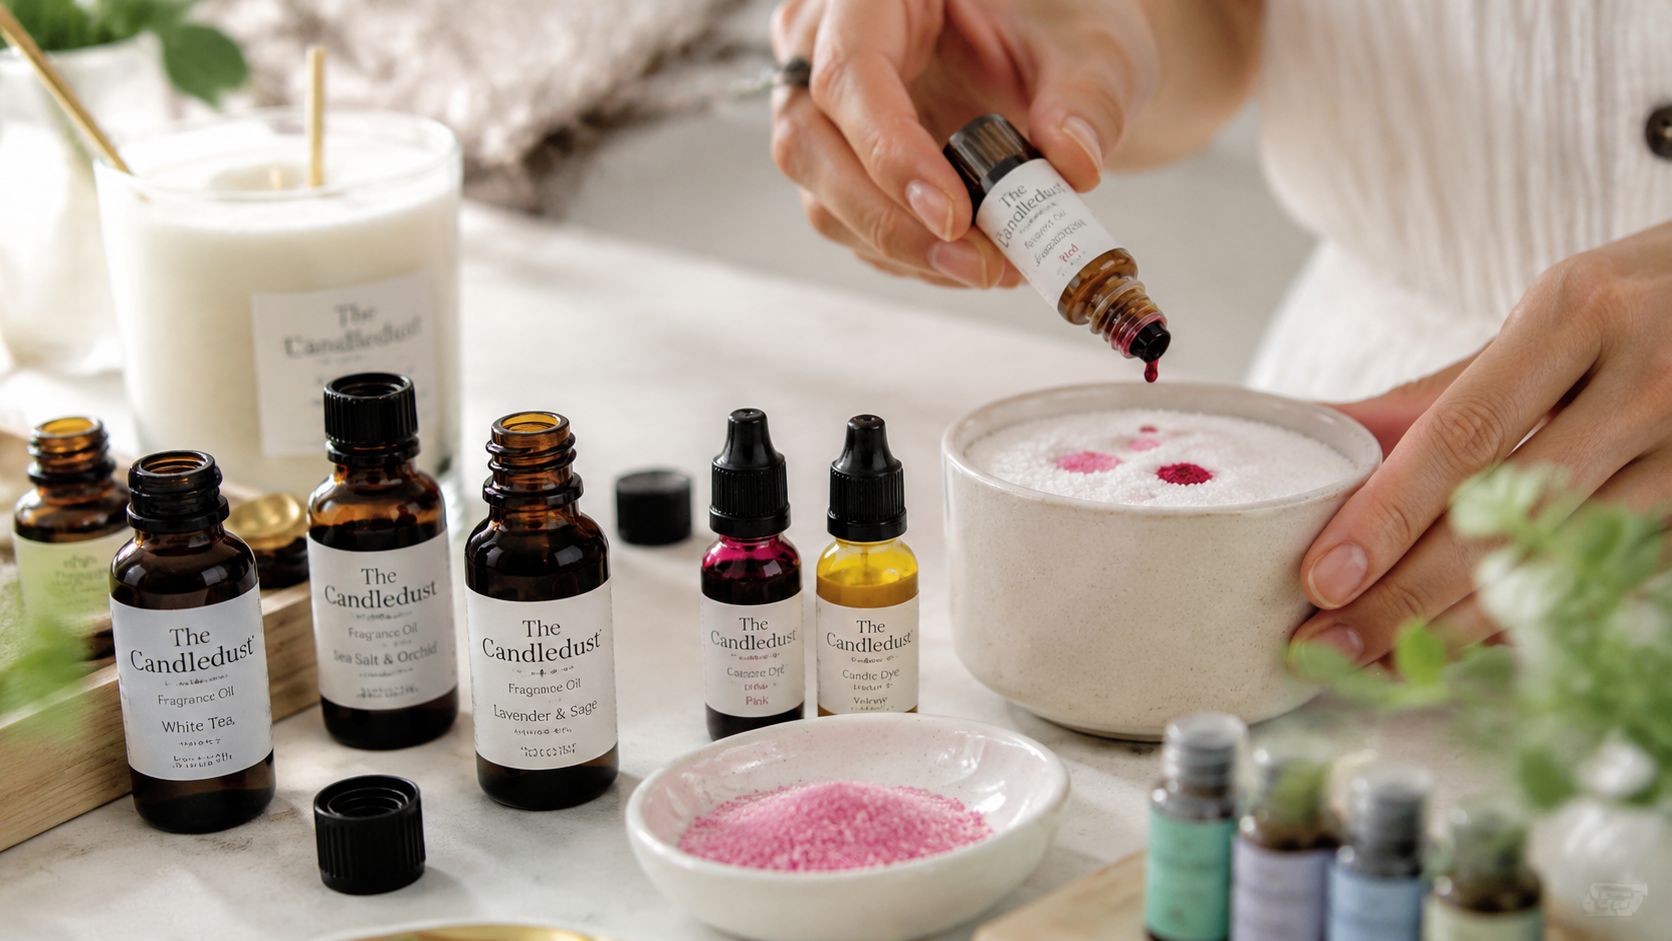
Color and fragrance behave differently in a granular candle medium than they do in melted wax. You aren't waiting for a full wax mass to cool into one final result. You're composing the finished look directly in the vessel.
Start with ready-scented sand
The easiest route is pre-scented candle sand. That gives you a stable fragrance profile without trial and error. It also makes layered designs easier, because you can focus on color placement and container choice instead of blending scent from scratch.
Pioneer work in the category is important. The first scented sand candles changed the beginner experience because they removed another variable. You weren't just avoiding hot wax. You were skipping the hardest part of scenting it well.
A simple styling idea is to layer light and dark sands in a clear glass vessel, or use one clean white fill in a textured ceramic bowl. The candle becomes part of your decor even before it's lit.
Add fragrance your own way
If you prefer unscented sand as a base, this format is unusually forgiving. Unlike traditional waxes that require precise temperatures for fragrance addition, sand wax is a plant-based, paraffin-free material compatible with most candle fragrance oils, allowing users to customize scent profiles by mixing oils directly with the granular wax before pouring, according to General Wax Candle Making.
The practical trick is moderation and even distribution. Add a little, mix gently, then check the texture. If you flood one spot with oil, you can create clumps. Fine, smooth pearls make this easier to avoid, which is one reason consistent particle quality matters so much in scented projects.
If you're choosing scents by mood rather than by candle category, perfume logic can help. A guide on how to discover your perfect fragrance can be surprisingly useful when you're deciding whether your candle should feel crisp, warm, resinous, floral, or clean.
For people exploring natural aroma profiles, there's also a broader discussion of essential oil candles that can help clarify where essential oils fit and where fragrance oils may be the more practical choice.
A good custom candle doesn't start with “What scent is popular?” It starts with “What do I want this room to feel like?”
The Sustainable Art of Refilling and Reusing
The smartest thing about candle sand isn't just that it's easy. It's that the system changes what “using up a candle” means.
A classic jar candle burns downward until the container is coated, the wick is spent, and the leftover wax has to be scraped, heated, or discarded. Candle sand behaves differently. After the flame is out and everything is cool, the small used portion around the wick can be removed, and the rest of the loose material remains ready for the next setup.
Why beginners struggle with poured wax
Traditional wax candle making asks beginners to control technical details that don't forgive sloppy timing. For soy container candles, fragrance is typically held at 180°F–185°F (82°C–85°C) and poured at 125°F–135°F to avoid sink holes and cracking, according to The Flaming Candle. The same source notes that failure to maintain that pour window results in a 40–60% incidence rate of surface imperfections in first-time batches.
That's a frustrating way to learn. You can do everything “almost right” and still get a candle that looks flawed.
How the refill mindset changes everything
Candle sand avoids that entire category of cosmetic failure because you're not trying to cool a poured surface into perfection. There's no top to crack in the same way. No sink hole to repair with a second pour. No hardened wax lining the jar after each use.
That makes it more sustainable in practical terms, not just conceptual ones.
- Less waste: You keep using the remaining sand instead of throwing away a mostly spent container candle.
- Less cleanup: There's no pot, pitcher, or wax-coated thermometer to wash.
- More flexibility: You can refresh a vessel, change the wick, and alter the look without starting from zero.
A separate granular product example, Candle Sand by Candlera, is used by filling containers while leaving about 1 cm of space, inserting a centered wick, and replacing the wick after burning to reuse the remaining sand, as described by Candlera. The exact vessel style may vary, but the reset logic is the same.
The refill habit is what makes candle sand feel modern. You don't throw the candle away. You recompose it.
For diy candle making for beginners, that's a major advantage. You get repeated use from one material system without needing to relearn the craft every time.
Quick Project Ideas for Your Home and Events
Once you understand how easy the format is, the fun part is using it in places where normal candles are inconvenient, messy, or too rigid in style.
At home
Use a favorite mug that's lost its pair. Fill a low ceramic bowl for a coffee table centerpiece. Add white candle sand to a clear glass vase for a clean, architectural look.
For a softer setup, make several small vessels instead of one large one. Mixed heights look better on shelves and bedside tables than a single oversized jar. Candle sand also works well in containers you wouldn't want to fill permanently with poured wax.
For gatherings and gifting
Events benefit from repeatability. If you need multiple candles to look uniform across a long table, candle sand makes that easy because the surface, height, and wick placement are all adjustable on site. You can prepare vessels in advance and finish them quickly without a melting station.
For gifts, this format fits beautifully into a custom home bundle. If you're assembling a housewarming or celebration package, a custom gift basket delivery service can pair practical objects like cups, linens, or treats with a candle-ready vessel so the recipient can create the candle themselves.
For hospitality spaces
Restaurants, hotels, and venues often need candlelight that looks polished night after night. Traditional candles create replacement waste and visual inconsistency as each vessel burns down differently. Candle sand solves that operational problem neatly.
Staff can reset the look of a table by changing the wick and refreshing the surface instead of replacing the entire candle. That's useful in spaces where presentation matters but setup time is limited.
A few strong use cases:
- Wedding tables: Match the sand color to florals, linens, or stationery.
- Restaurant service: Keep vessel style consistent while refreshing the burn setup quickly.
- Seasonal decor: Shift from bright, airy tones in spring to deeper neutrals in autumn without changing your containers.
The appeal is simple. You get candlelight that feels custom, but the process stays manageable.
If you want a cleaner starting point for diy candle making for beginners, explore The Candledust. Its candle sand format lets you turn a heat-safe vessel into a refillable candle with a wick and a pour, and the #Perfect pearl finish is designed to keep the result smooth, even, and easy to style.